Read more about the neurographic art inventor psychologist Pavel Piskarev
Introduction
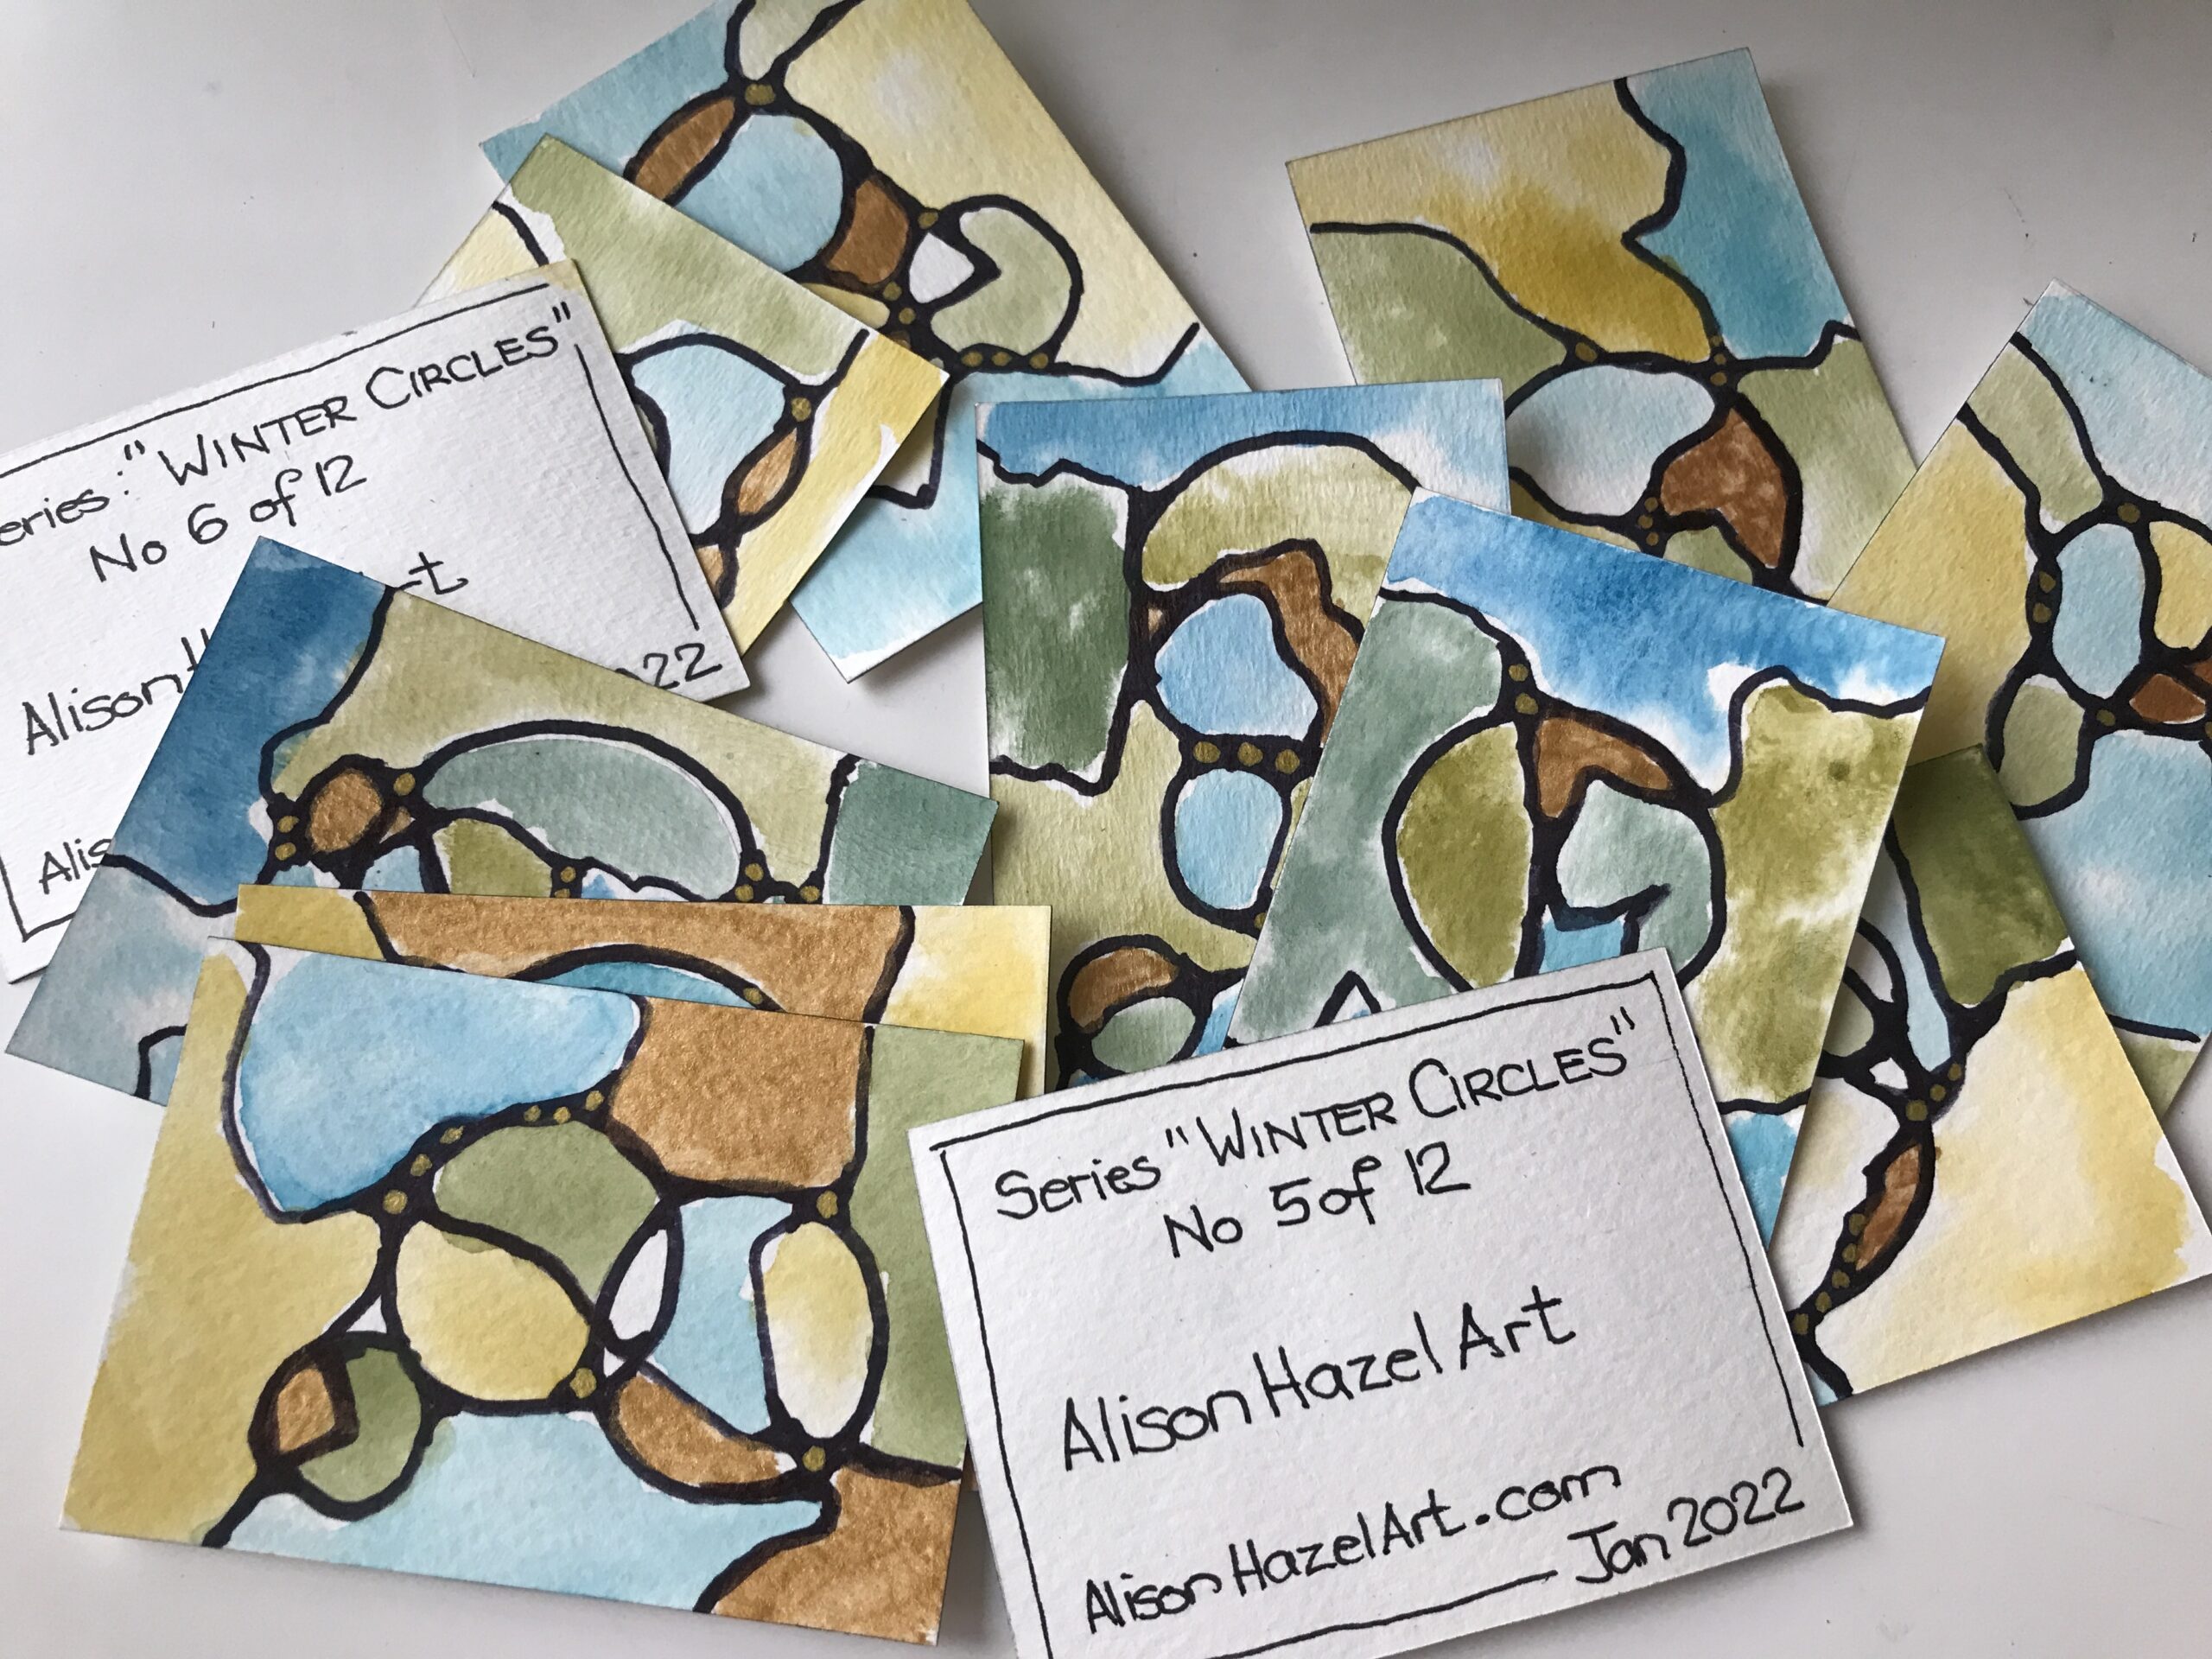
In this post, I’m going to share with you how I made these neurographic art Artist Trading Cards (ATC’s) which are super fun and quick to do.
I like working with artworks that are as small as Artist Trading Cards because the whole project is not as daunting as sitting down with a massive blank page in front of you.
When you are learning a new technique it’s sometimes easier to just do micro versions of what your big picture will be one day.
In this way you can hone your skills on small artworks to start with and build up from there.
Artist Trading Cards
Artist trading cards are small artworks which are 2 ½” x 3 ½” or around 62 mm x 90 mm.
They are basically the same size as a regular playing card.
Briefly, artist trading cards is a technique for every artist, such as you or me, to create the type of artwork that we do on very small cards.
When complete, these ATC’s can then be traded, swapped or given away, never sold, to other people.
Read more >>> Artist Trading Cards: Getting Started
Artist Business Cards
The idea is that one day when I’m a super duper artist and attempting to get my artwork in galleries or something like that. I will design some Artist Trading Cards which show the type of work that I’m offering.
Artist Trading Cars showcase your art style in a micro way. They are like business cards or old fashioned calling cards for artists. I don’t want to talk too much about developing your art style here.
As you may know, I really am a fledgeling artist. I do art because I like it. It makes me feel good, but I am exploring many different ways of expressing my art on this creative journey.
Neurographic Art
Neurographic art is it is an art technique that helps you clear your mind.
It can be meditative and it can bring focus to situations.
You could pay attention to one particular question such as, “should I leave my job or should I move country” all of the big decisions you have to make and things that are worrying you.
The idea is that as you are working through these art pieces, you are thinking about the actual issue which then goes into the art.
The idea being that at the end, you find some peace, if not a solution, to the question that you posed.
Explore more >>> Neurographic art techniques
Supplies
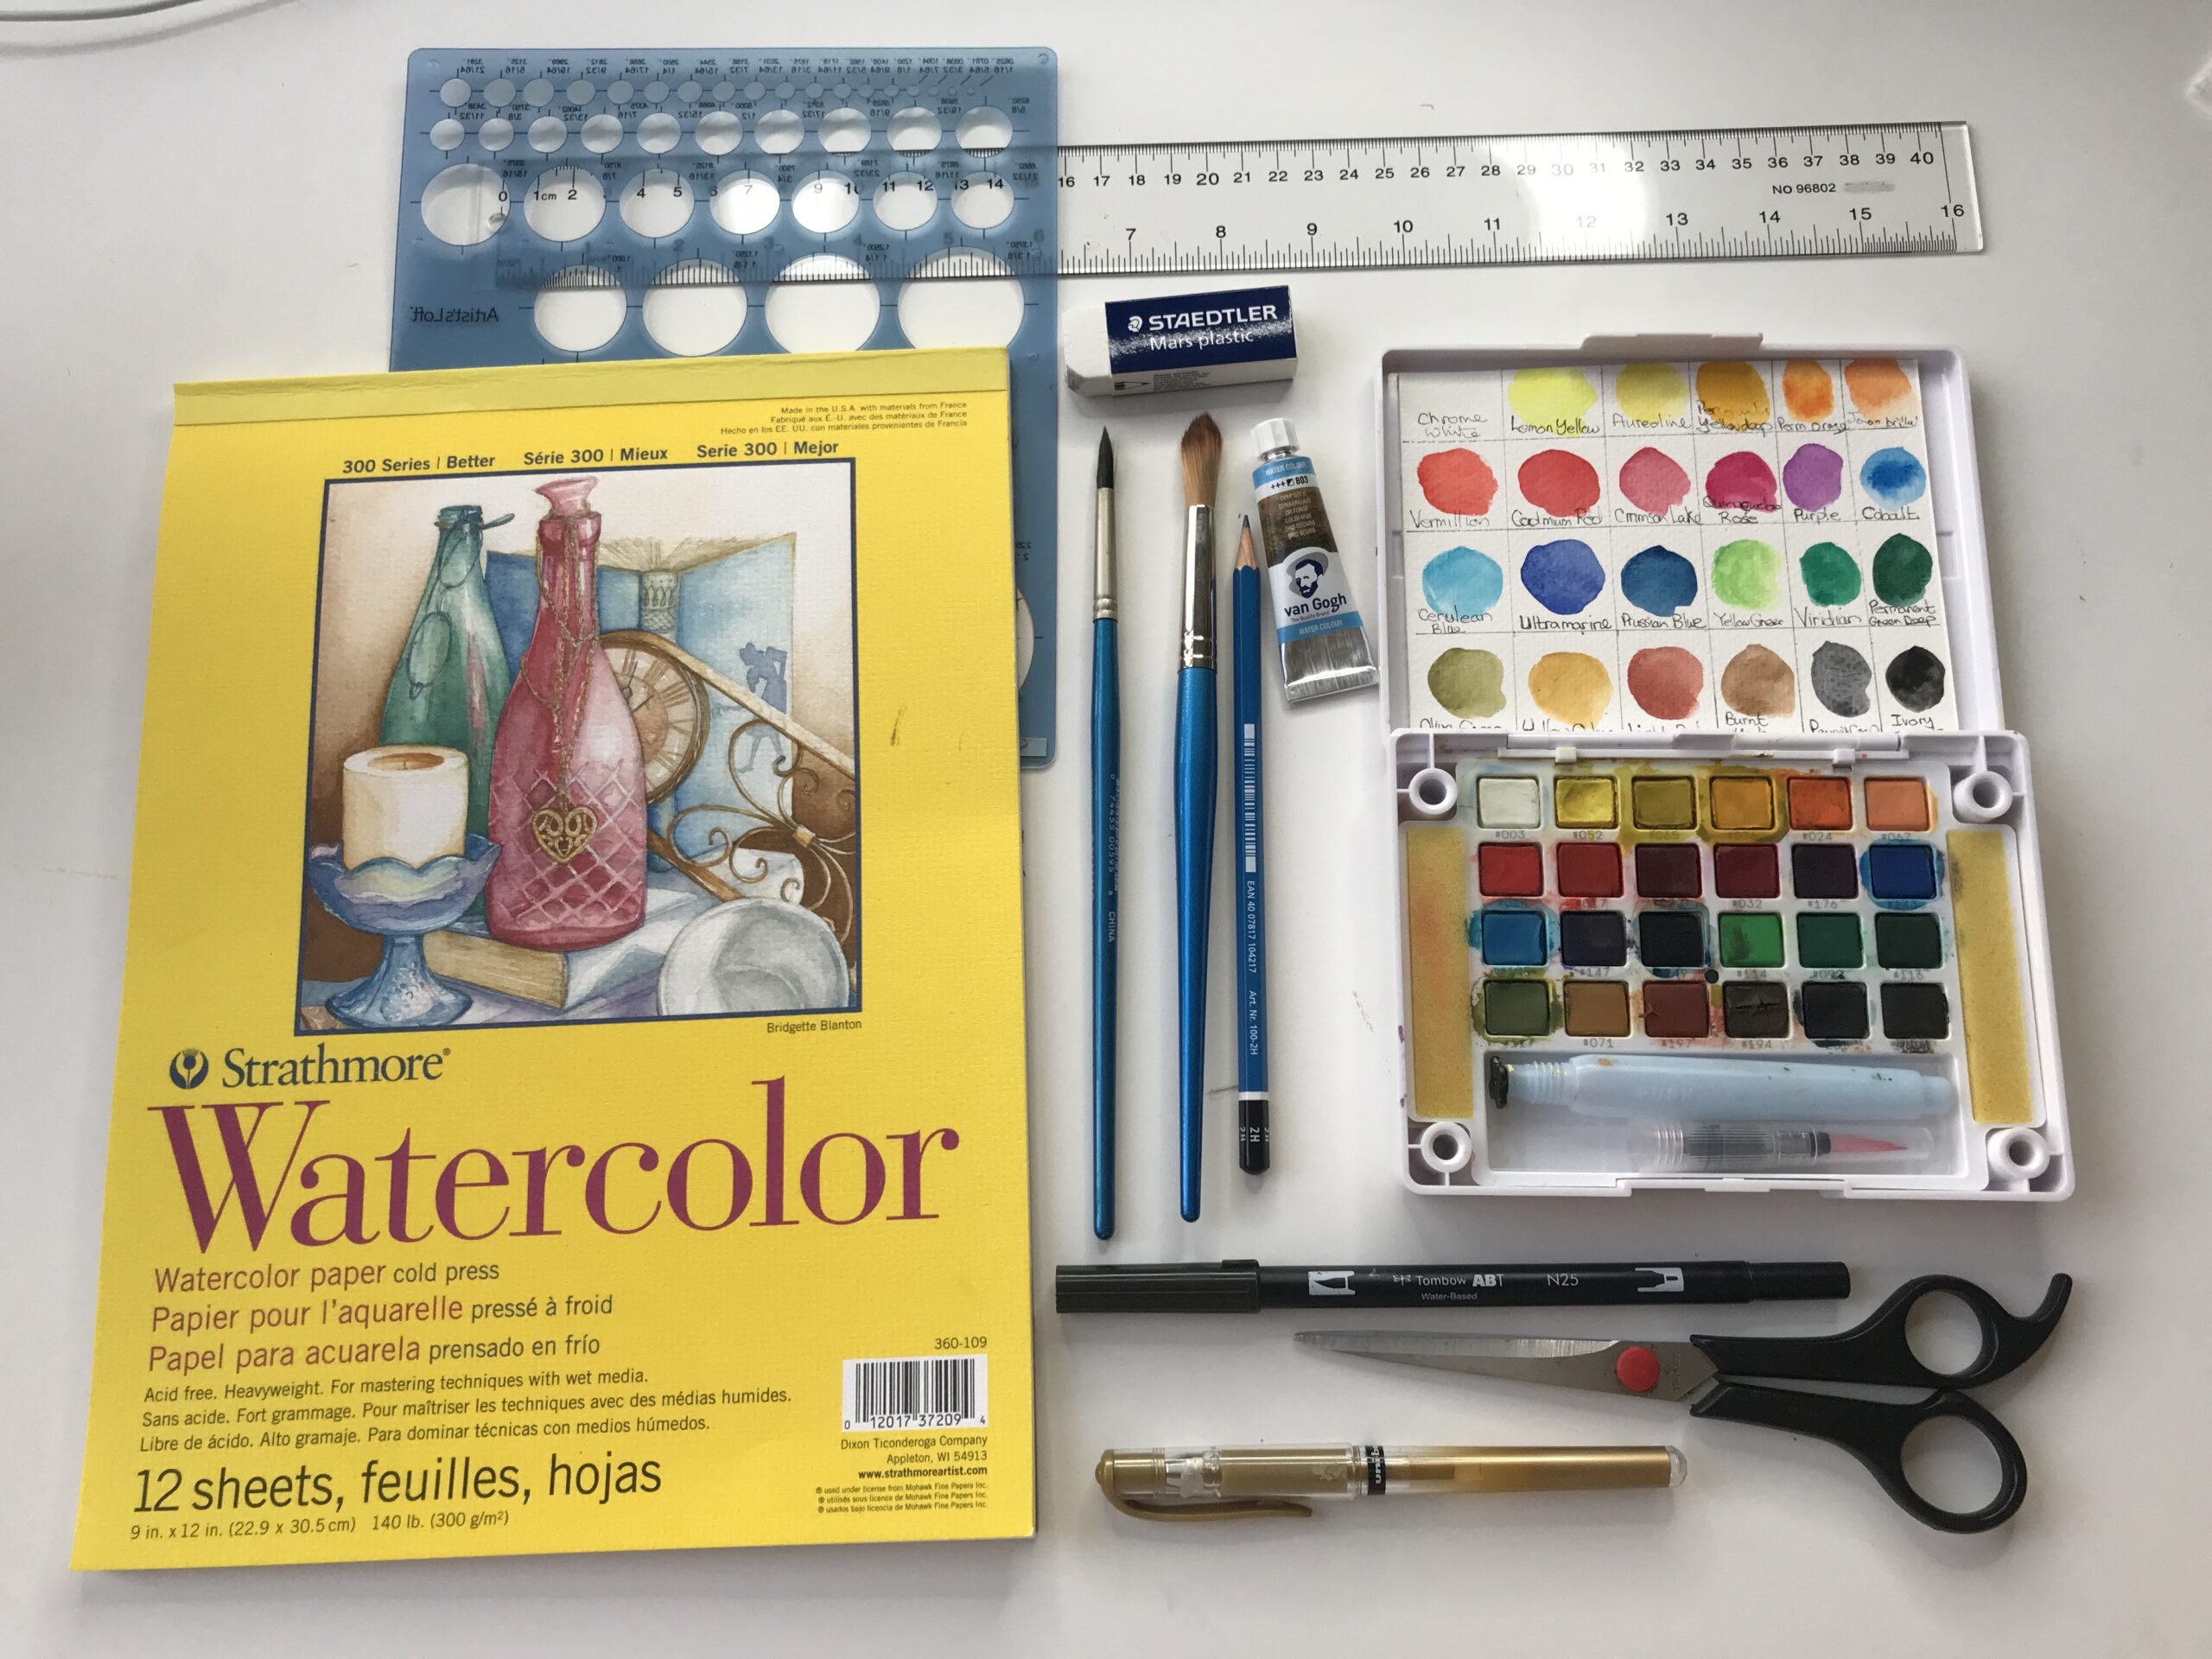
The main supplies I used for this artwork are:
- Watercolour paper.
- Sharpie pen and I have one of these retractable ones plus one of my daughters used to work at Starbucks and they introduced us to the Sharpie that a retractable with your super for artists because you don’t have to keep https://amzn.to/3wjtqiIputting the lid back on and off it’s much quicker to work with.
- I’m also using a 2H pencil just to throw the outlines of some circles
- A circle template which I’m use to draw the circles on the cards
- I also have an ellipse template that I’m using to draw the ellipse cards as well which will save it later on so
- I’m use the Sakura Koi watercolor paints which are pretty straightforward.
- Scissors or a paper cutter.
- Black marker pen.
- Gold gel pen.
- I have two round paintbrushes. One is just for the plain water so I’m keeping that clear because I’m going to be doing wet on wet. I use the second paintbrush for the individual paint colors.
You Have What You Need
Don’t feel that you have to have all of this equipment and if you don’t you can’t do it. Use the supplies that you have to hand. You are an artist that’s why you are here. Get your stuff out and let’s get started.
Step 1: Paper
So the first step is to cut your paper to the right size.
Because I’m using watercolour paints I’m actually using watercolour paper here and I’m using a paper cutter, but you can use scissors.
You want to cut your papers to be 2 ½” x 3 ½” or 62 mm x 90.
Example
For this example, we’re going to be doing three artist trading cards so you need to cut at least three papers.
They have to be the right size although very often artist trading cards are made in series of 12 and because you’re really going to be signing them on the back later on as we will see.
Step 2: Design
Circles
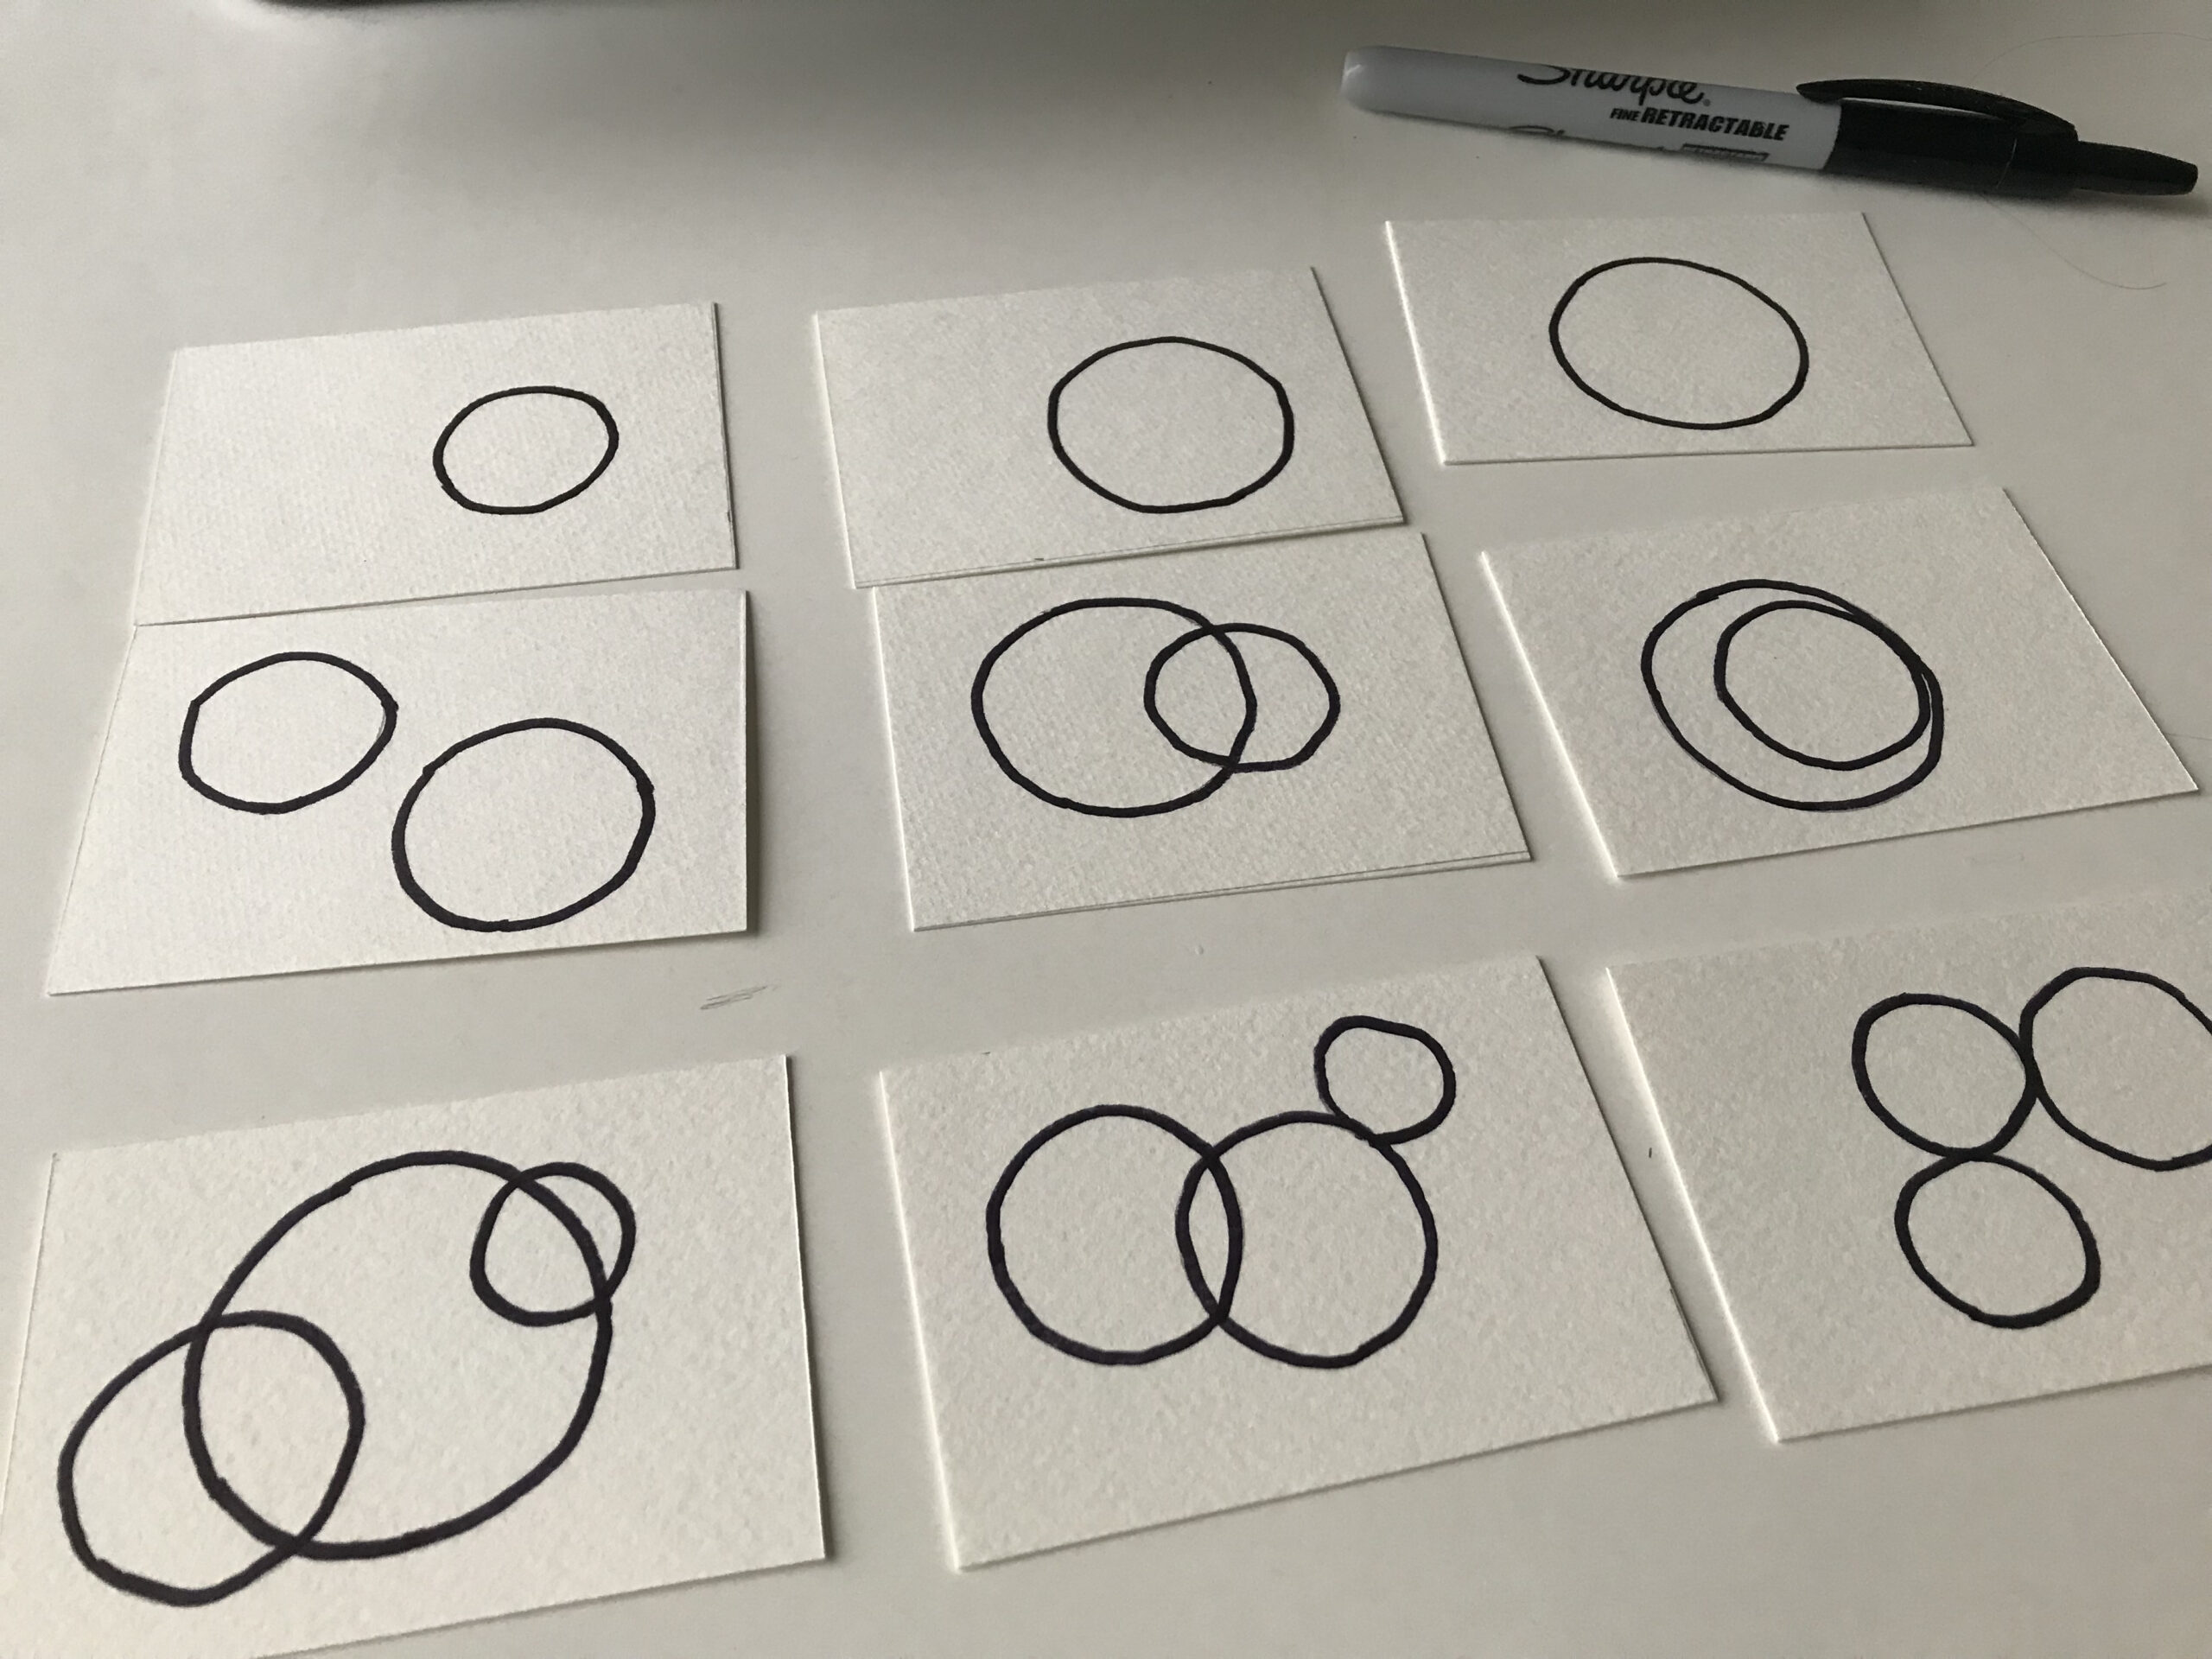
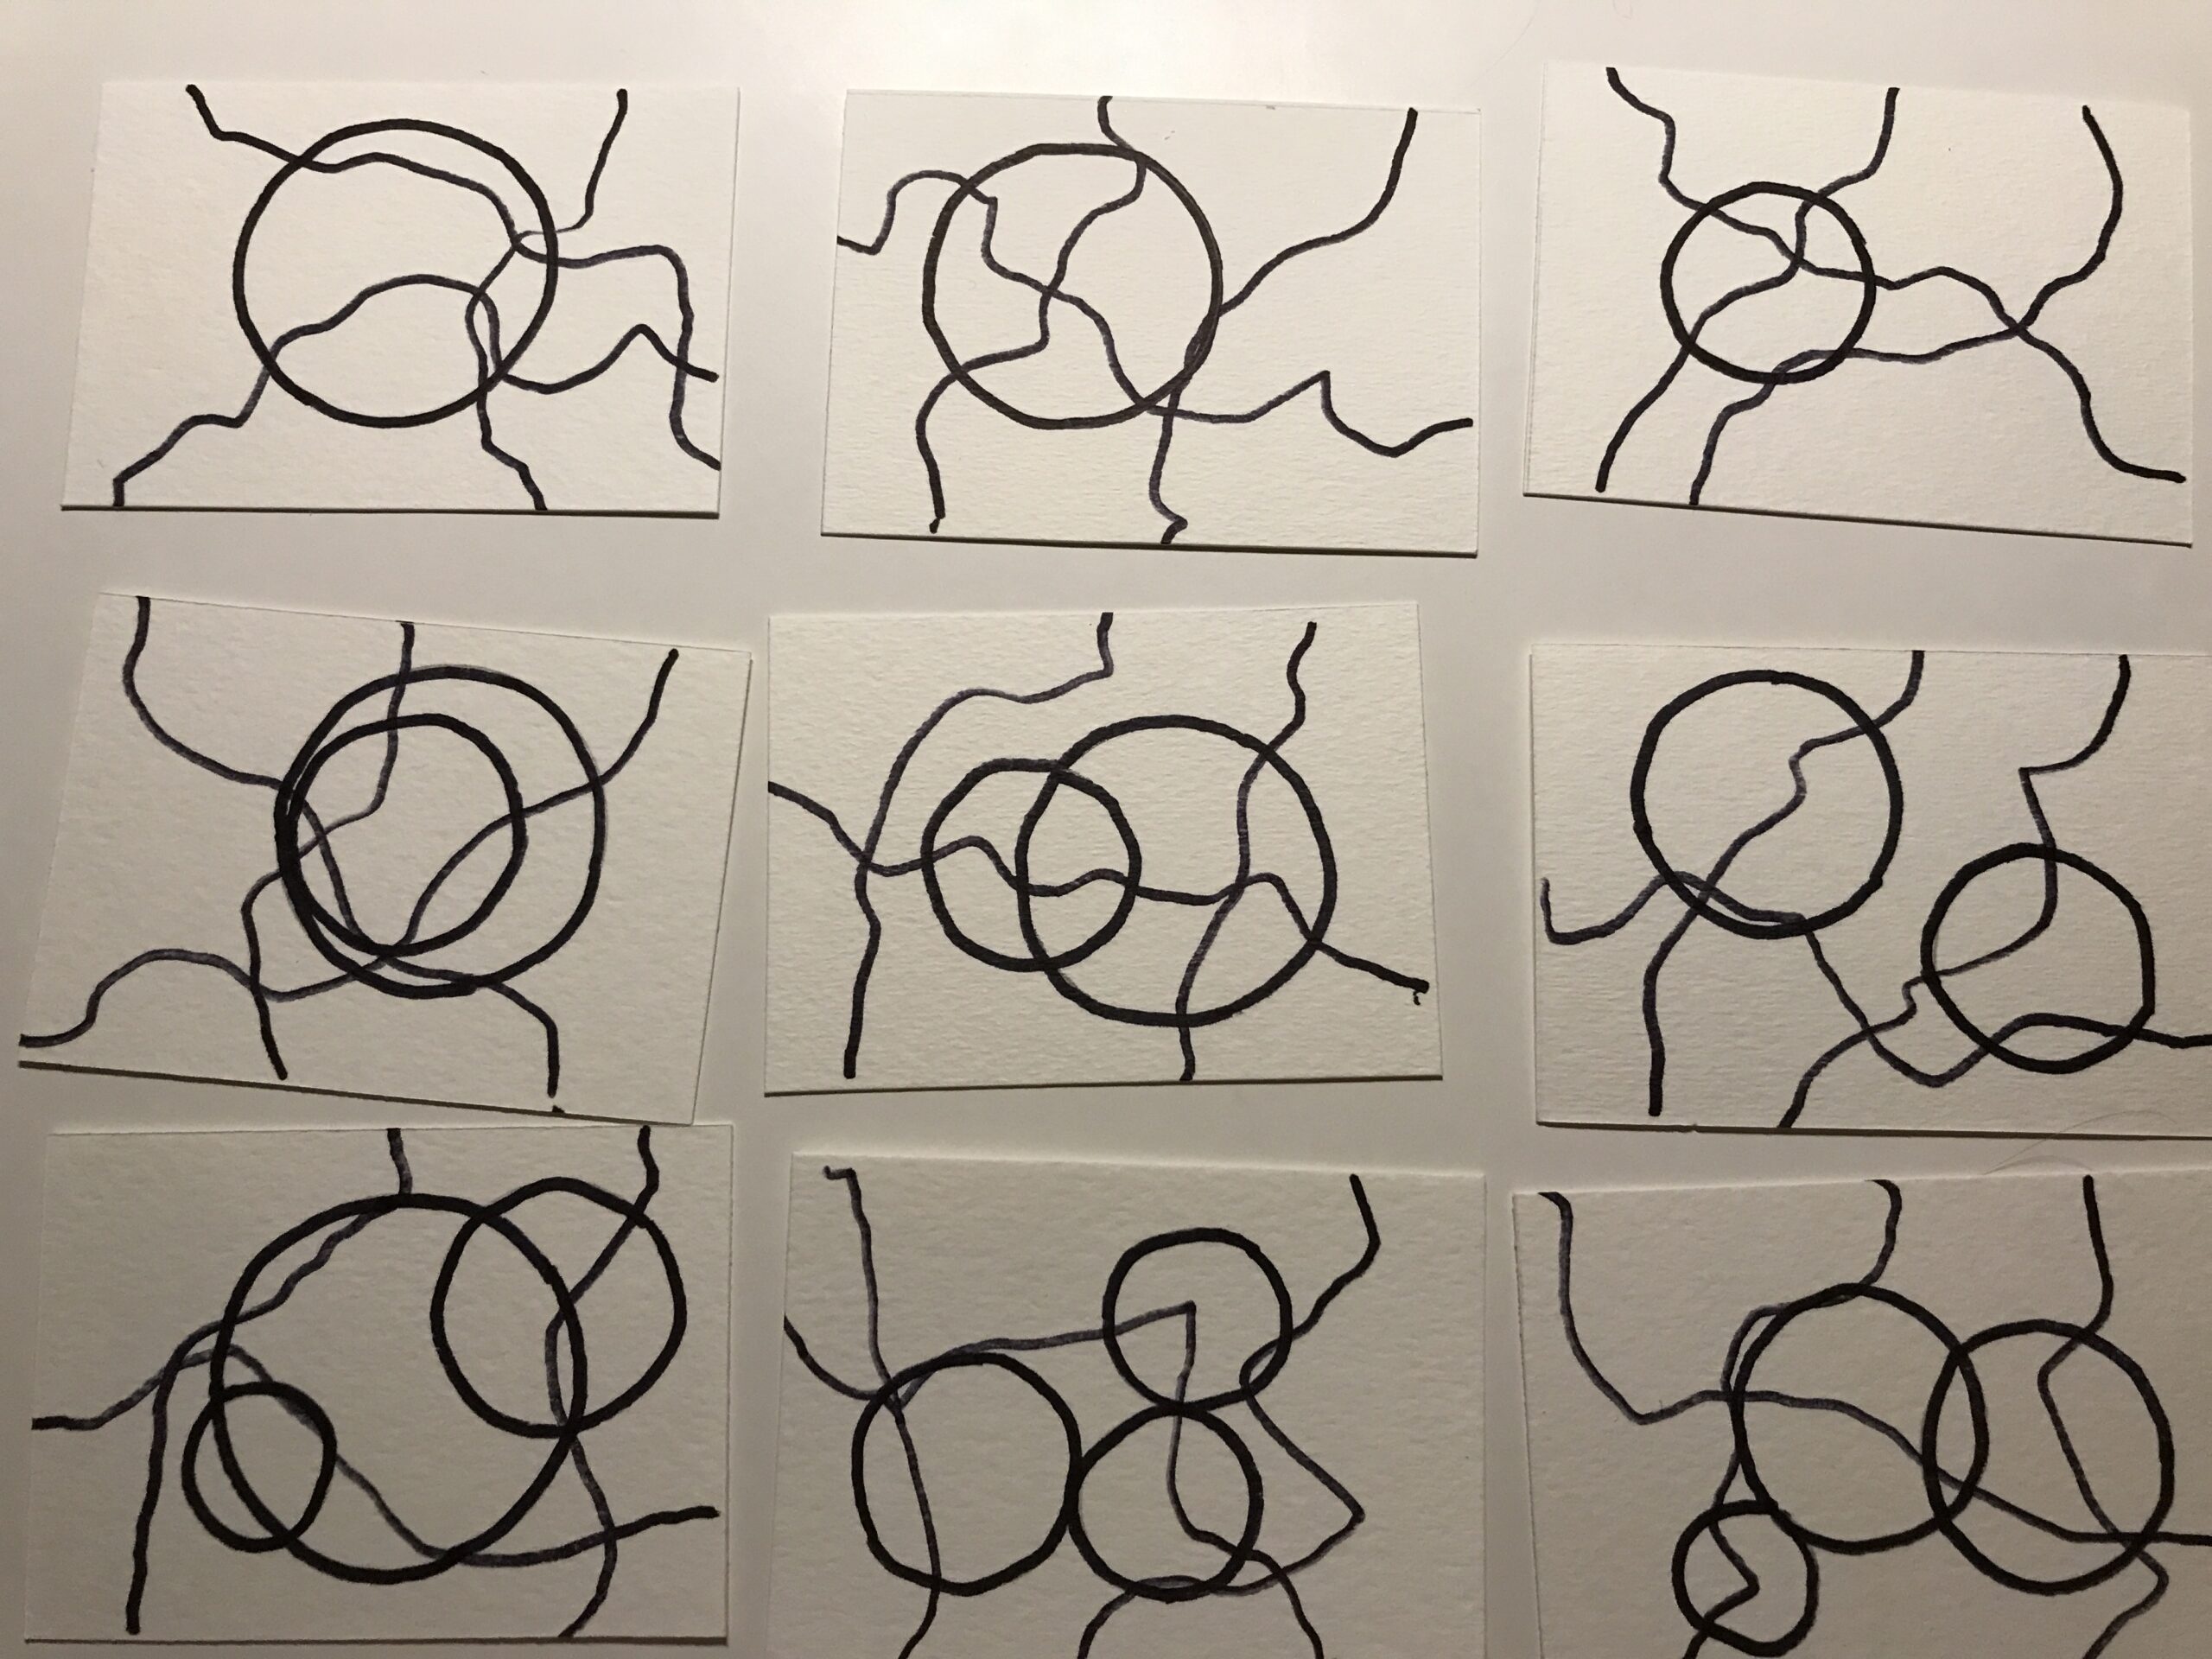
For this design I’ll be using my circle template and my 2H pencil to lightly draw different size circles onto each of the three papers.
On the first paper I will draw one circle, on the second paper I will draw two circles of different sizes and on the third paper I will draw three circles each with a different size and two circles overlap for interest.
I take my black sharpie pen and go over the circles.
It doesn’t have to be exact near enough really is good enough for this art.
Complete the whole dozen with four with one circle, four with two circles and the final four with three circles.
Neurographic Lines
Now we’re going to be drawing some Neurographic lines onto these pages. Put the pen in your non-dominant hand and by that I mean if you’re right handed use your left hand and if you’re left-handed use your right hand.
Hold the pen lightly and draw a line from one side to the other trying to make it wiggle, although you could do curves if you wish. It is important that you go from one edge of the page to the other and ideally you’re going to try and touch one of the circles as you go through an end on another edge. That’s your first line.
Now we’re going to draw the second line. Choose another side of the page that you have not drawn from and draw another neurographic line across the page and exit on a different side. At this point you’re going to draw your third neurographic line and again you want to come from a side that you may not have used, so you were going out from one side maybe connecting.
Choose to pass through one or two of your circles and then end at the other side. What you have now is a circle with one, two or three circles on your page and three neorugraphic lines.
Explore more >>> Beautiful Quotes with Neurographic Art
Explore more >>> Neurographic Art Basics
Smooth Connections
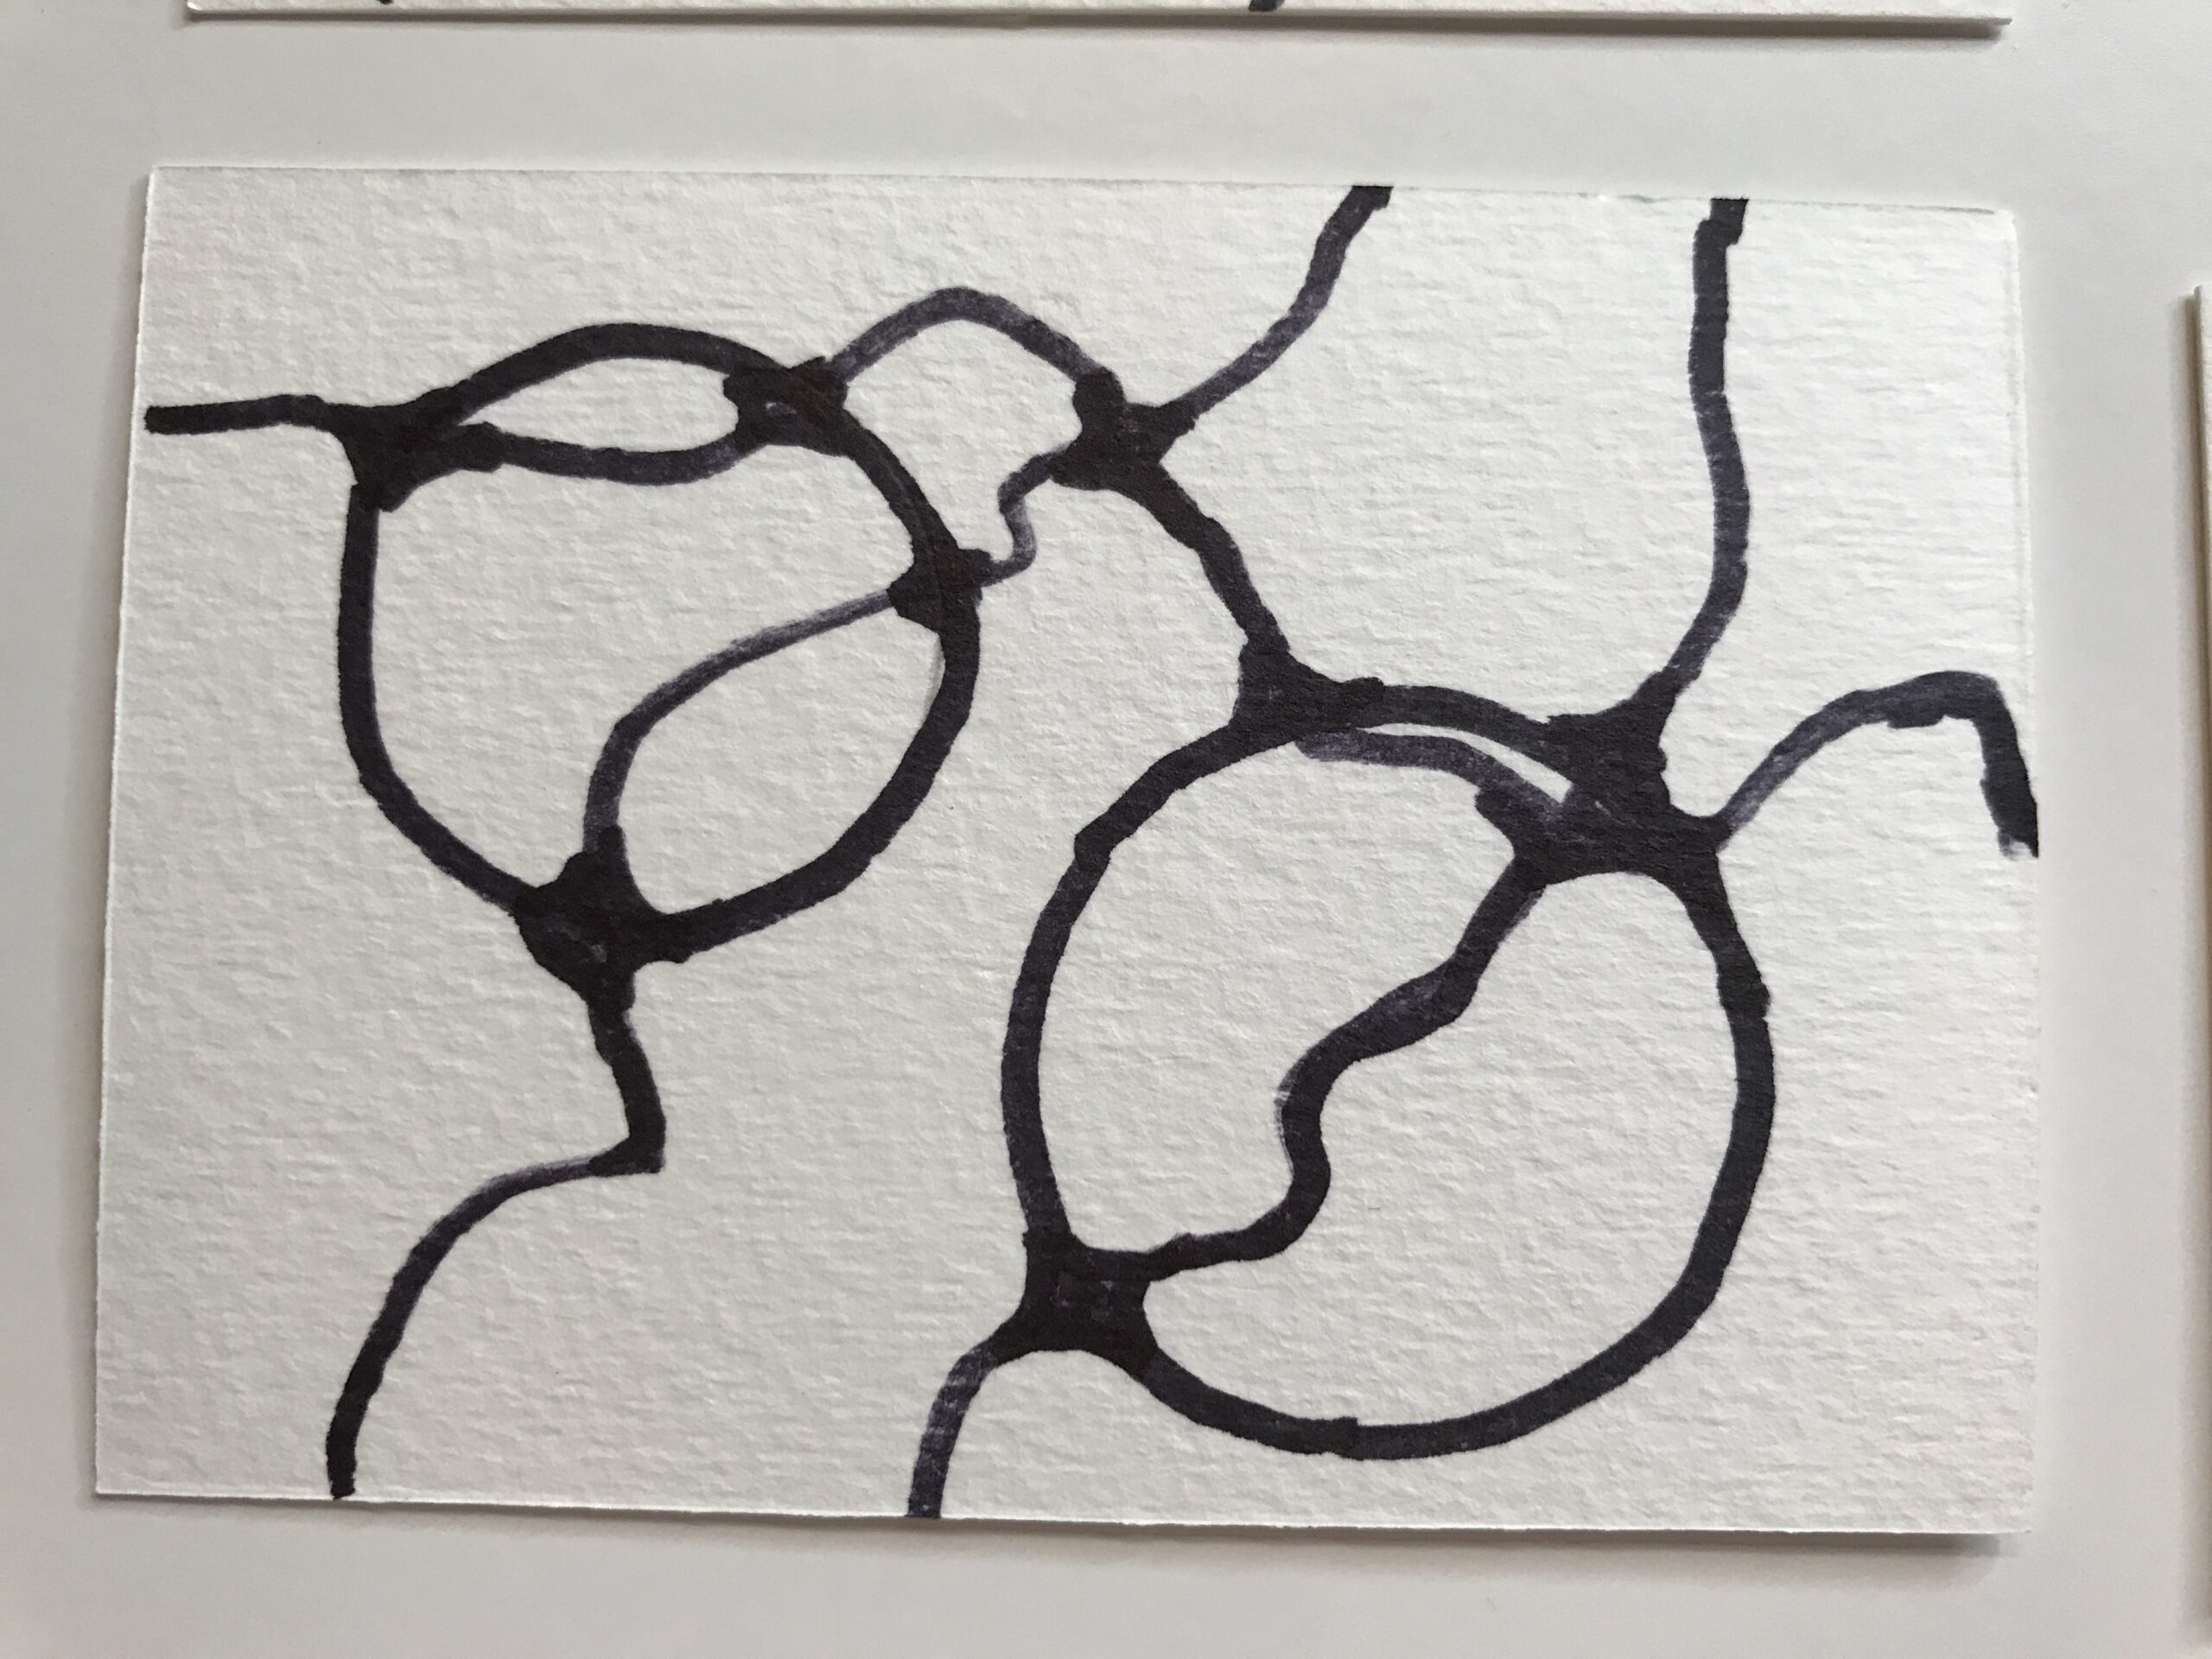
The next step is to curve out every intersection or connection on the page. Take your pen and gently describe curves at all the harsh intersection so there are no hard intersections.
Soften each of the curves this tends to create blob shapes on the page. Take your time. This is the meditative part of it as well. Continue slowly and smooth out all your connections.
At this point you can make some of your lines a little thicker if you want to as you join them in from the connections. You may find that because there are multiple connections which converge at one point that you have quite a big blob of black which creates these large connections as well which is great.
Composition
Take a look at your three artwork so far and see if you’re happy with the composition. Do any tweaking if you feel you need to. Let your instincts be your guide.
First Color: Green
I have a the light green mixed. Using my water only paintbrush I’m going to lay some water into one of the shapes on the artwork because we are working on one of the blobs at a time.
I put a little bit of water into that one block, but not too much water, because I haven’t actually stretch the paper because it is such a small artwork. Using my color brush, I dab in some of the paint. Take your time.
Then choose a second space to add more water and paint with the same green. Next I will choose a third blob space on the artwork, add water add add color.
Space it out
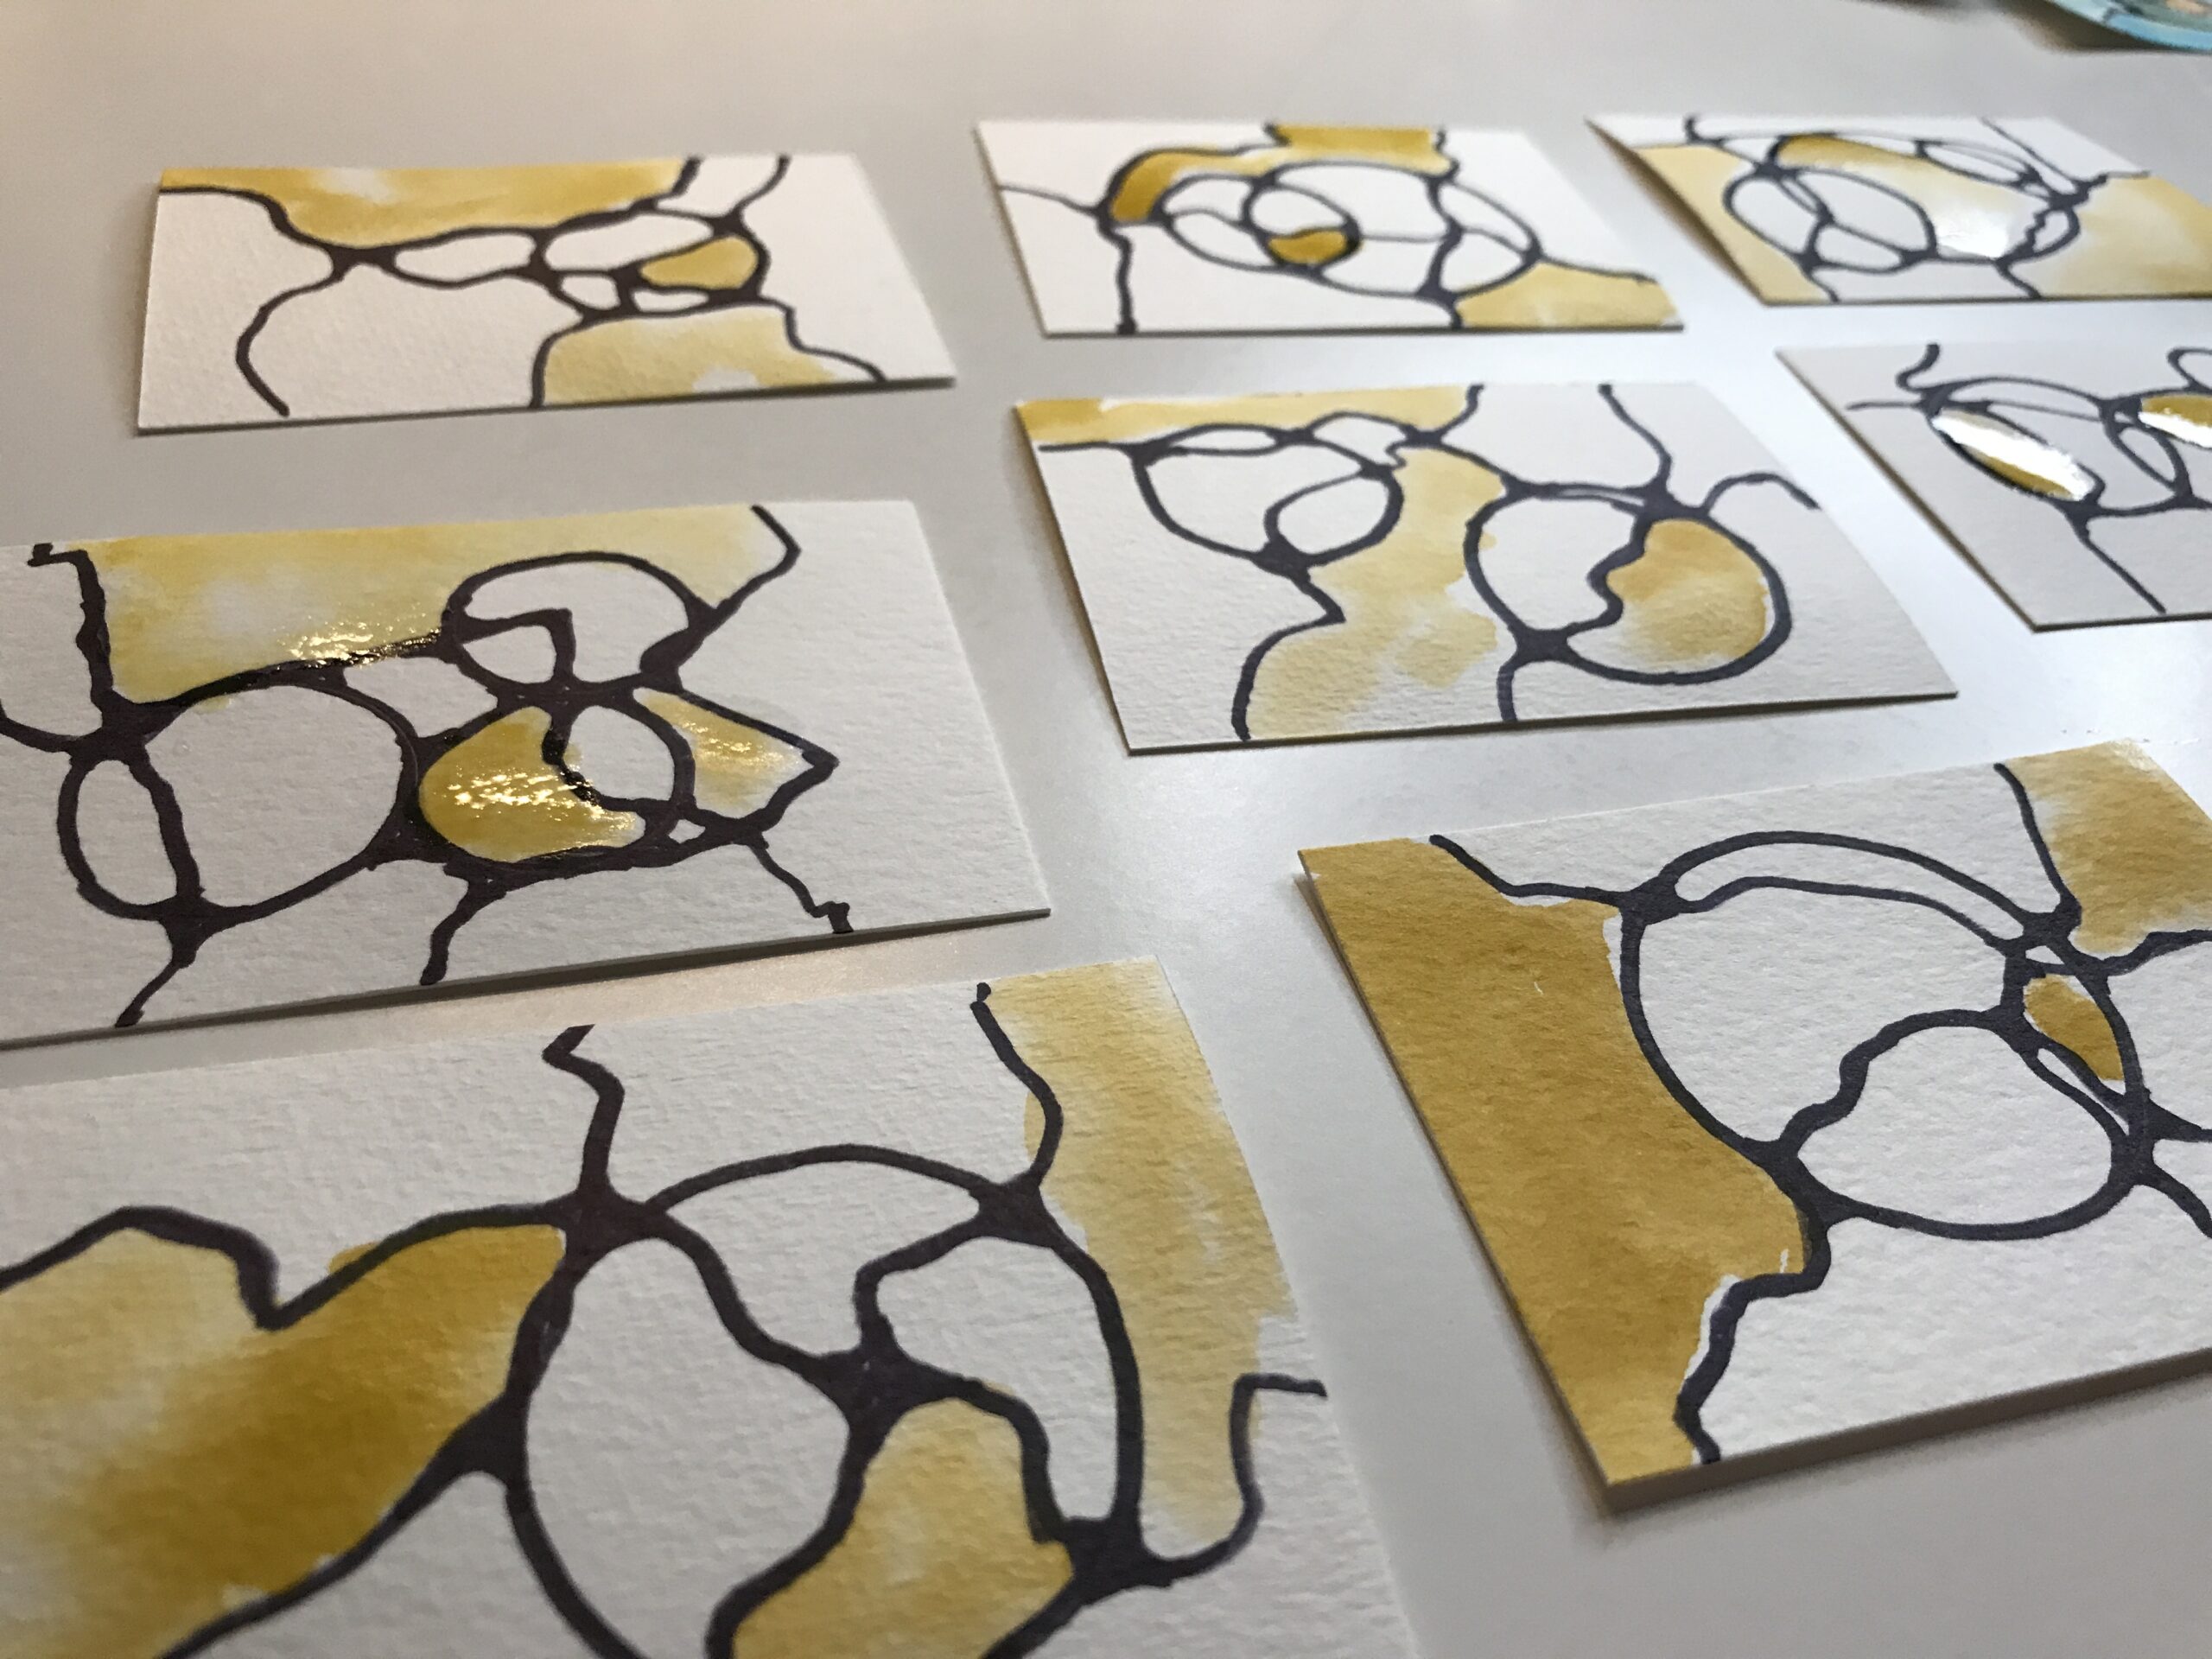
It is important to note that I’m not working on two blocks which are adjacent. I am specifically placing each color in three different areas on this artwork. I’ll put that aside now to let the first card dry thoroughly and move onto my second artist trading card. Again using the same green I’m going to come in and colour in three of the blobs. Continue onto all your cards painting in three areas of green.
Second Color: Blue/Grey
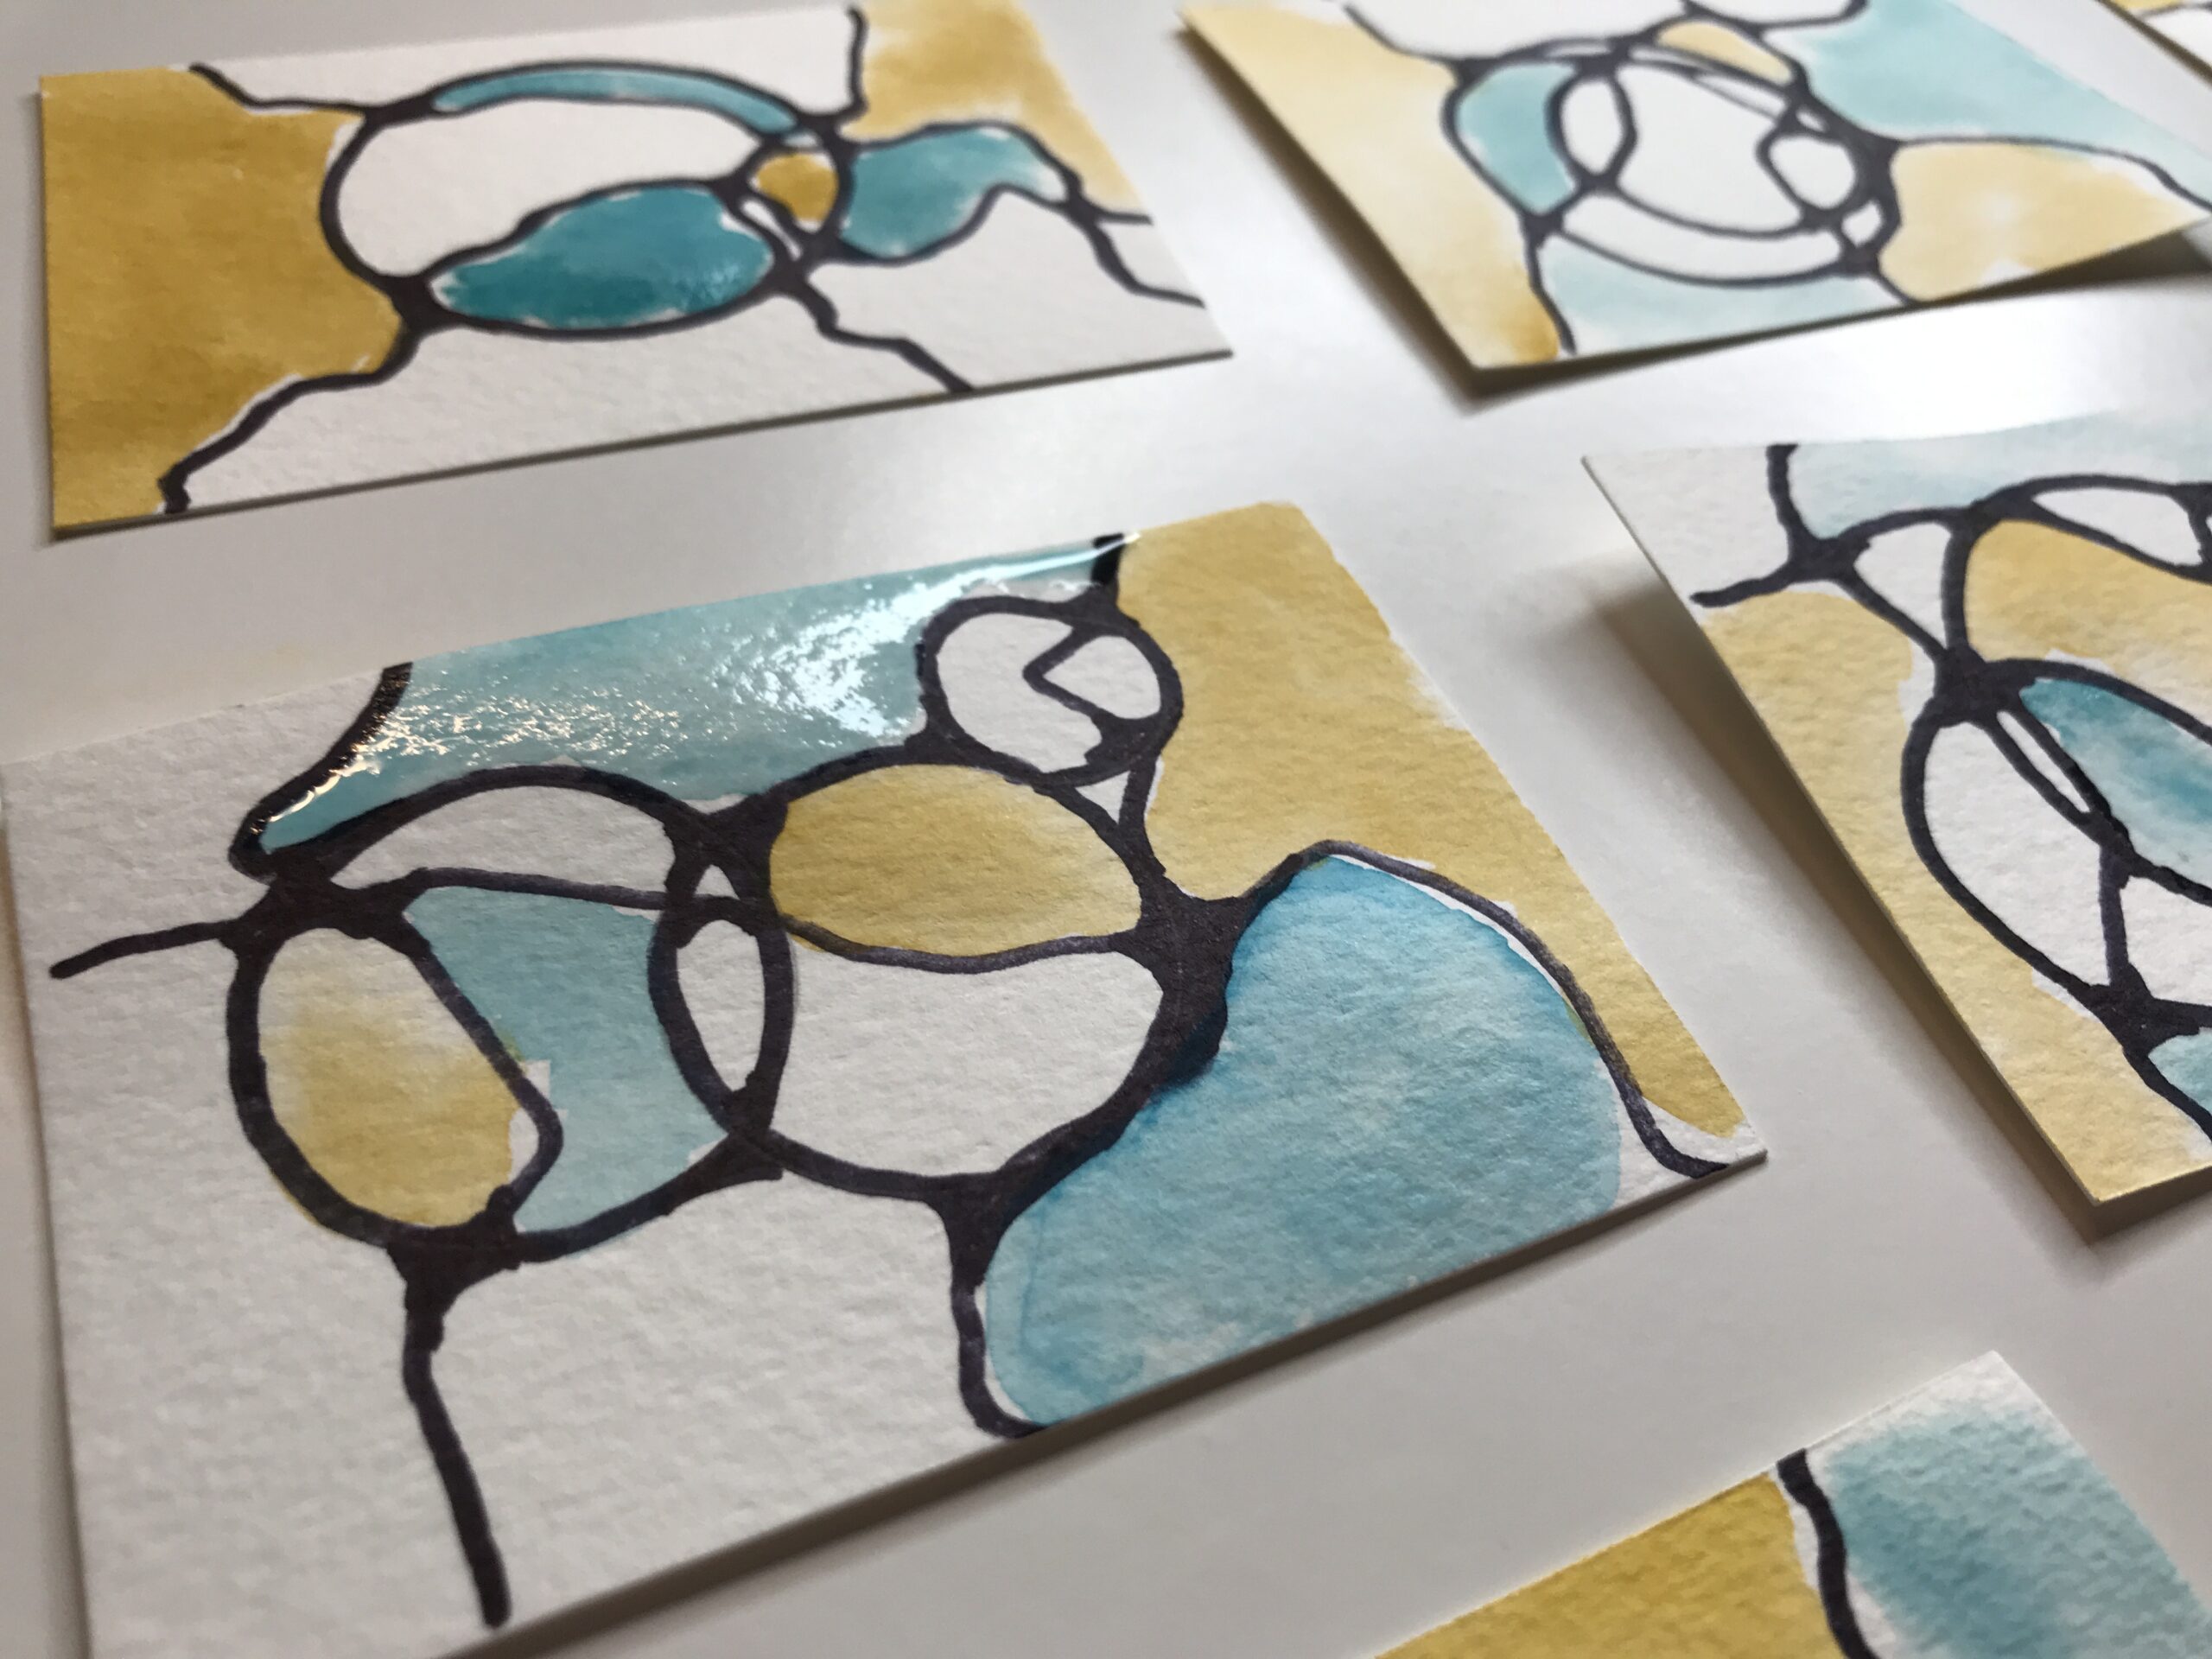
For my second color I’ve mixed up some Prussian blue with a dab of Payne’s grey. I mix these two colors on my palette and I’m ready to go again.
With the art completely dry, or moving to an area that is not adjacent to a wet one, I lay water down into one of the spaces and add my blue grey paint.
I will do a second section of blue paint using another area within the drawing. Finally, I will move onto a third area with the blue grey. Continue on all of the artworks so they’ve all got the blue in three areas on them.
Third Color: Olive
For the third color I take olive green and I mix it in with a little permanent yellow deep which I mix on my third palette. Once again, I come in with my water brush and then add color to three sections on each of my three artist trading cards. By now you’ve got a lot of the artwork colored in. At this point I like to step back a little bit and see how much of the white paper is left.
Gold
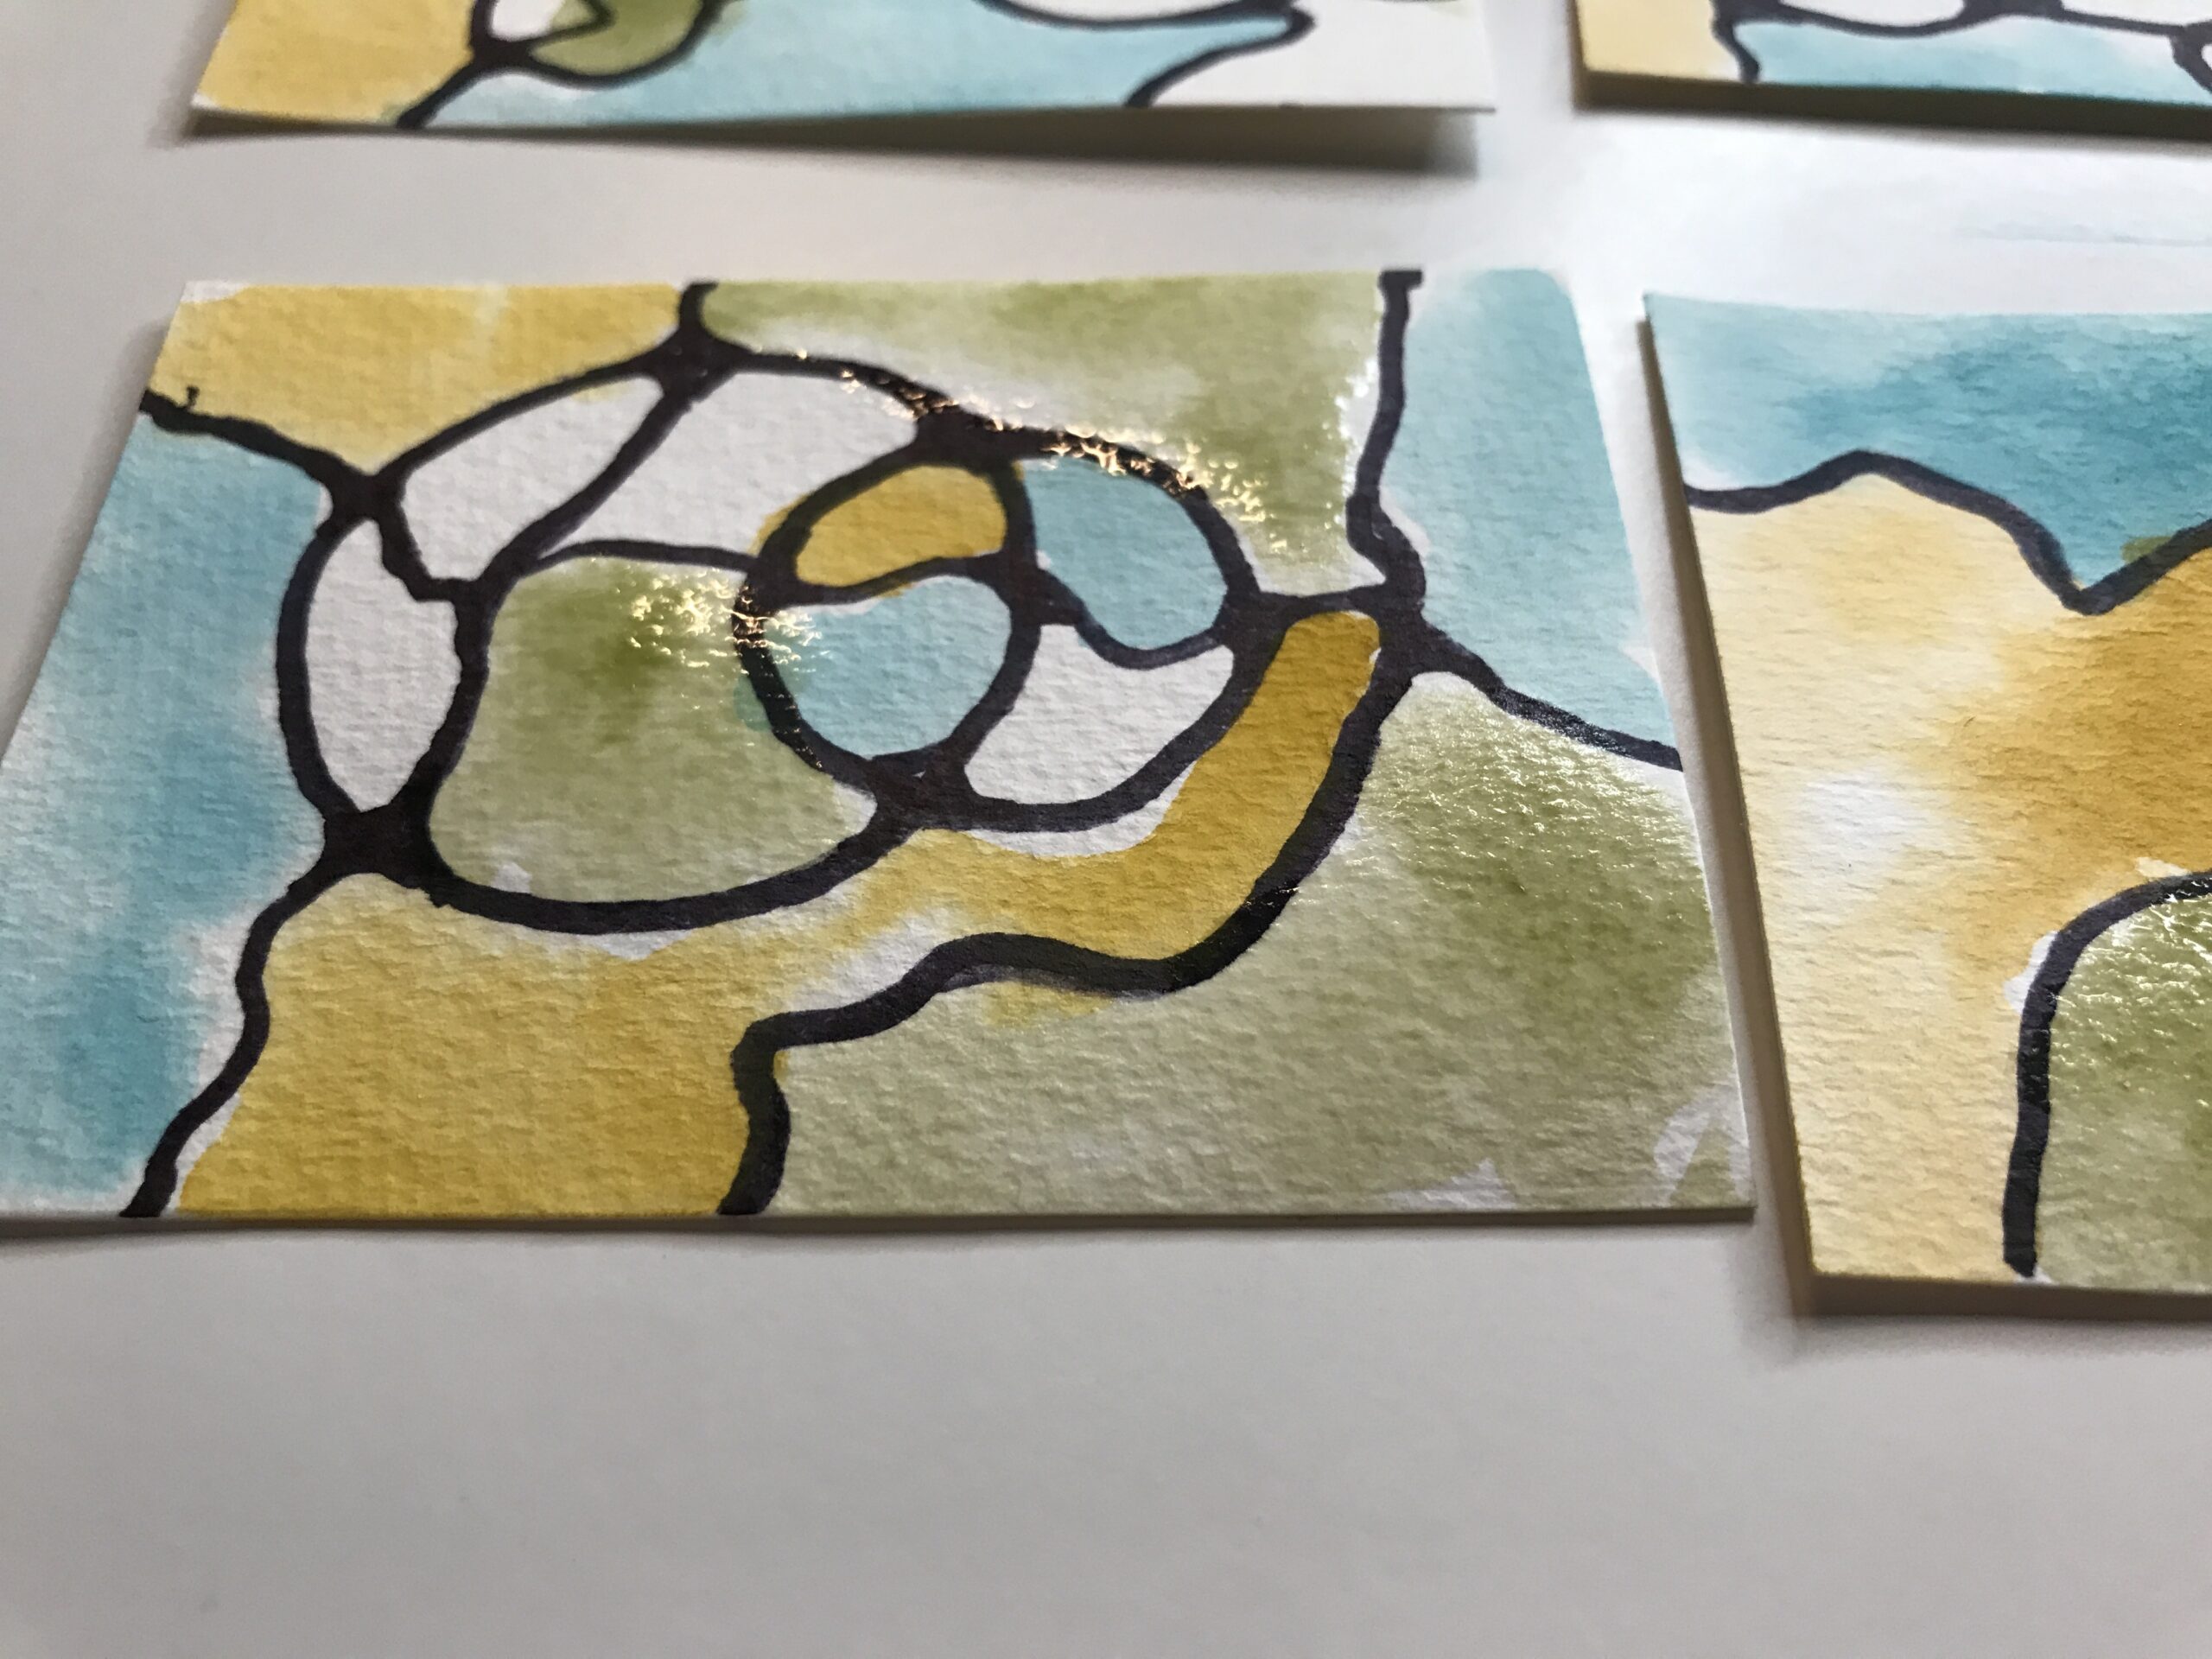
I decided to add some gold at this point as I only had a few empty spaces left. This is a gold water color paint I’m using the van Gogh ancient gold and I do want to mix the paint thoroughly with water before I use it. I dabbed some of the gold directly onto the paper, without adding water to the page first, just to add some shimmer into some of the areas.
Embellishments
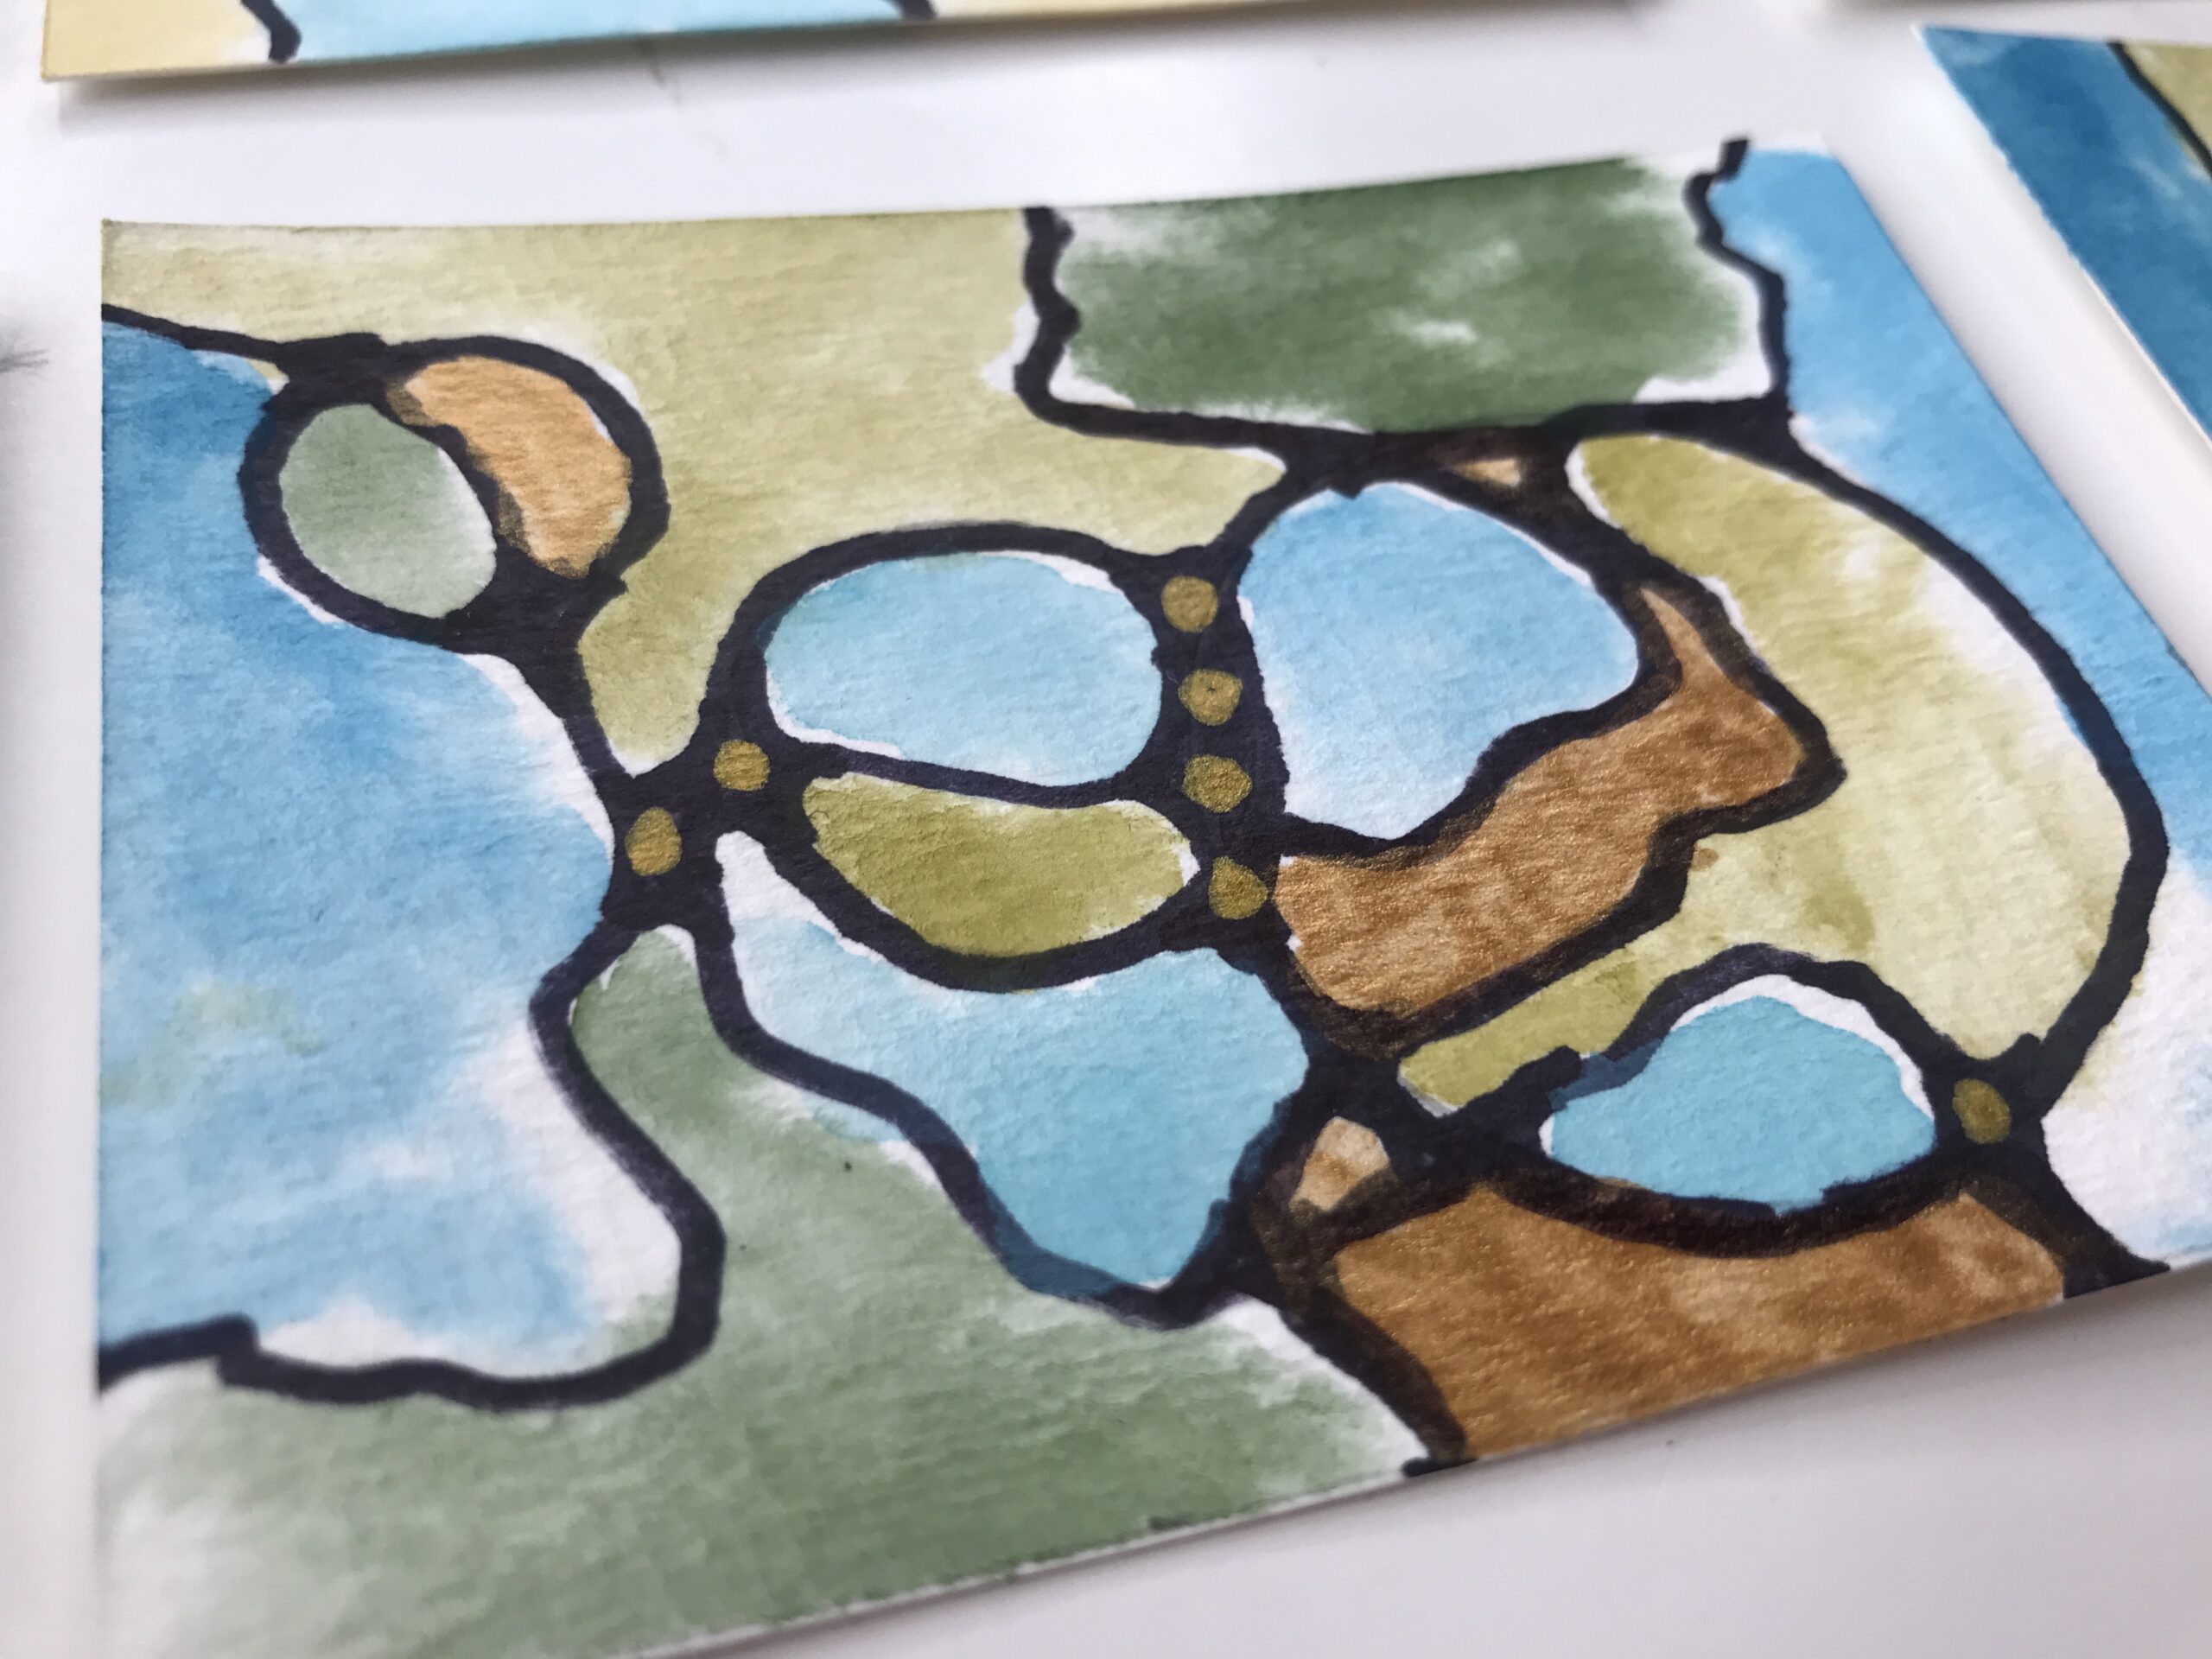
I allowed all the artworks to dry thoroughly. Now it is time to consider putting on some embellishments. Embellishments are often used in your neurographic art such as flowers, words or lines to add a bit of interest to the artwork.
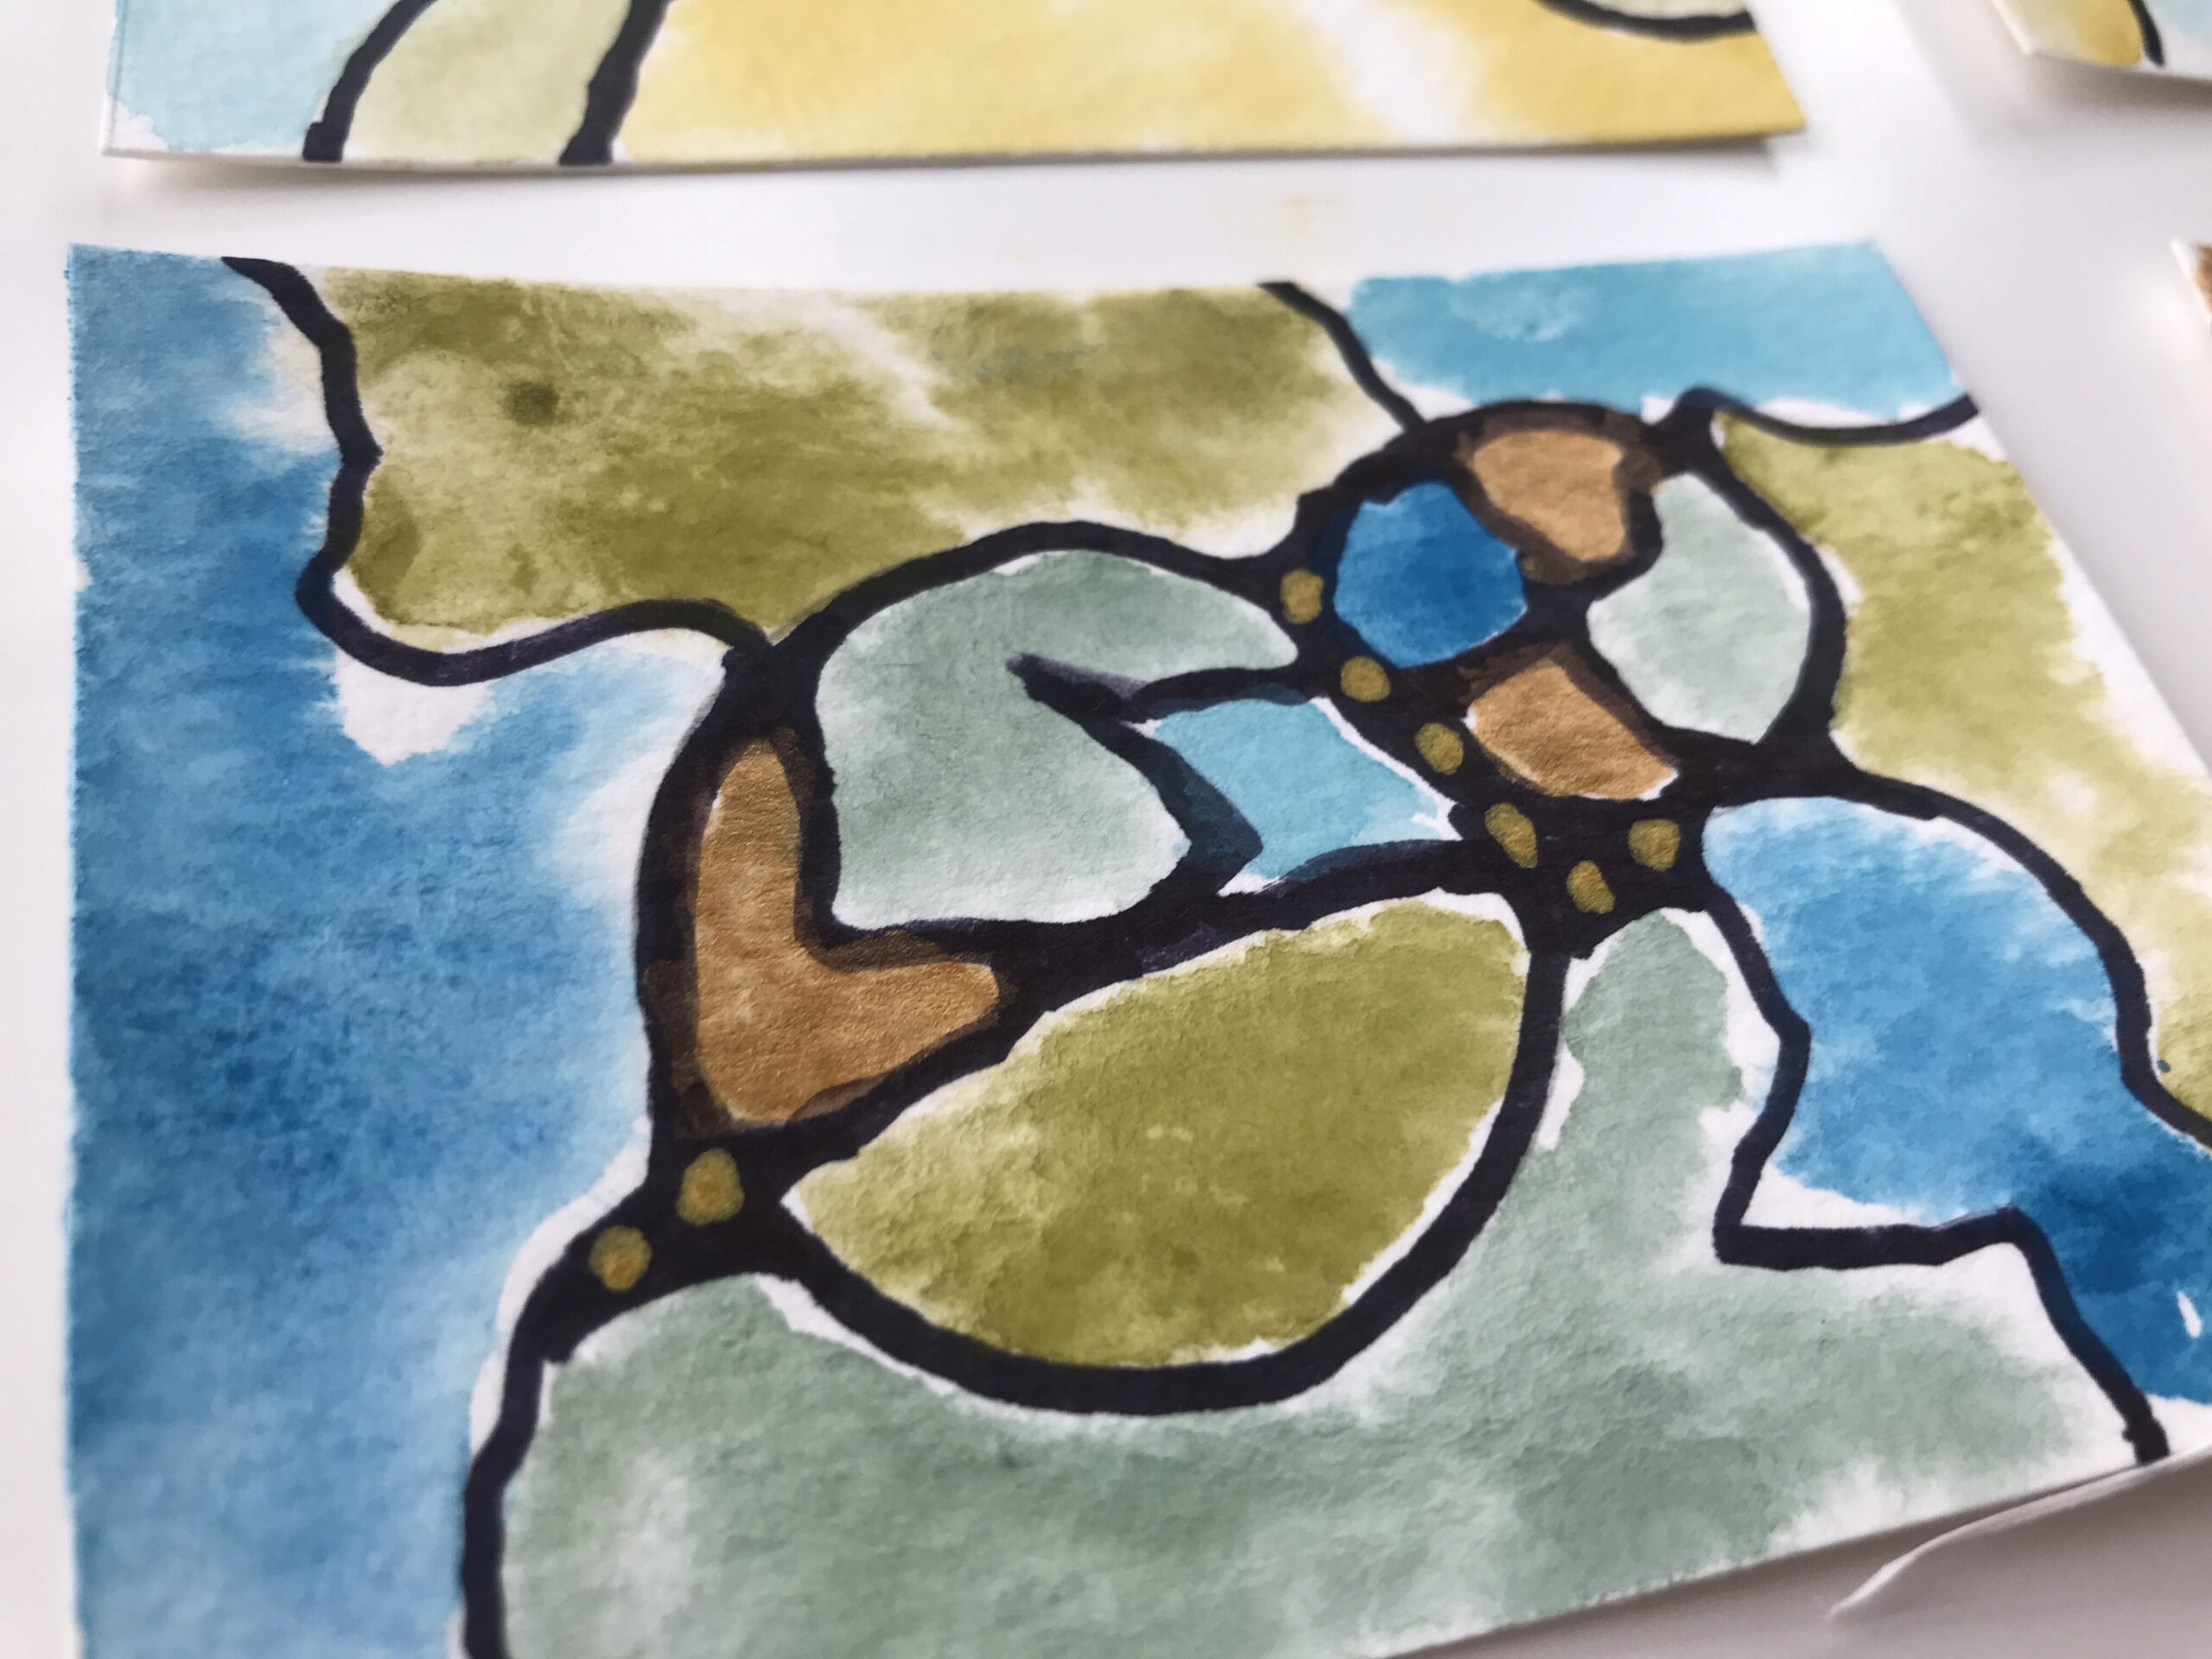
I choose to add some gold dots into the areas where my black connectors were quite large particularily where I had many intersections coming together at a hub.
I put three gold dots. You could at this point add some gold if you wanted or some extra blue if you desired to make some other embellishments on your artworks in the same colours that you used. The trick is to use a little bit of restraint because it can get overwhelming if you don’t know when to stop.
Flatten the Paper
Because I didn’t stretch the paper beforehand, and as I’m using watercolor paint, the paper has buckled and crinkled. One way to make a paper lie flat again is to place it, when dry, under some heavy books overnight. The pages will come out flat-ish which is good enough for me.
Artist Trading Cards: Add the Info on the Back
As these are Artist Trading Cards, and you are probably going to be handing them out to people, there is specific information to add onto the back.
Using a black fineliner write the following information:
- Series name
- Series number
- Your name
- Date
- Email or website
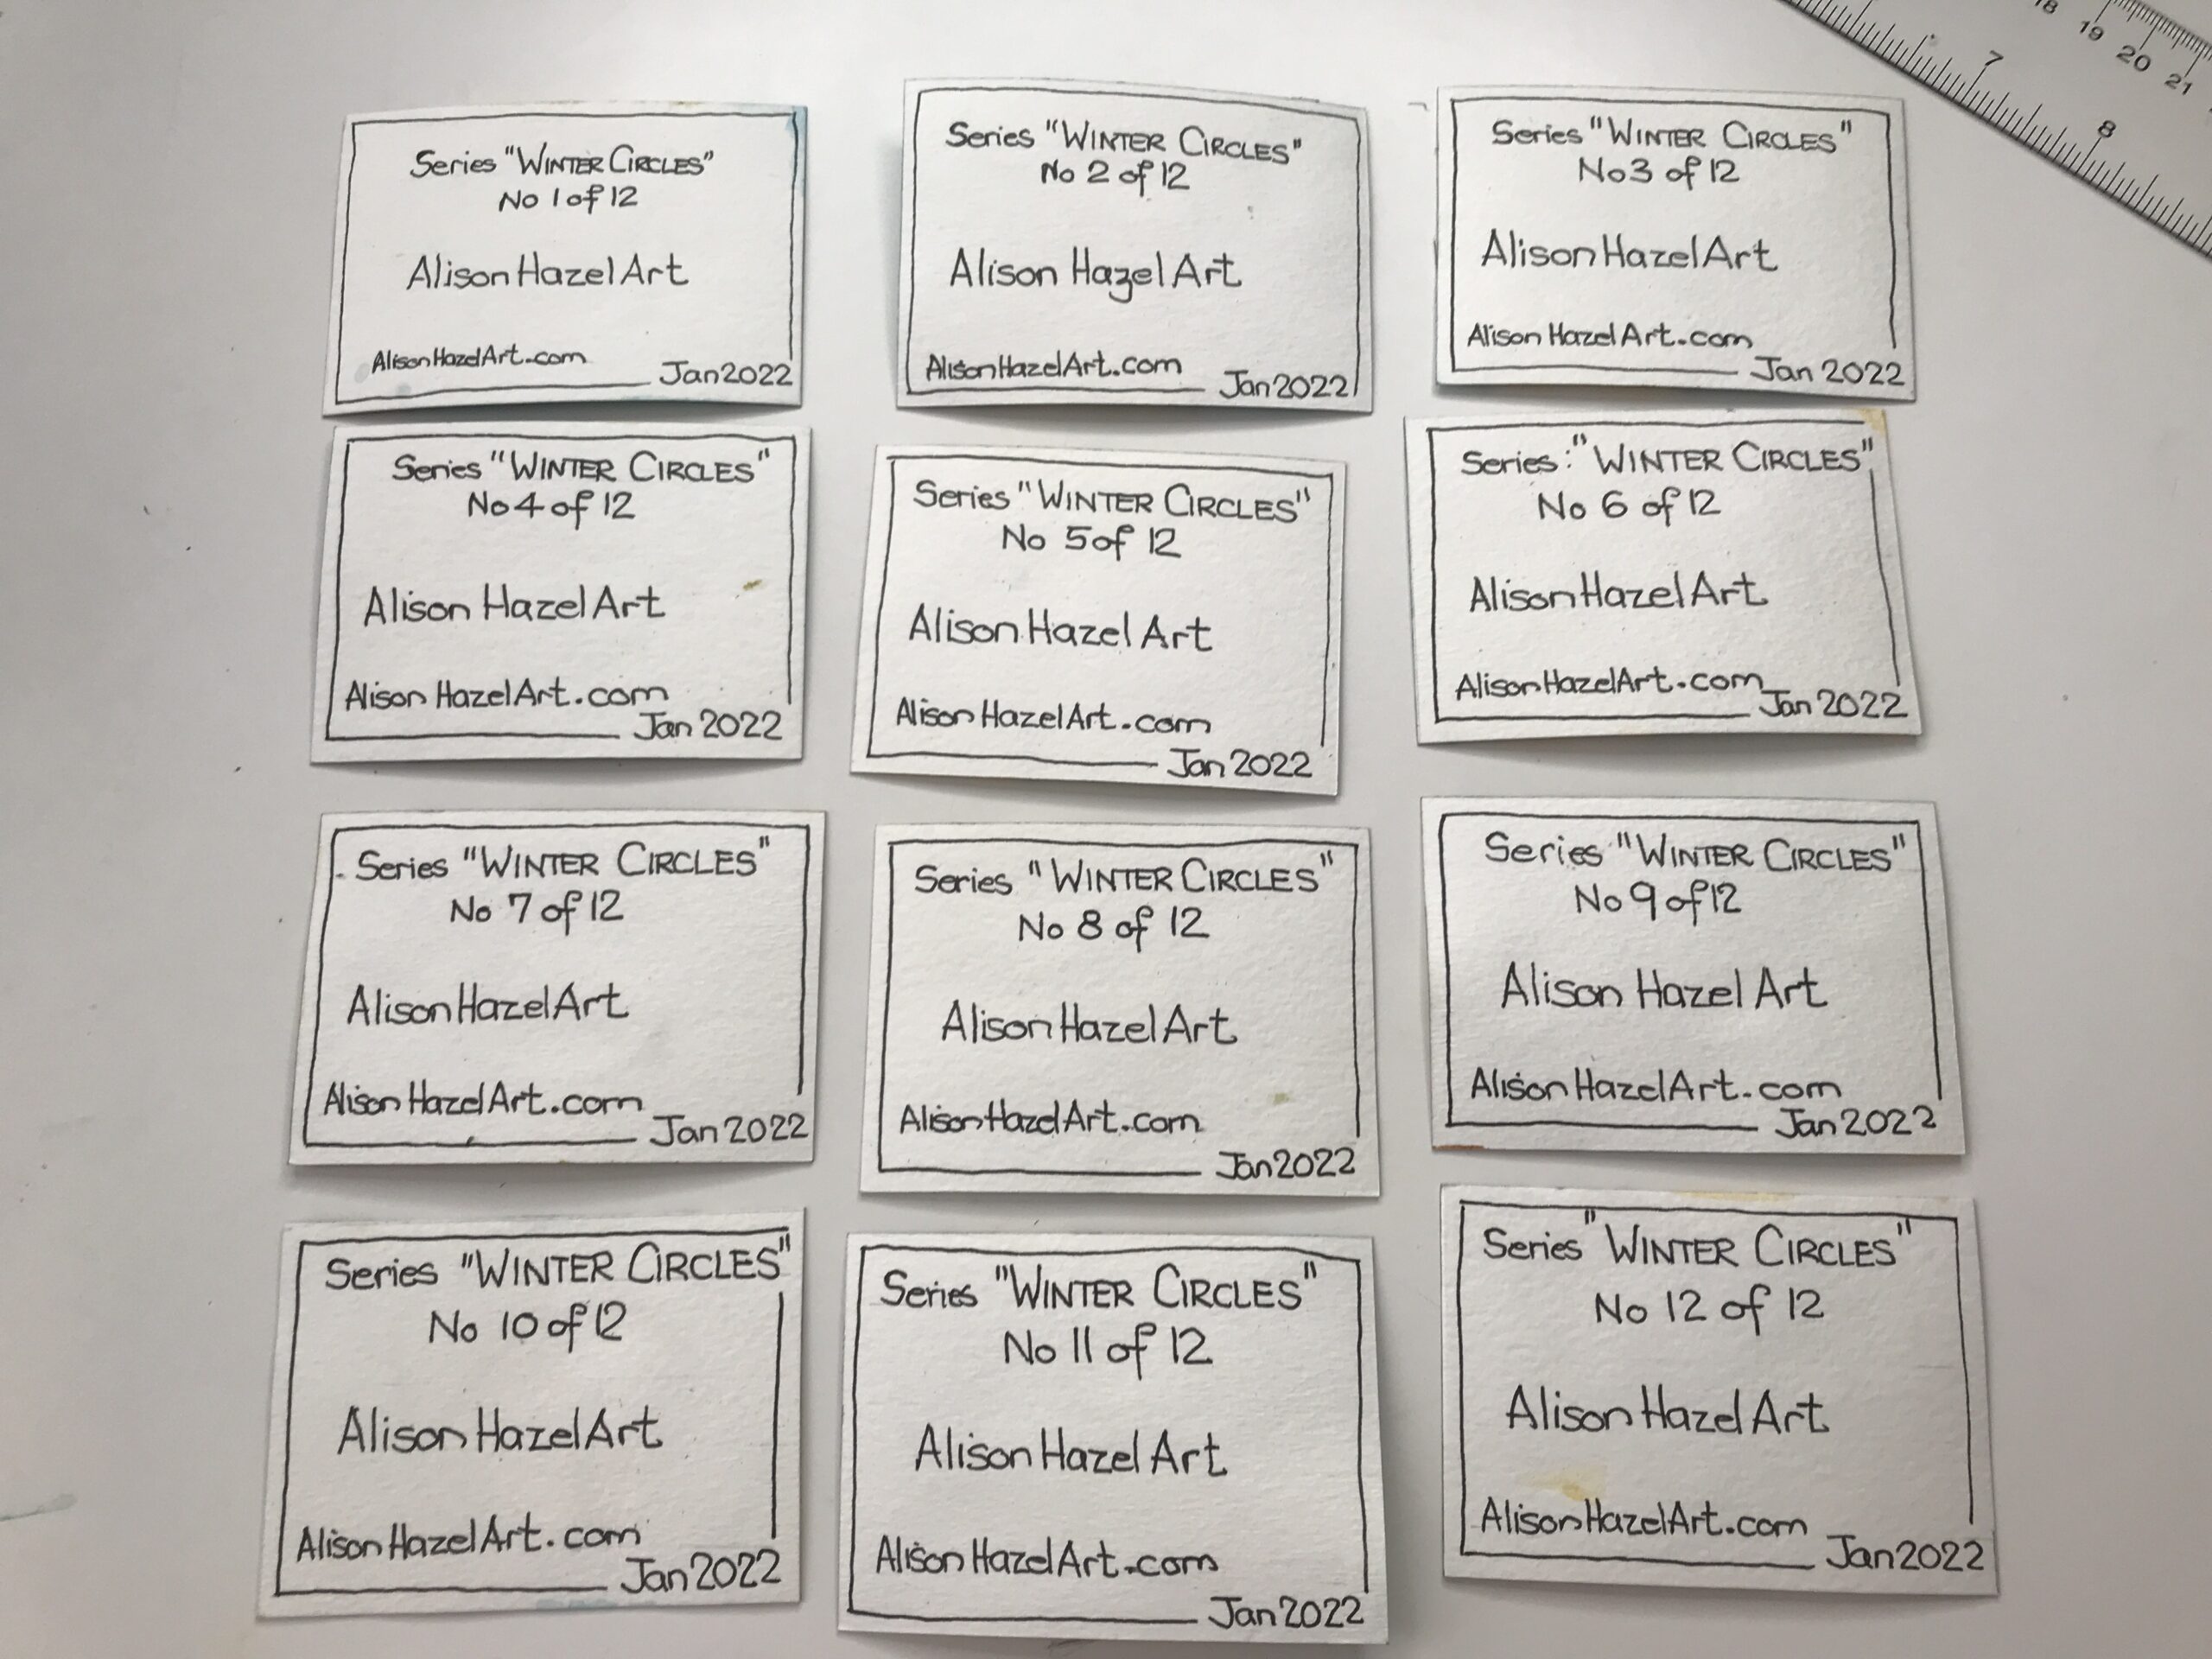
I used a 0.3 mm Faber Castell Artist Pitt Pen to write my information as follows:
Series: Winter Circles
Number: 1 of 12
Alison Hazel Art
January 2022
AlisonHazelArt.com
I also drew a thin line border around the cards.
Series Name
I’m calling this series Winter Circles mainly because I did it in the winter and it’s got circles however you may call your art series anything you like.
You could have called it Happiness Meditation or Friendship Cards or something like that. Your choice of series name goes back to the intention which you may have stated at the very beginning.
Numbering the Series
Typically, a series of Artist Trading Cards has twelve cards within a series and they are all similar and often made on the same day.
Each one of the 12 cards in a series will have a unique number.
The first card will be number 1 of 12, 2 of 12, 3 of 12 and so on until 12 of 12.
When you trade these cards with other people and give them number seven of 12 or number nine of 12, the recipient will know from your numbering system that it is from a limited edition Artist Trading Card series.
Date
I date the cards with the month and year in which they were created.
Contact Info
I always put my website URL on the cards, so in the future anyone can look at other artwork that I do and get to know me as an artist from there. I believe that you never know what your art hobby will blossom into. It is prudent to provide all your information on every artwork that you create, trade, distribute or sell.
Give Away to Family First
I will be keeping one Artist Trading Card for myself. I will send one of my Winter Circles Artist Trading Cards to each of my three daughters in the mail in the next letter which I write to them.
List Giveaway
I will send one of the remaining eight cards to the first eight people on my mailing list who respond to my email with the words, “Winter Circles Giveaway”.
This is a first come first served basis. You do need to be on my mailing list to receive it. You will have to provide your postal address as well. Good Luck.
If you are reading this way after the event then I’m sorry you were too late. To make sure not to miss out on art giveaways again, join my maillist here.
Aspiring Artist Activity
If you are an aspiring artist, please do the following:

- Design 12 cards.
- With a black pen draw some circles and a few neurographic lines.
- Paint or crayon the cards in a color palette of your choice.
- Add embellishments as you like.
- Choose a suitable series name and add the series and contact info on the back.
- Post images.
Share
Share your artworks on social with the hashtag #AHAactivity
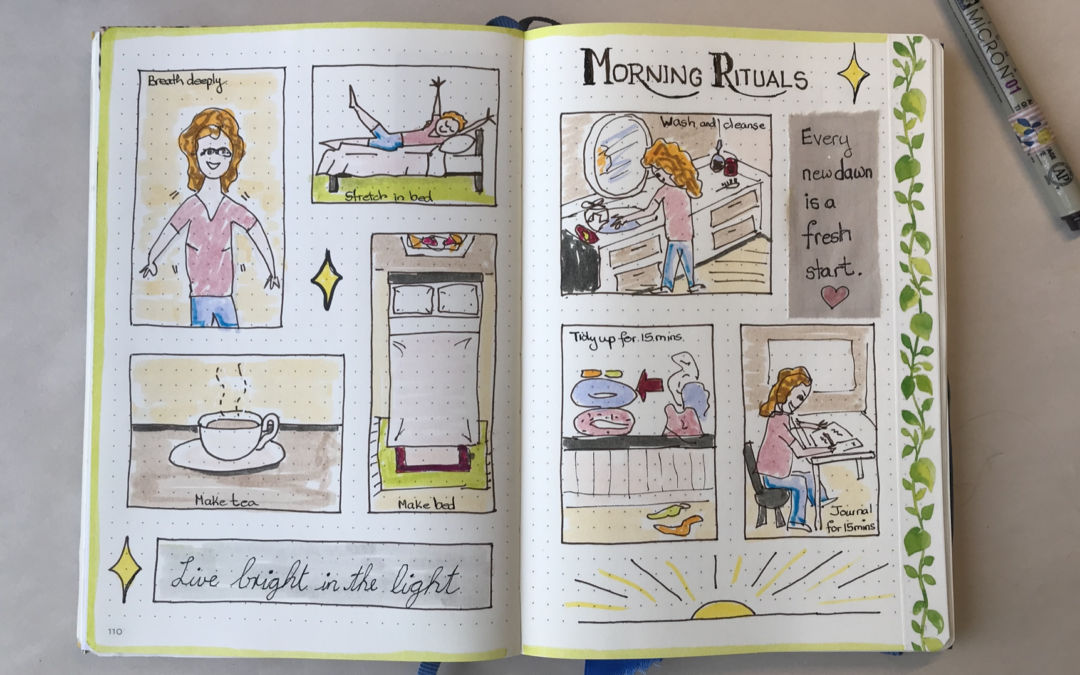
7 Morning Rituals for Artists and Creative People
Get a glimpse into how one woman gets organized mentally, physically and spiritually for a creative and artistic day.
Art for Self-care
Read my journey on Art as Self-care. Get some tips and ideas on how you can add some journaling processes to your day.
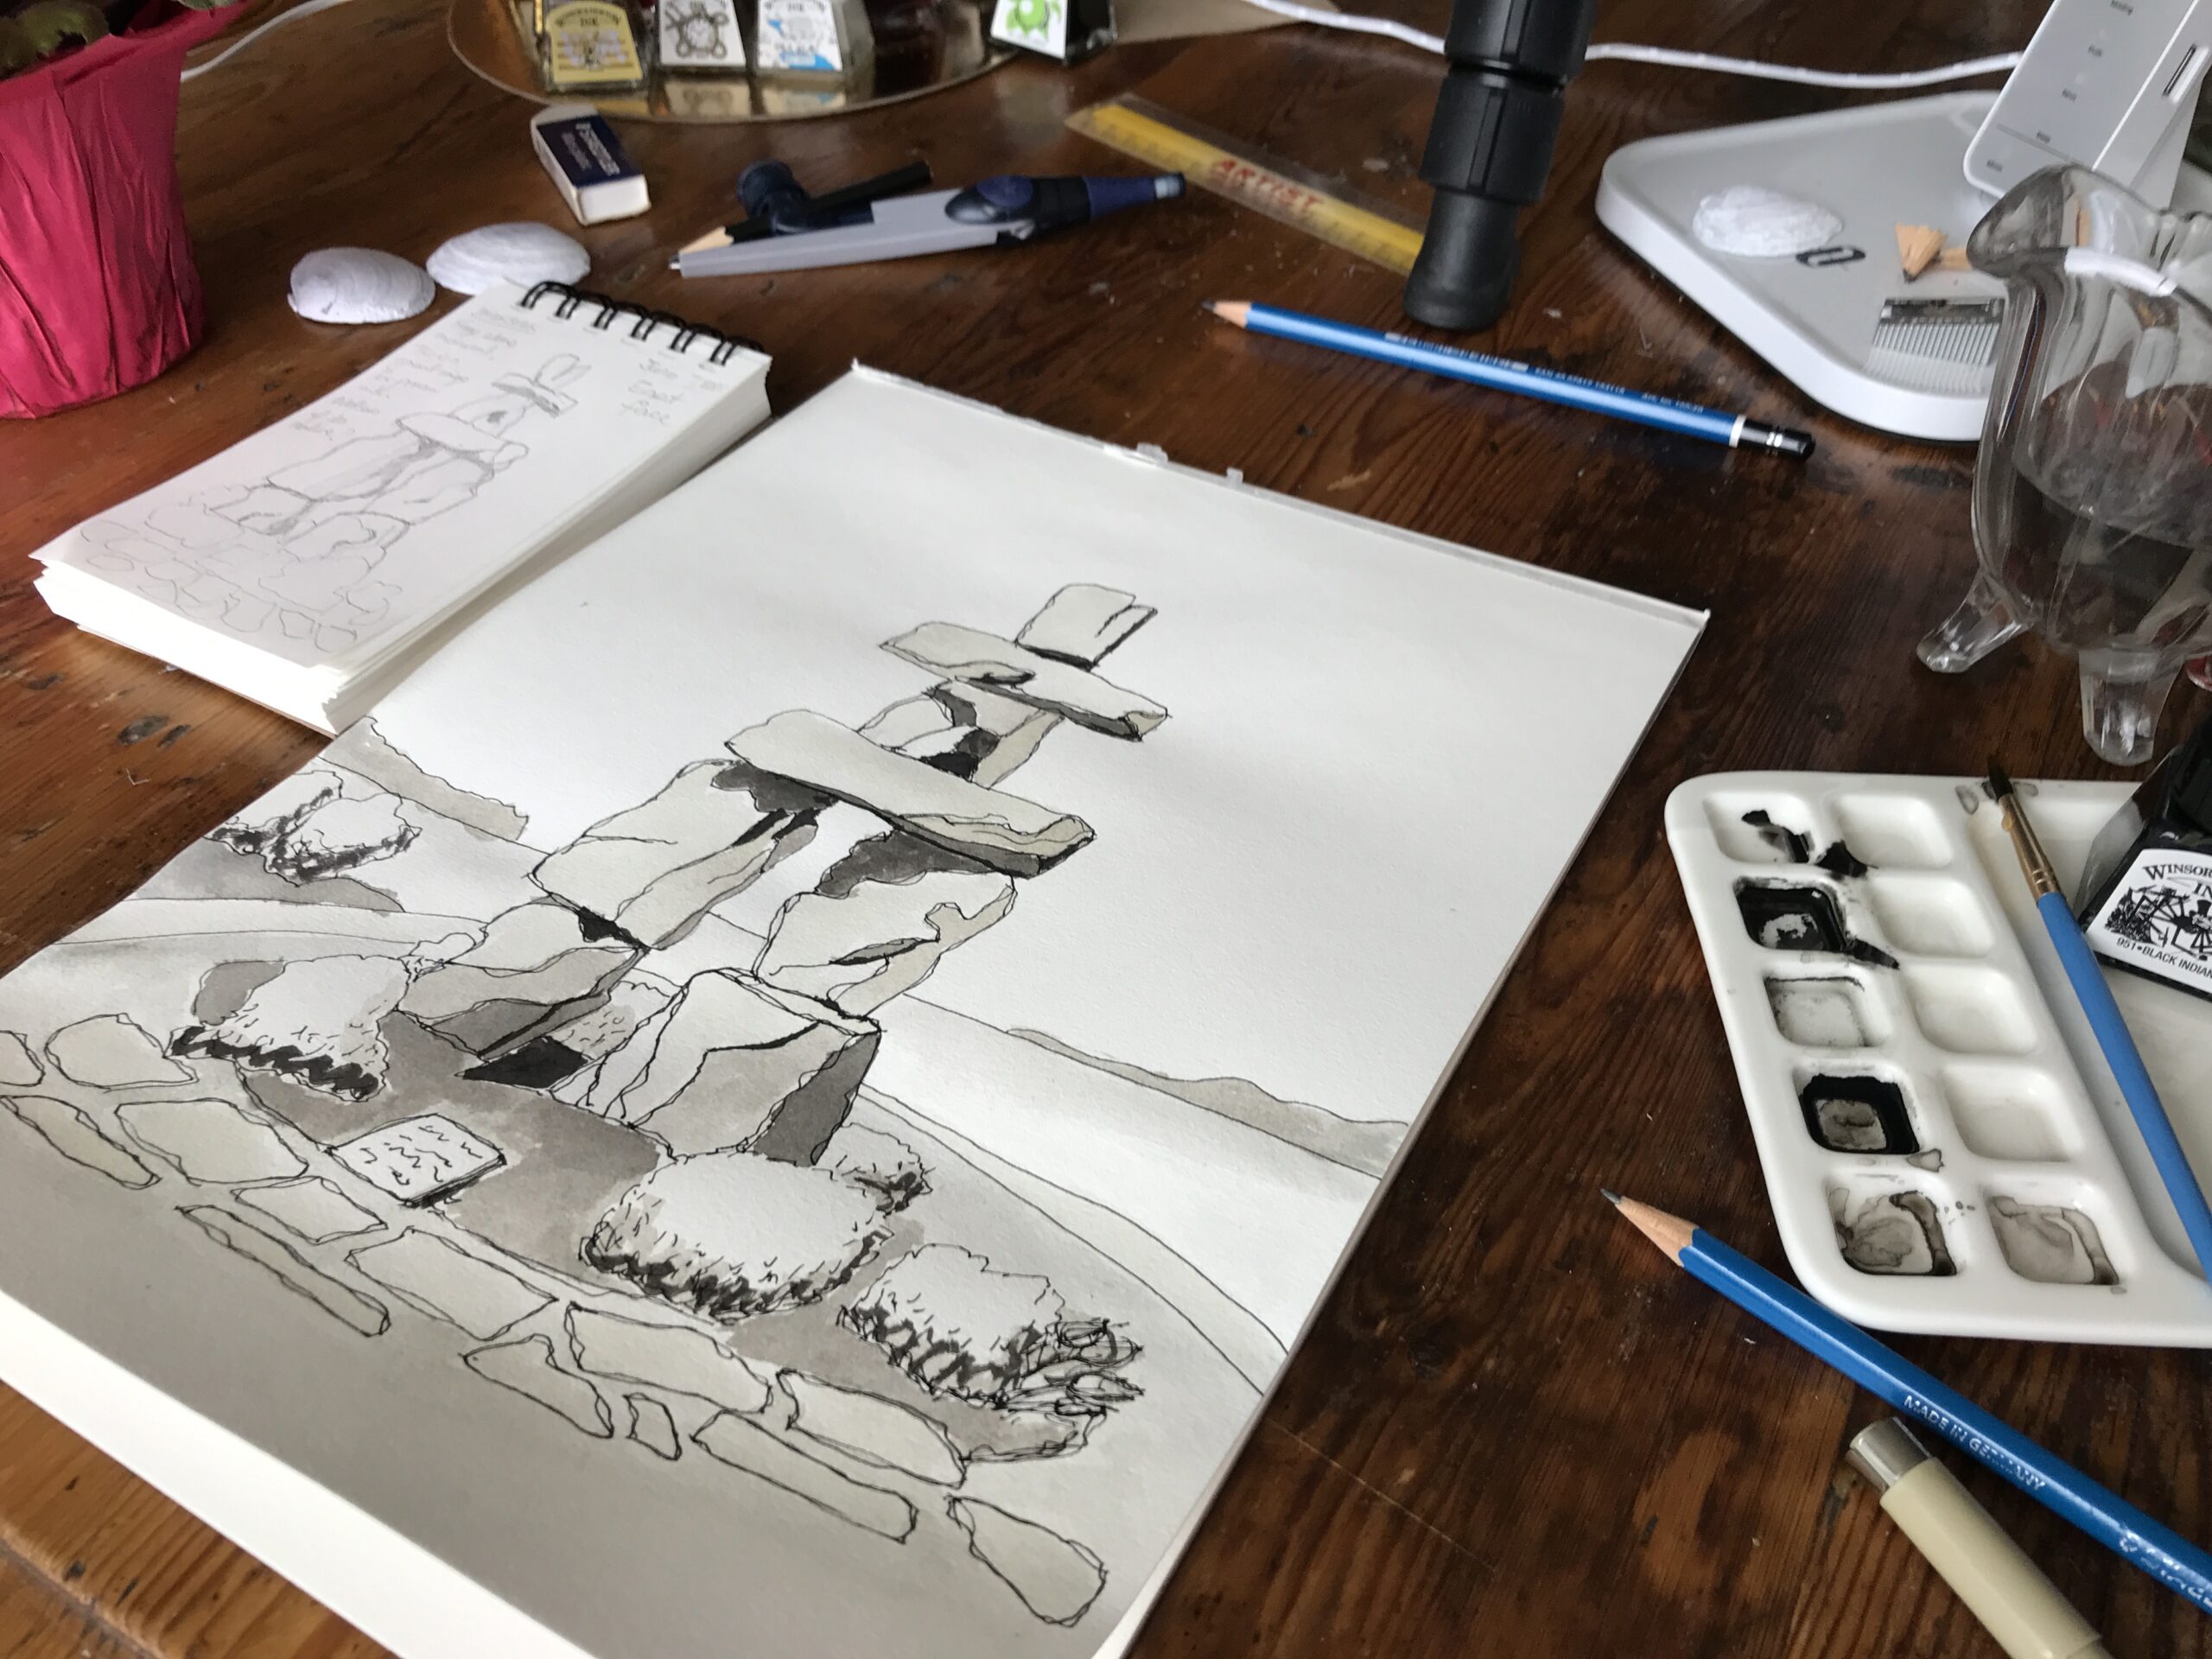
Inukshuk – Pen and Ink
How to draw the Vancouver Inukshuk with black and grey scale drawing inks. Nature Journal. Hobby Artist
