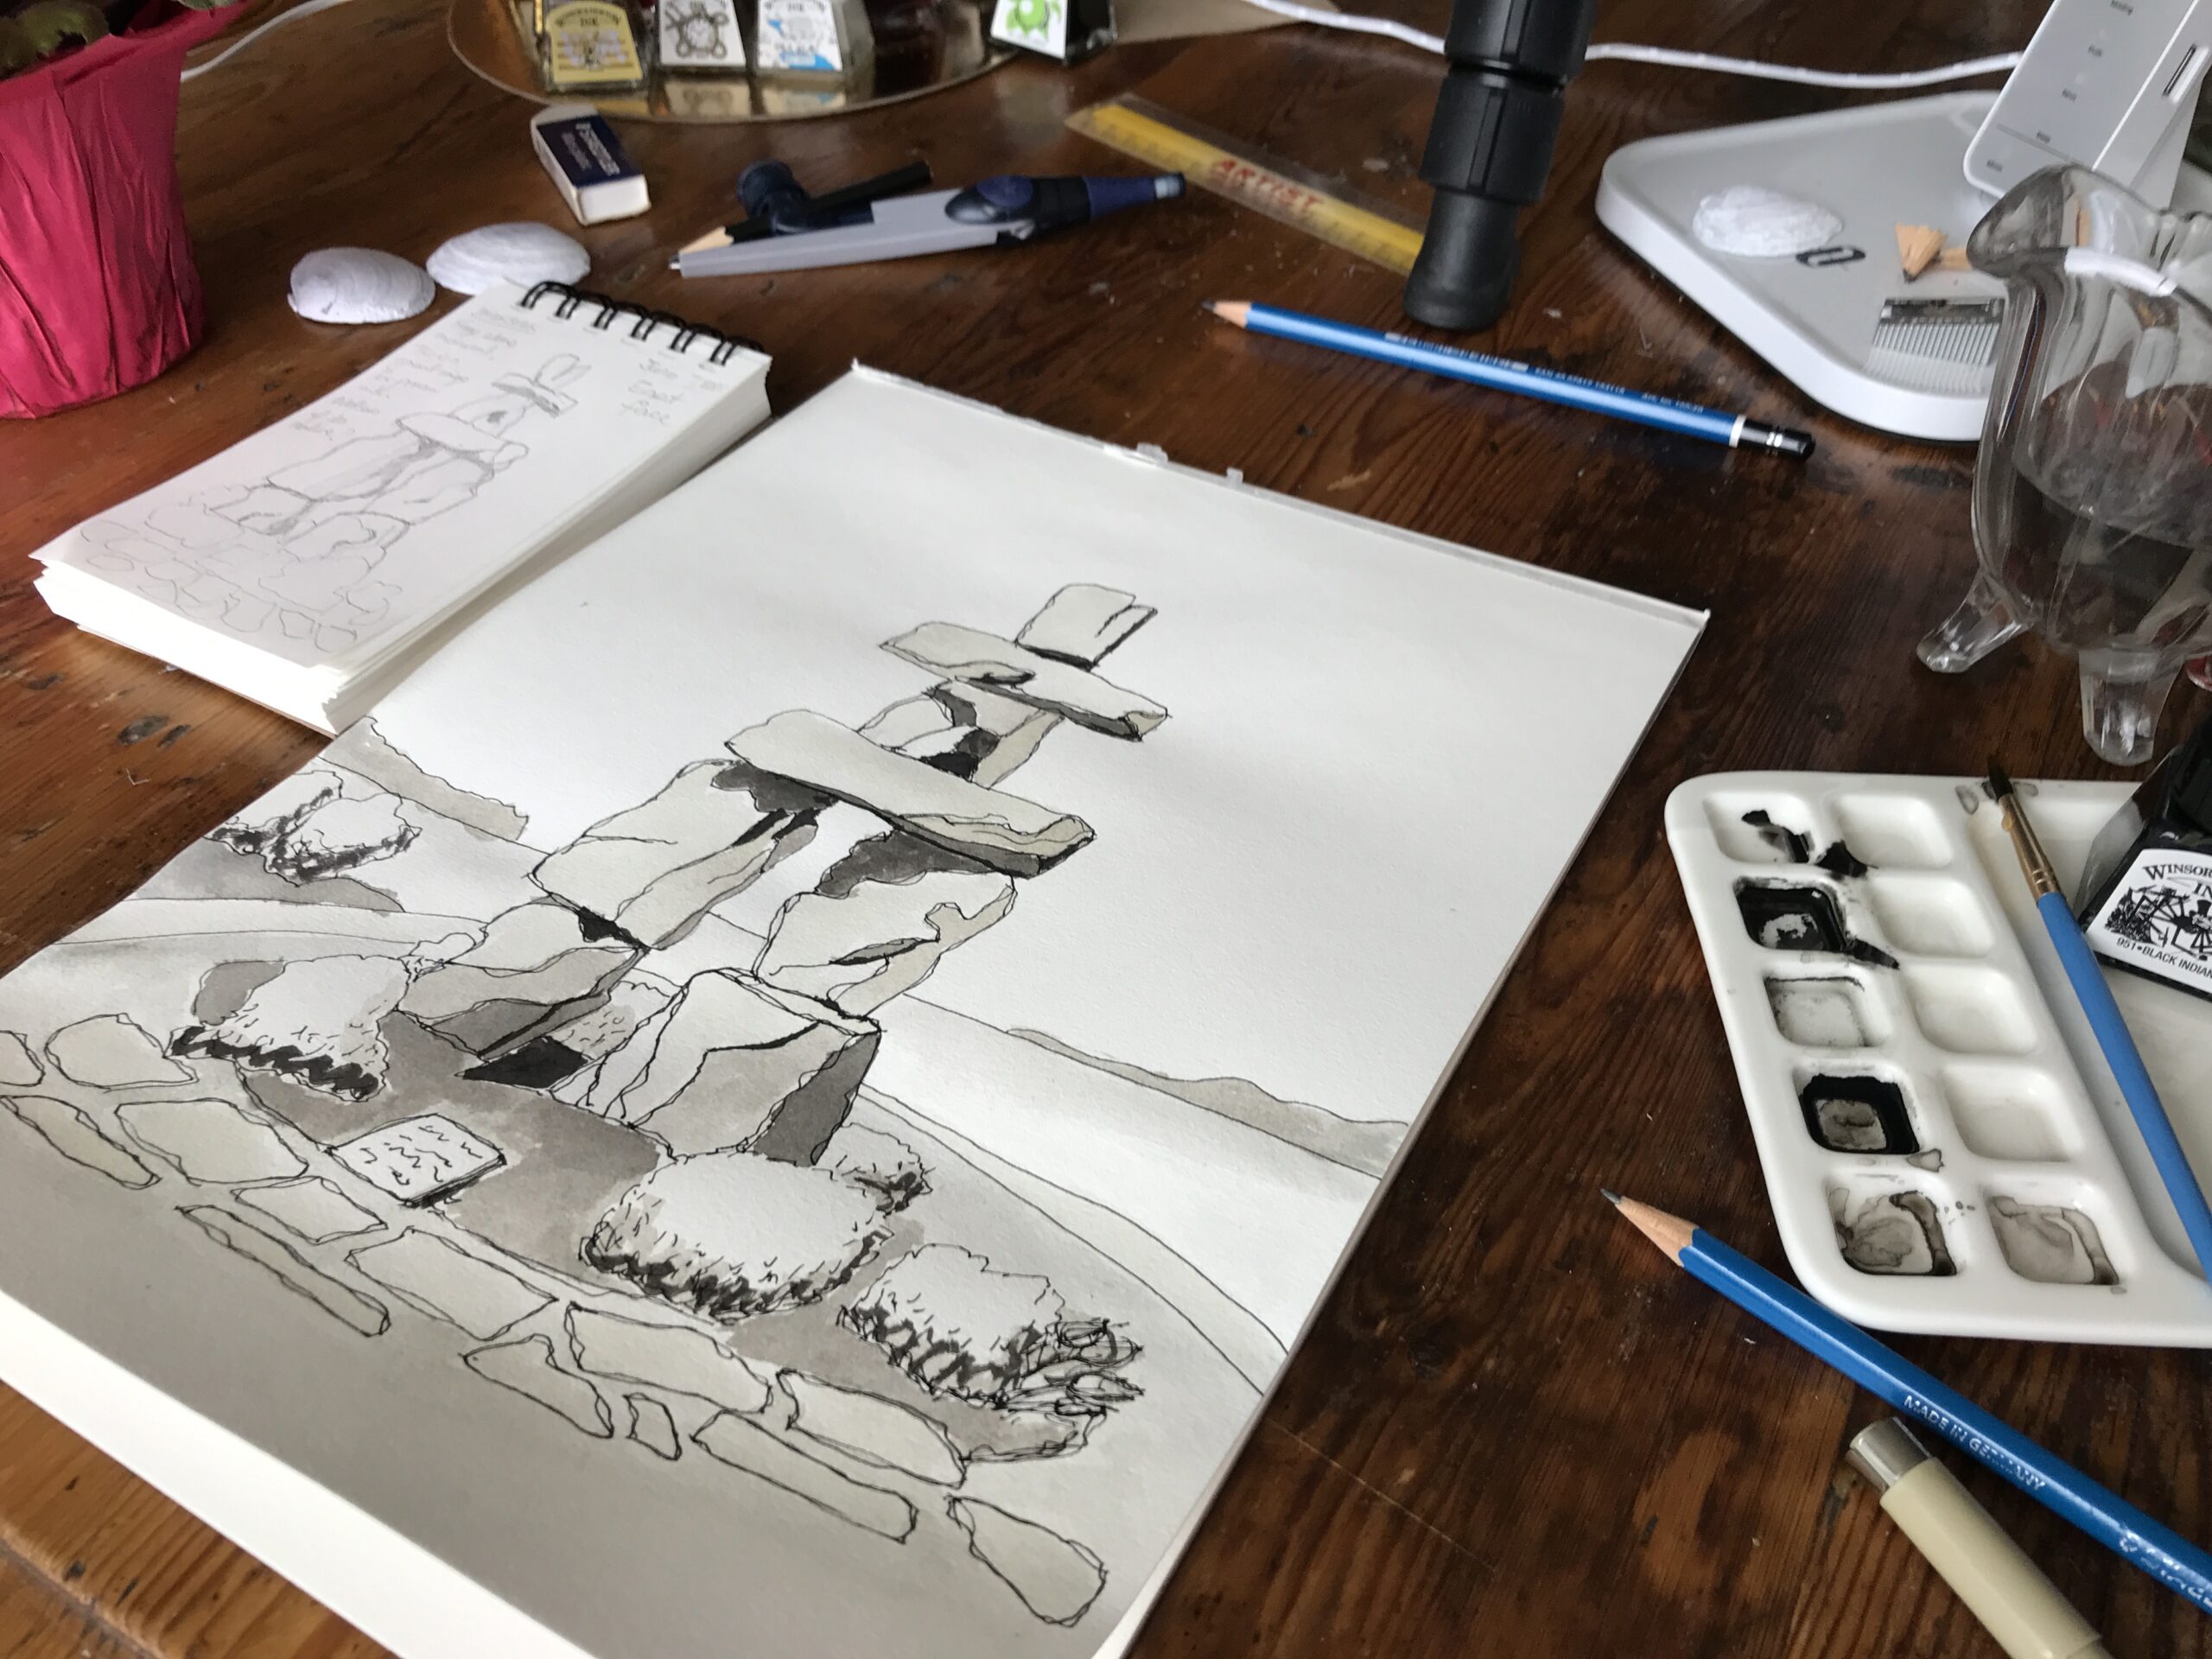
How to draw the Vancouver Inukshuk with black and grey scale drawing inks. Nature Journal. Hobby Artist
GRID ART JOURNAL: African Violets
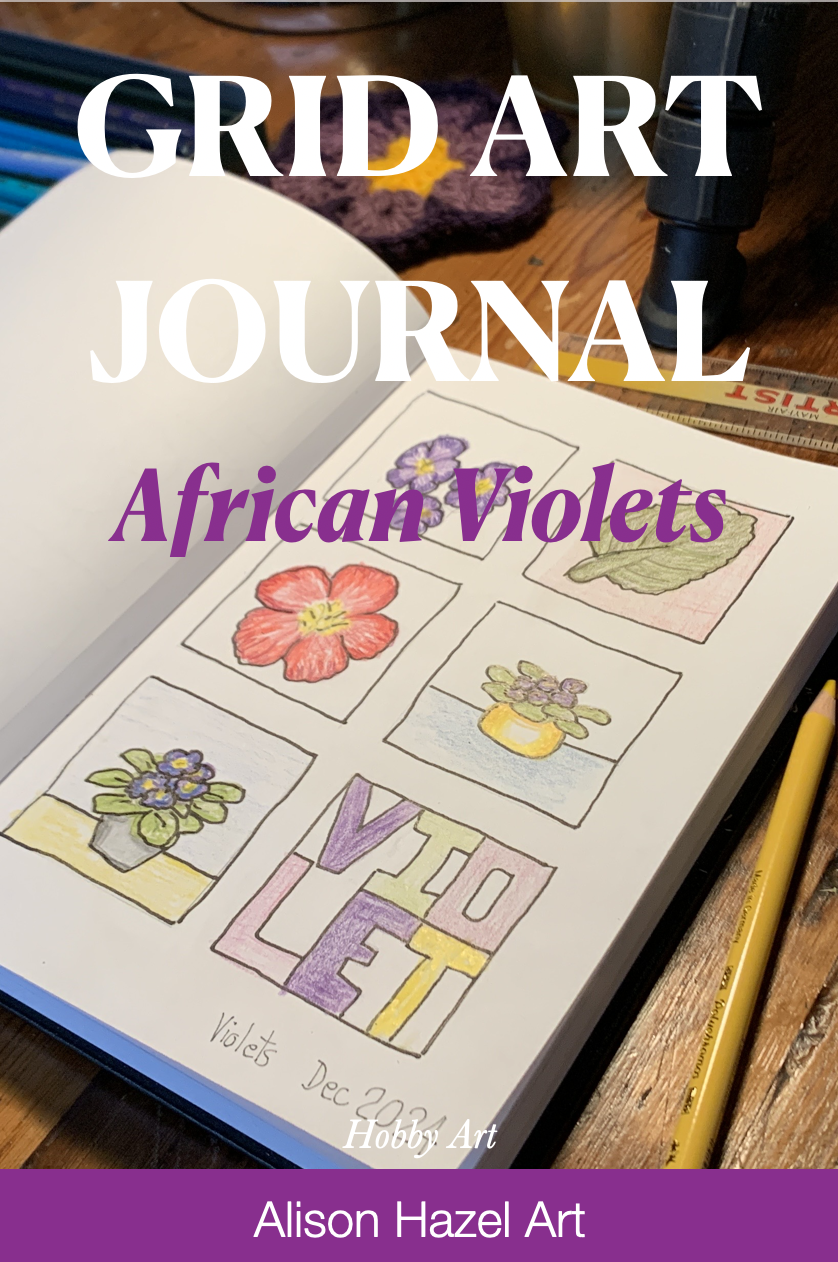
Grid Art Journal Page: African Violets
Preamble
Earlier
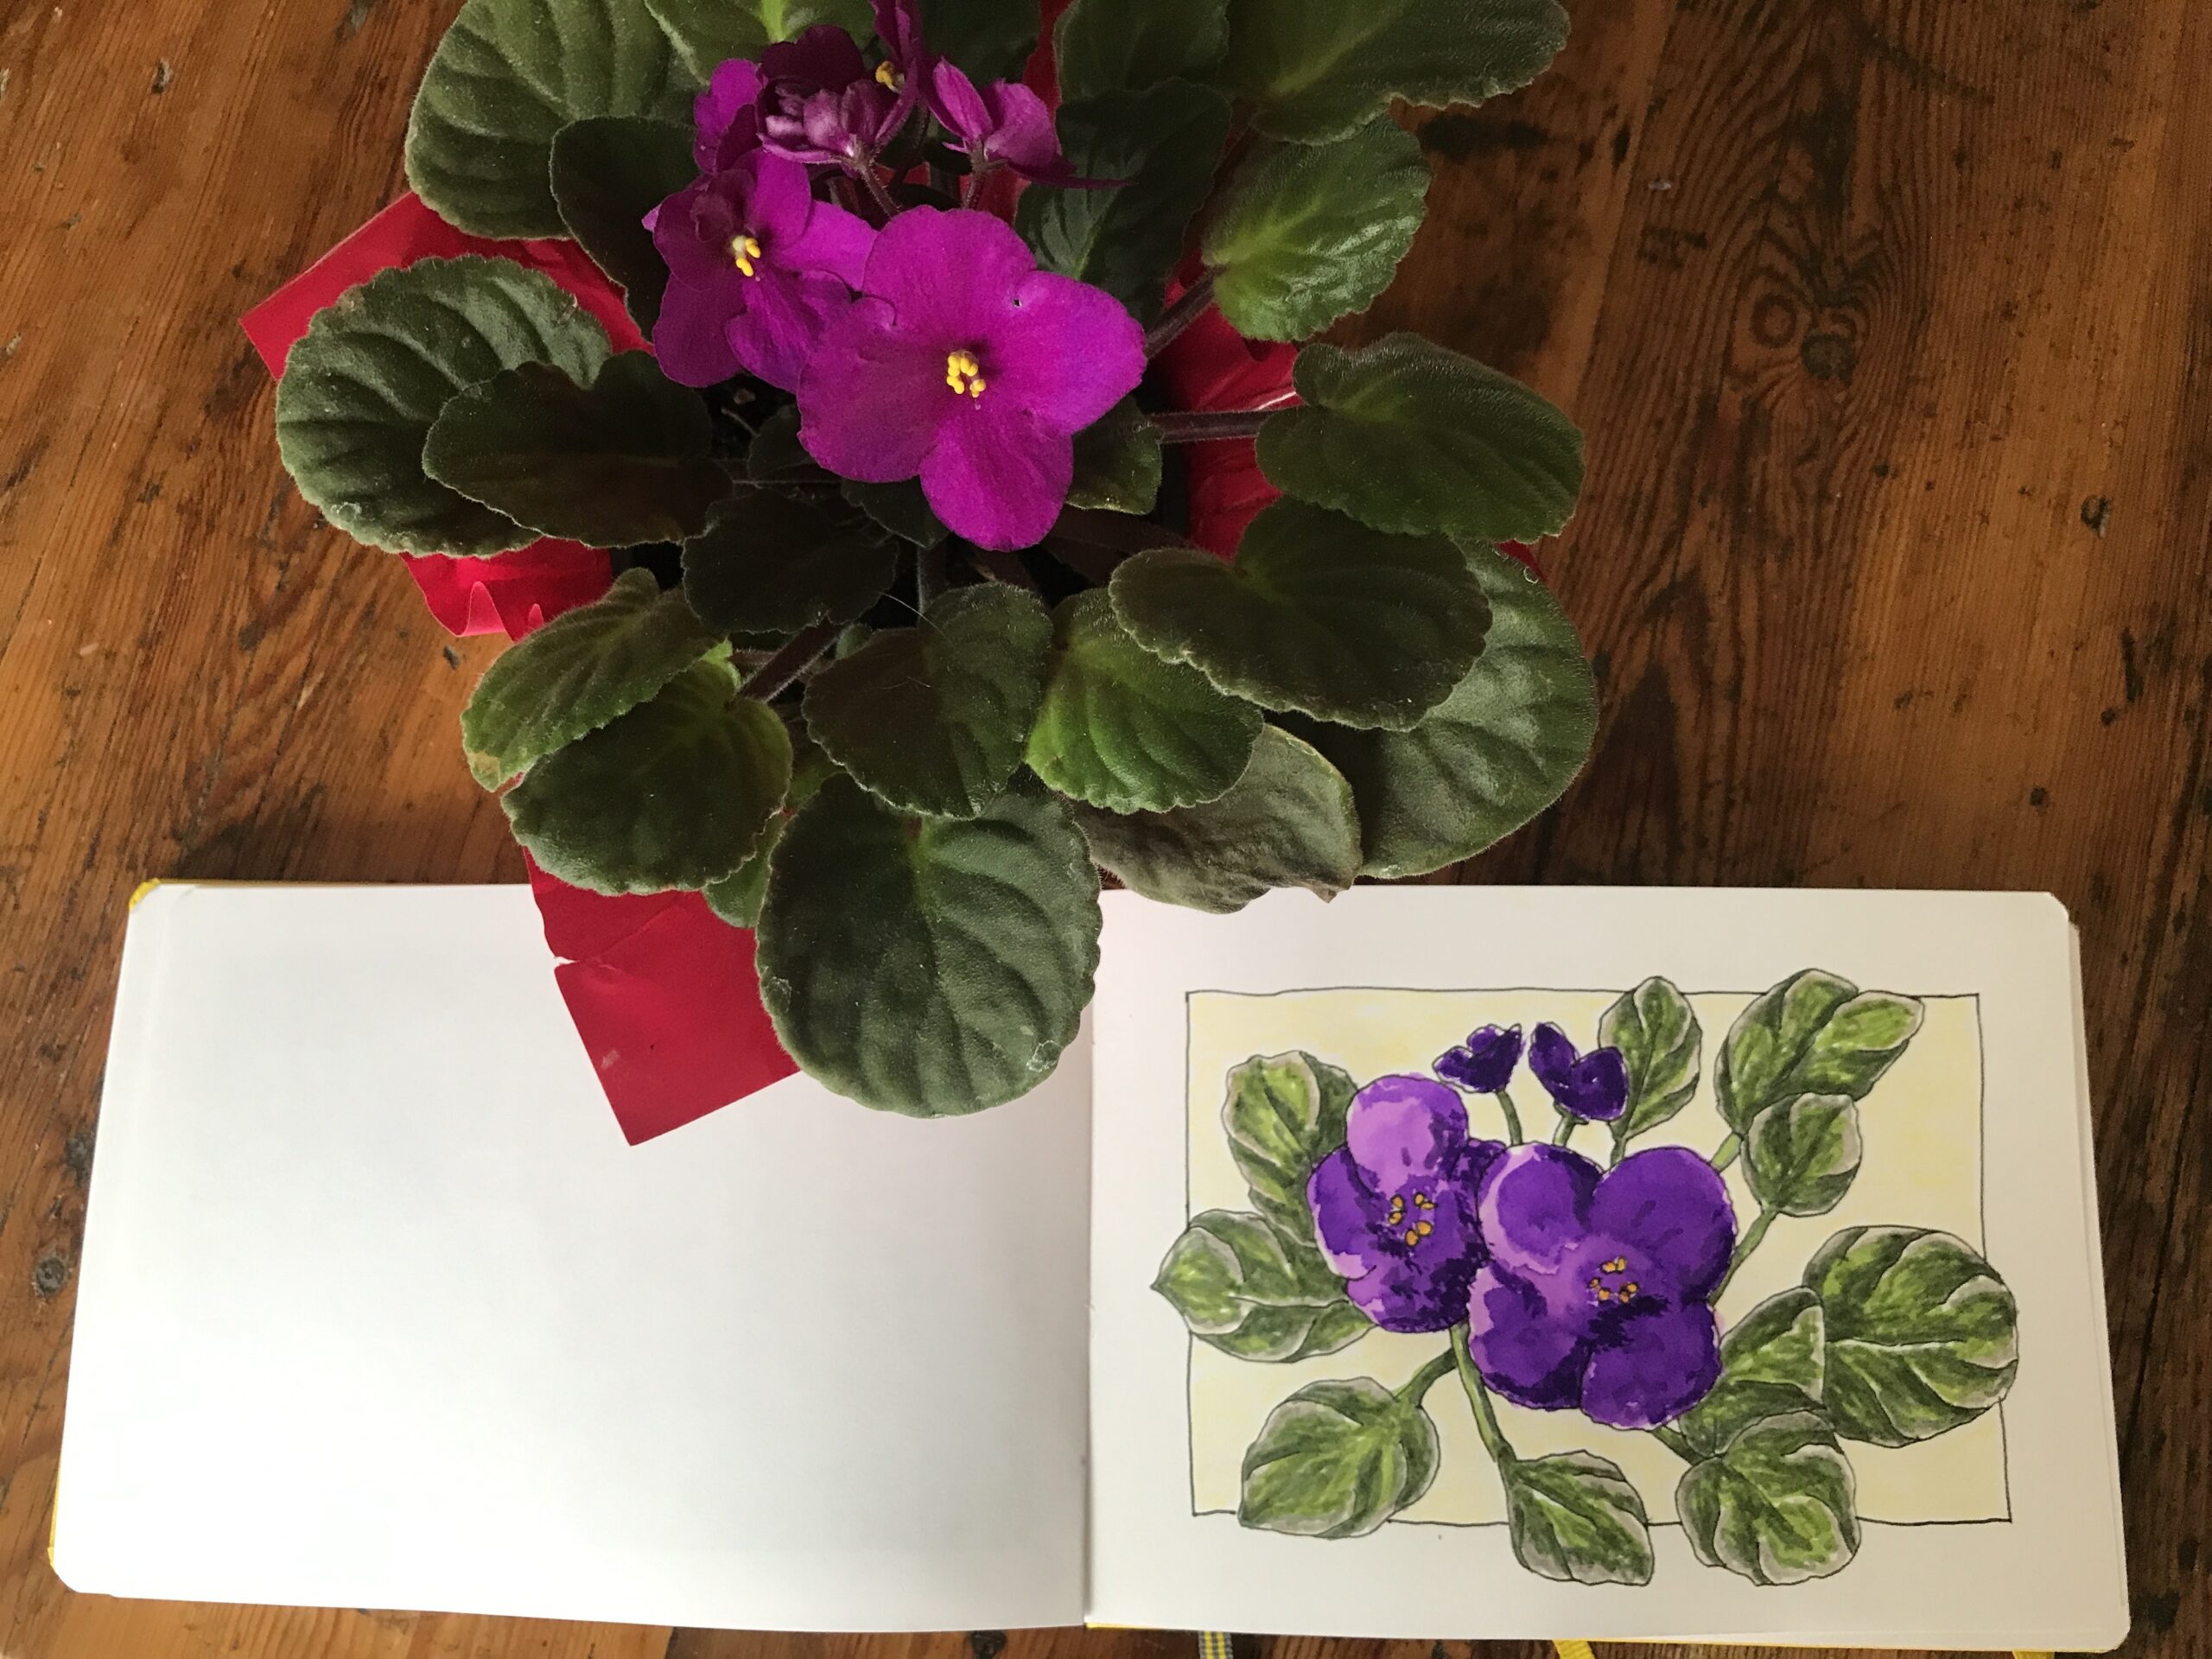
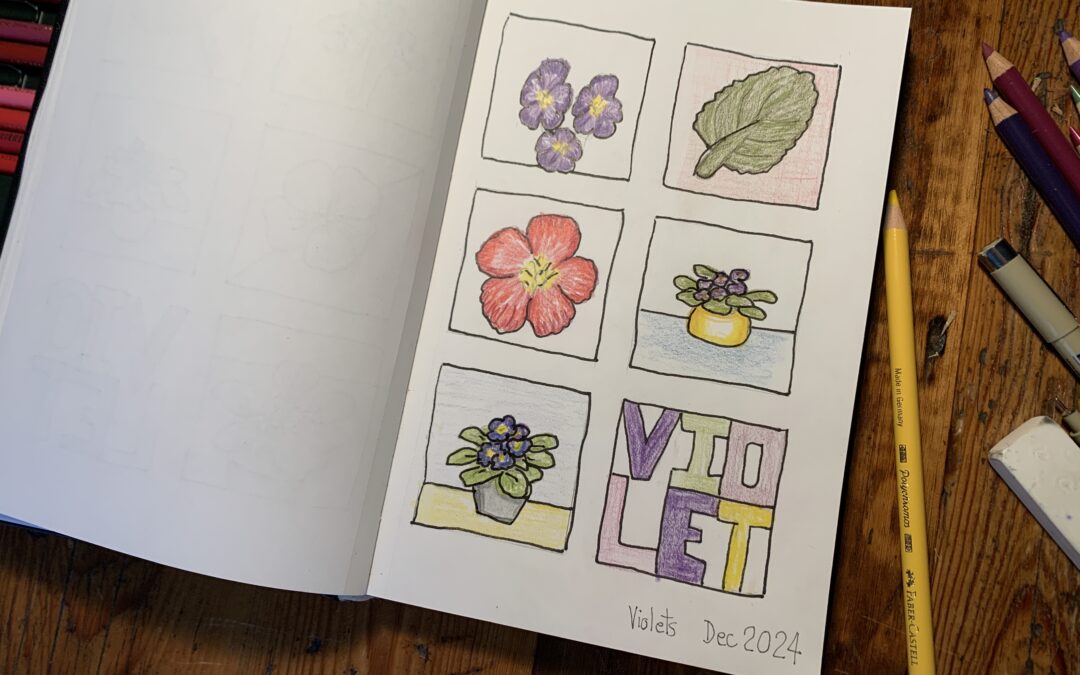
I had an idea about six months ago about creating some artist trading cards for my African violets. Now typically with artist trading cards you do twelve cards. It then occurred to me that I could do a grid art journal page of African violets with six images. So, last week I created a six grid African violet grid art journal page and then it occurred to me, “Why don’t I do another one and video it for you guys? This is what we’re doing today.
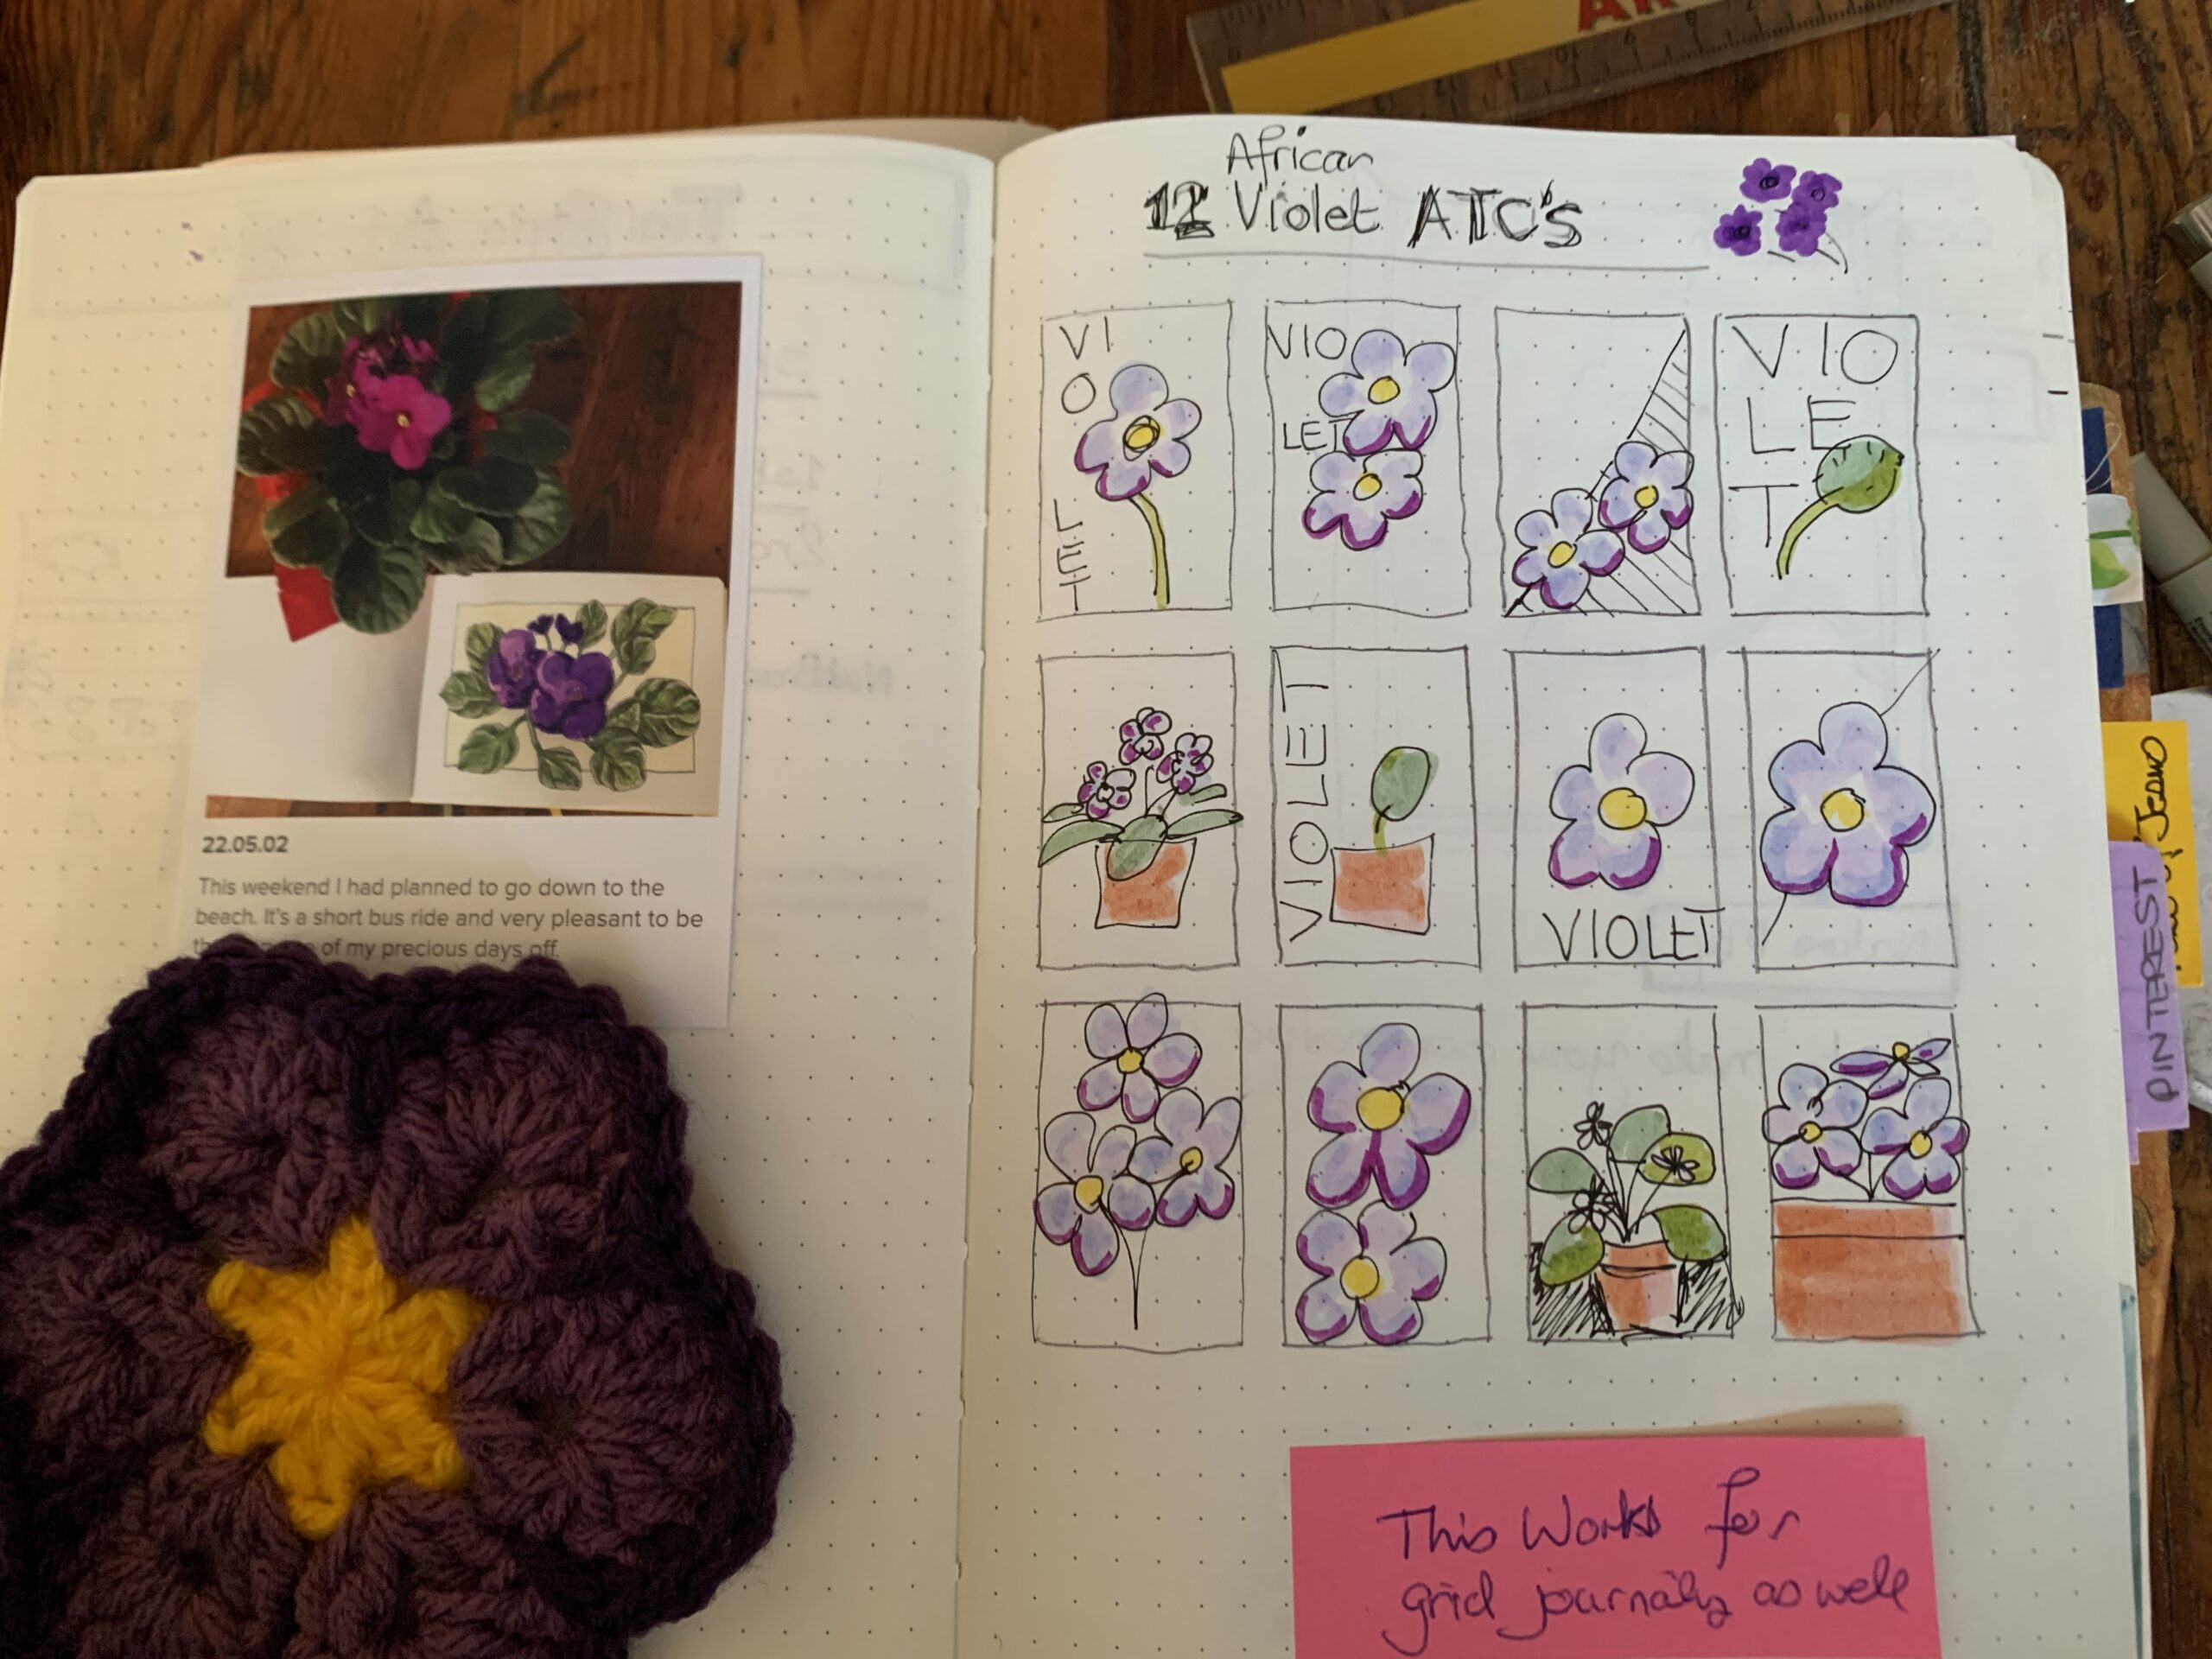
Grid Art Journal Page: African Violets
Grid Layout
Today I’m using a Peter Pauper Press A5 sketch book. My grids are 5cm or 2″ square with half an inch or 1cm between them. You can find out more about how to layout an A5 grid art journal page in this video. I have lightly penciled in the squares using a 2H pencil.
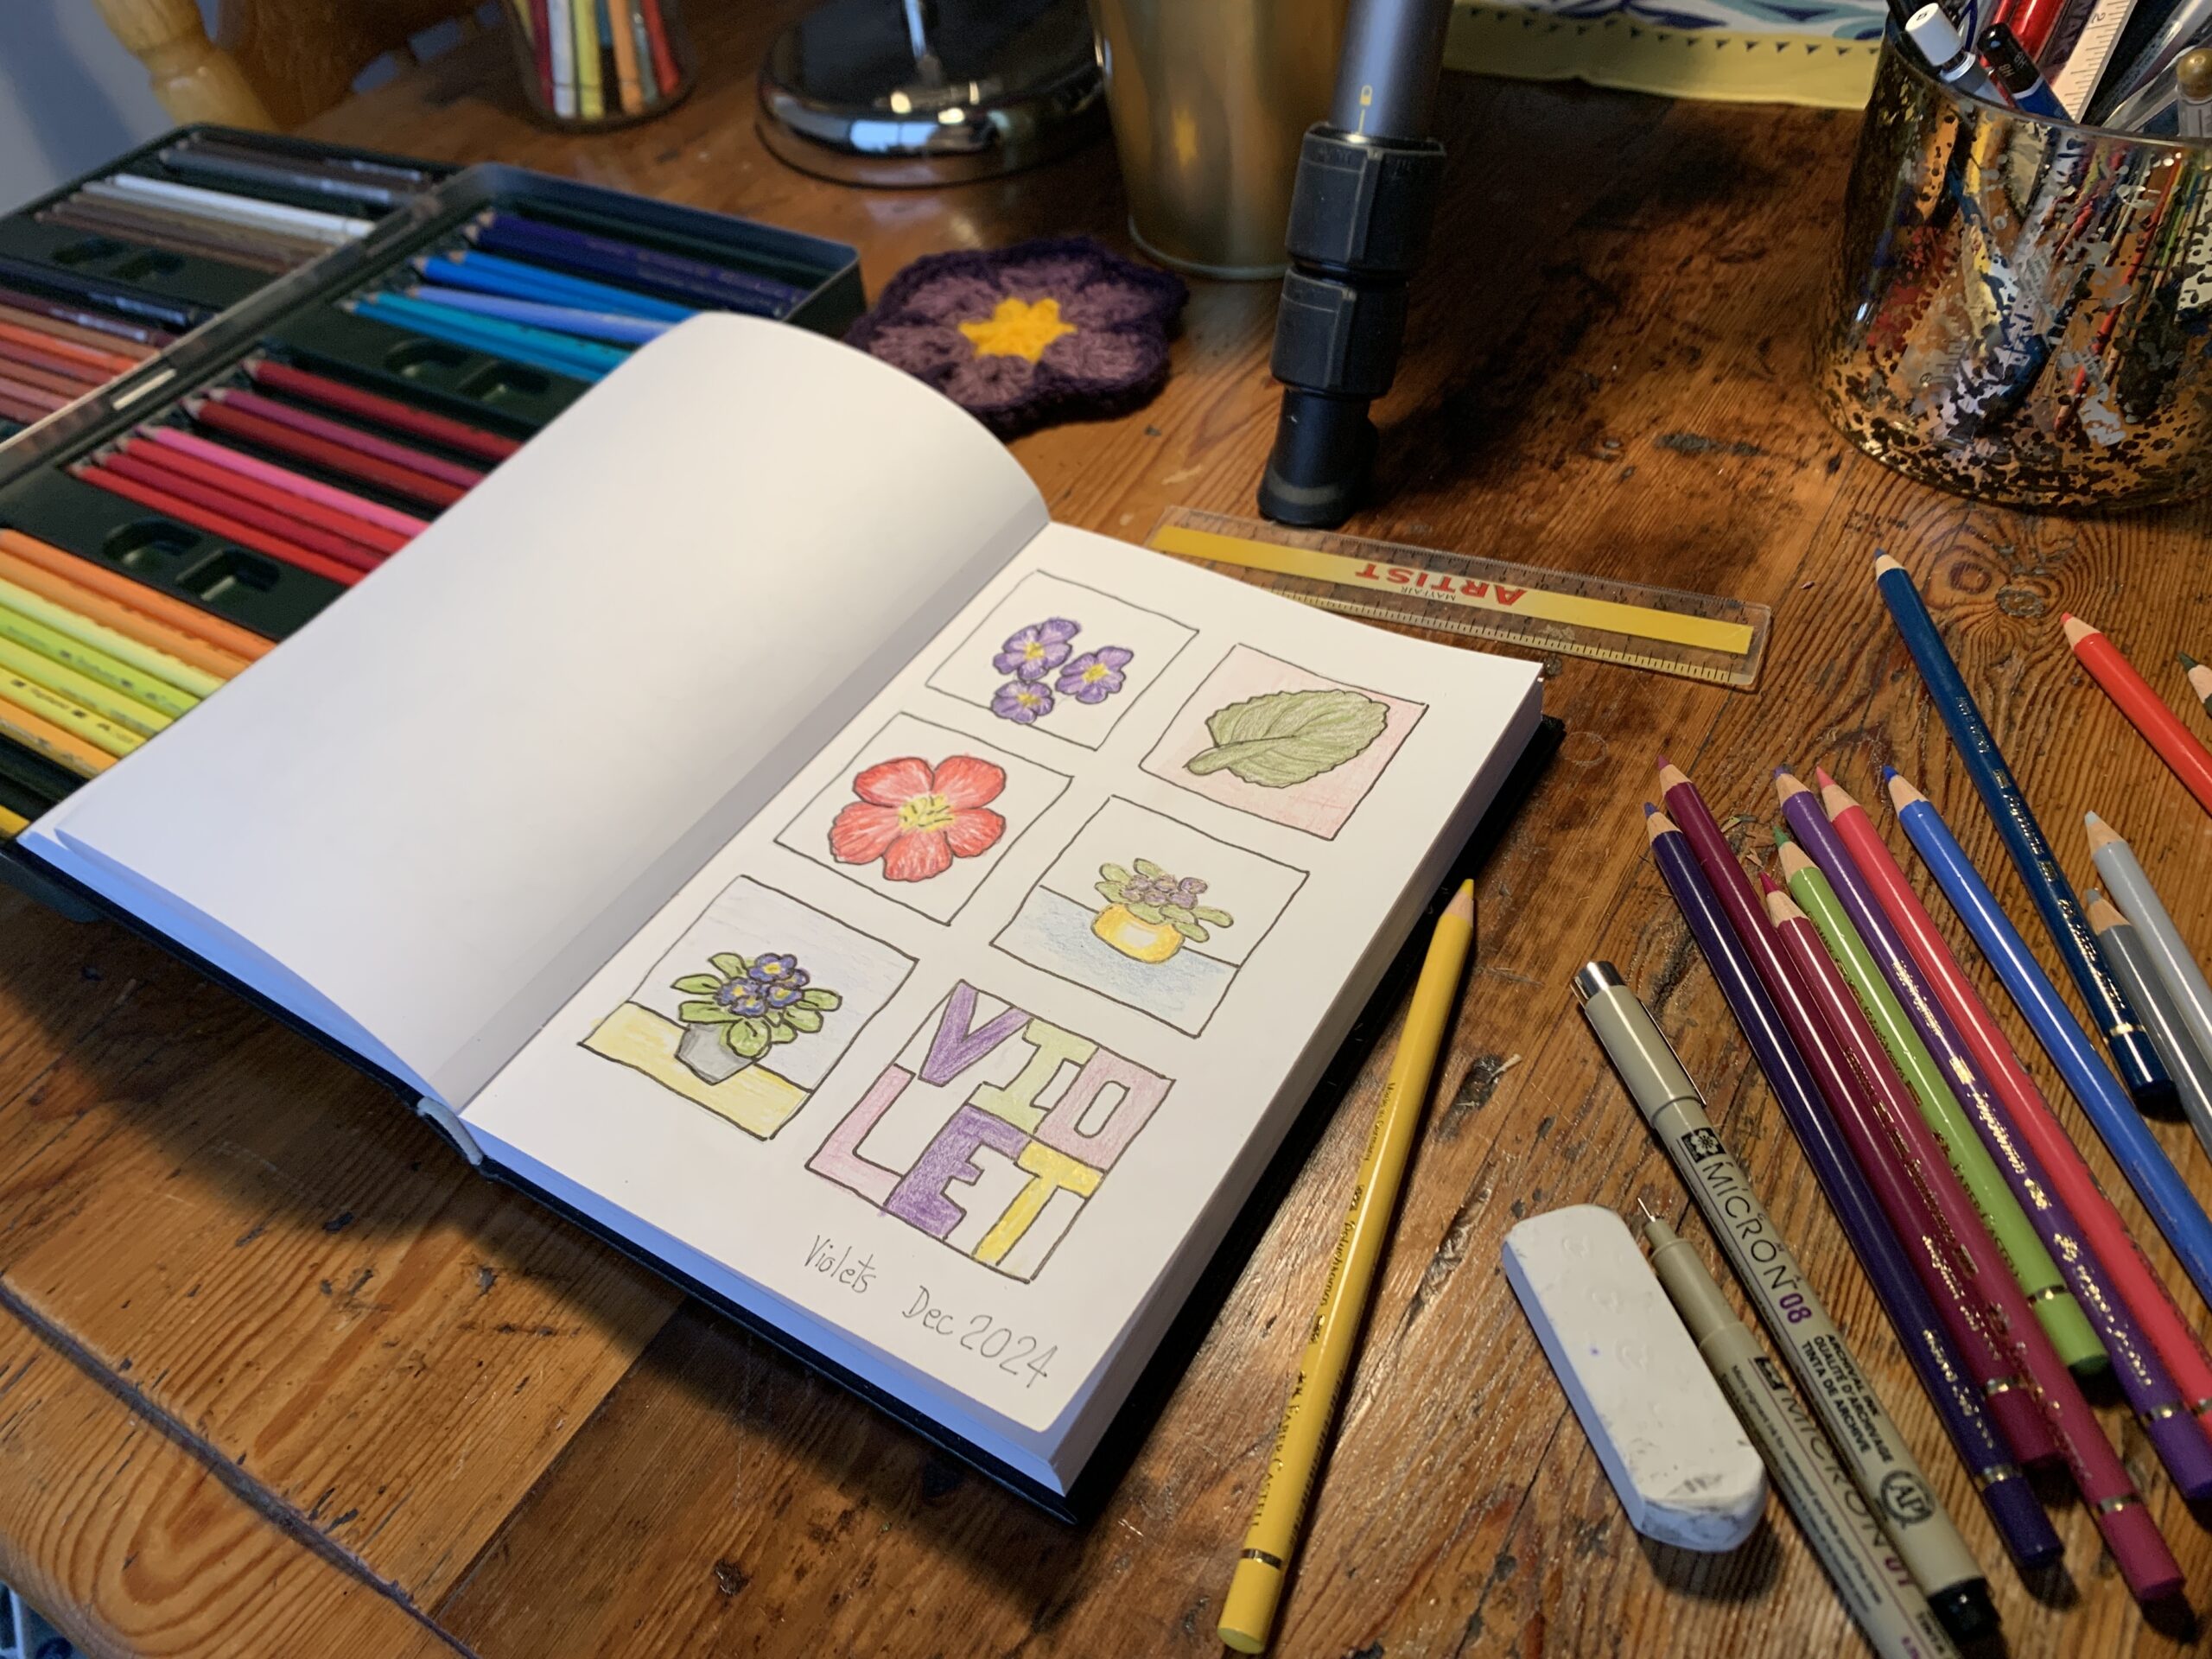
Pencil Sketch
One of the ideas, if you’re working with grid art journal sketch pages, is that you can look at one topic. And draw multiple images of the same topic. It’s a way to get your hand in or rather get your eye in on the actual topic. Now generally I would sketch out some concept art on subscript paper first, but because I had already done a 6-grid last week, I’m just going to use that as my template for this project.
Top Left
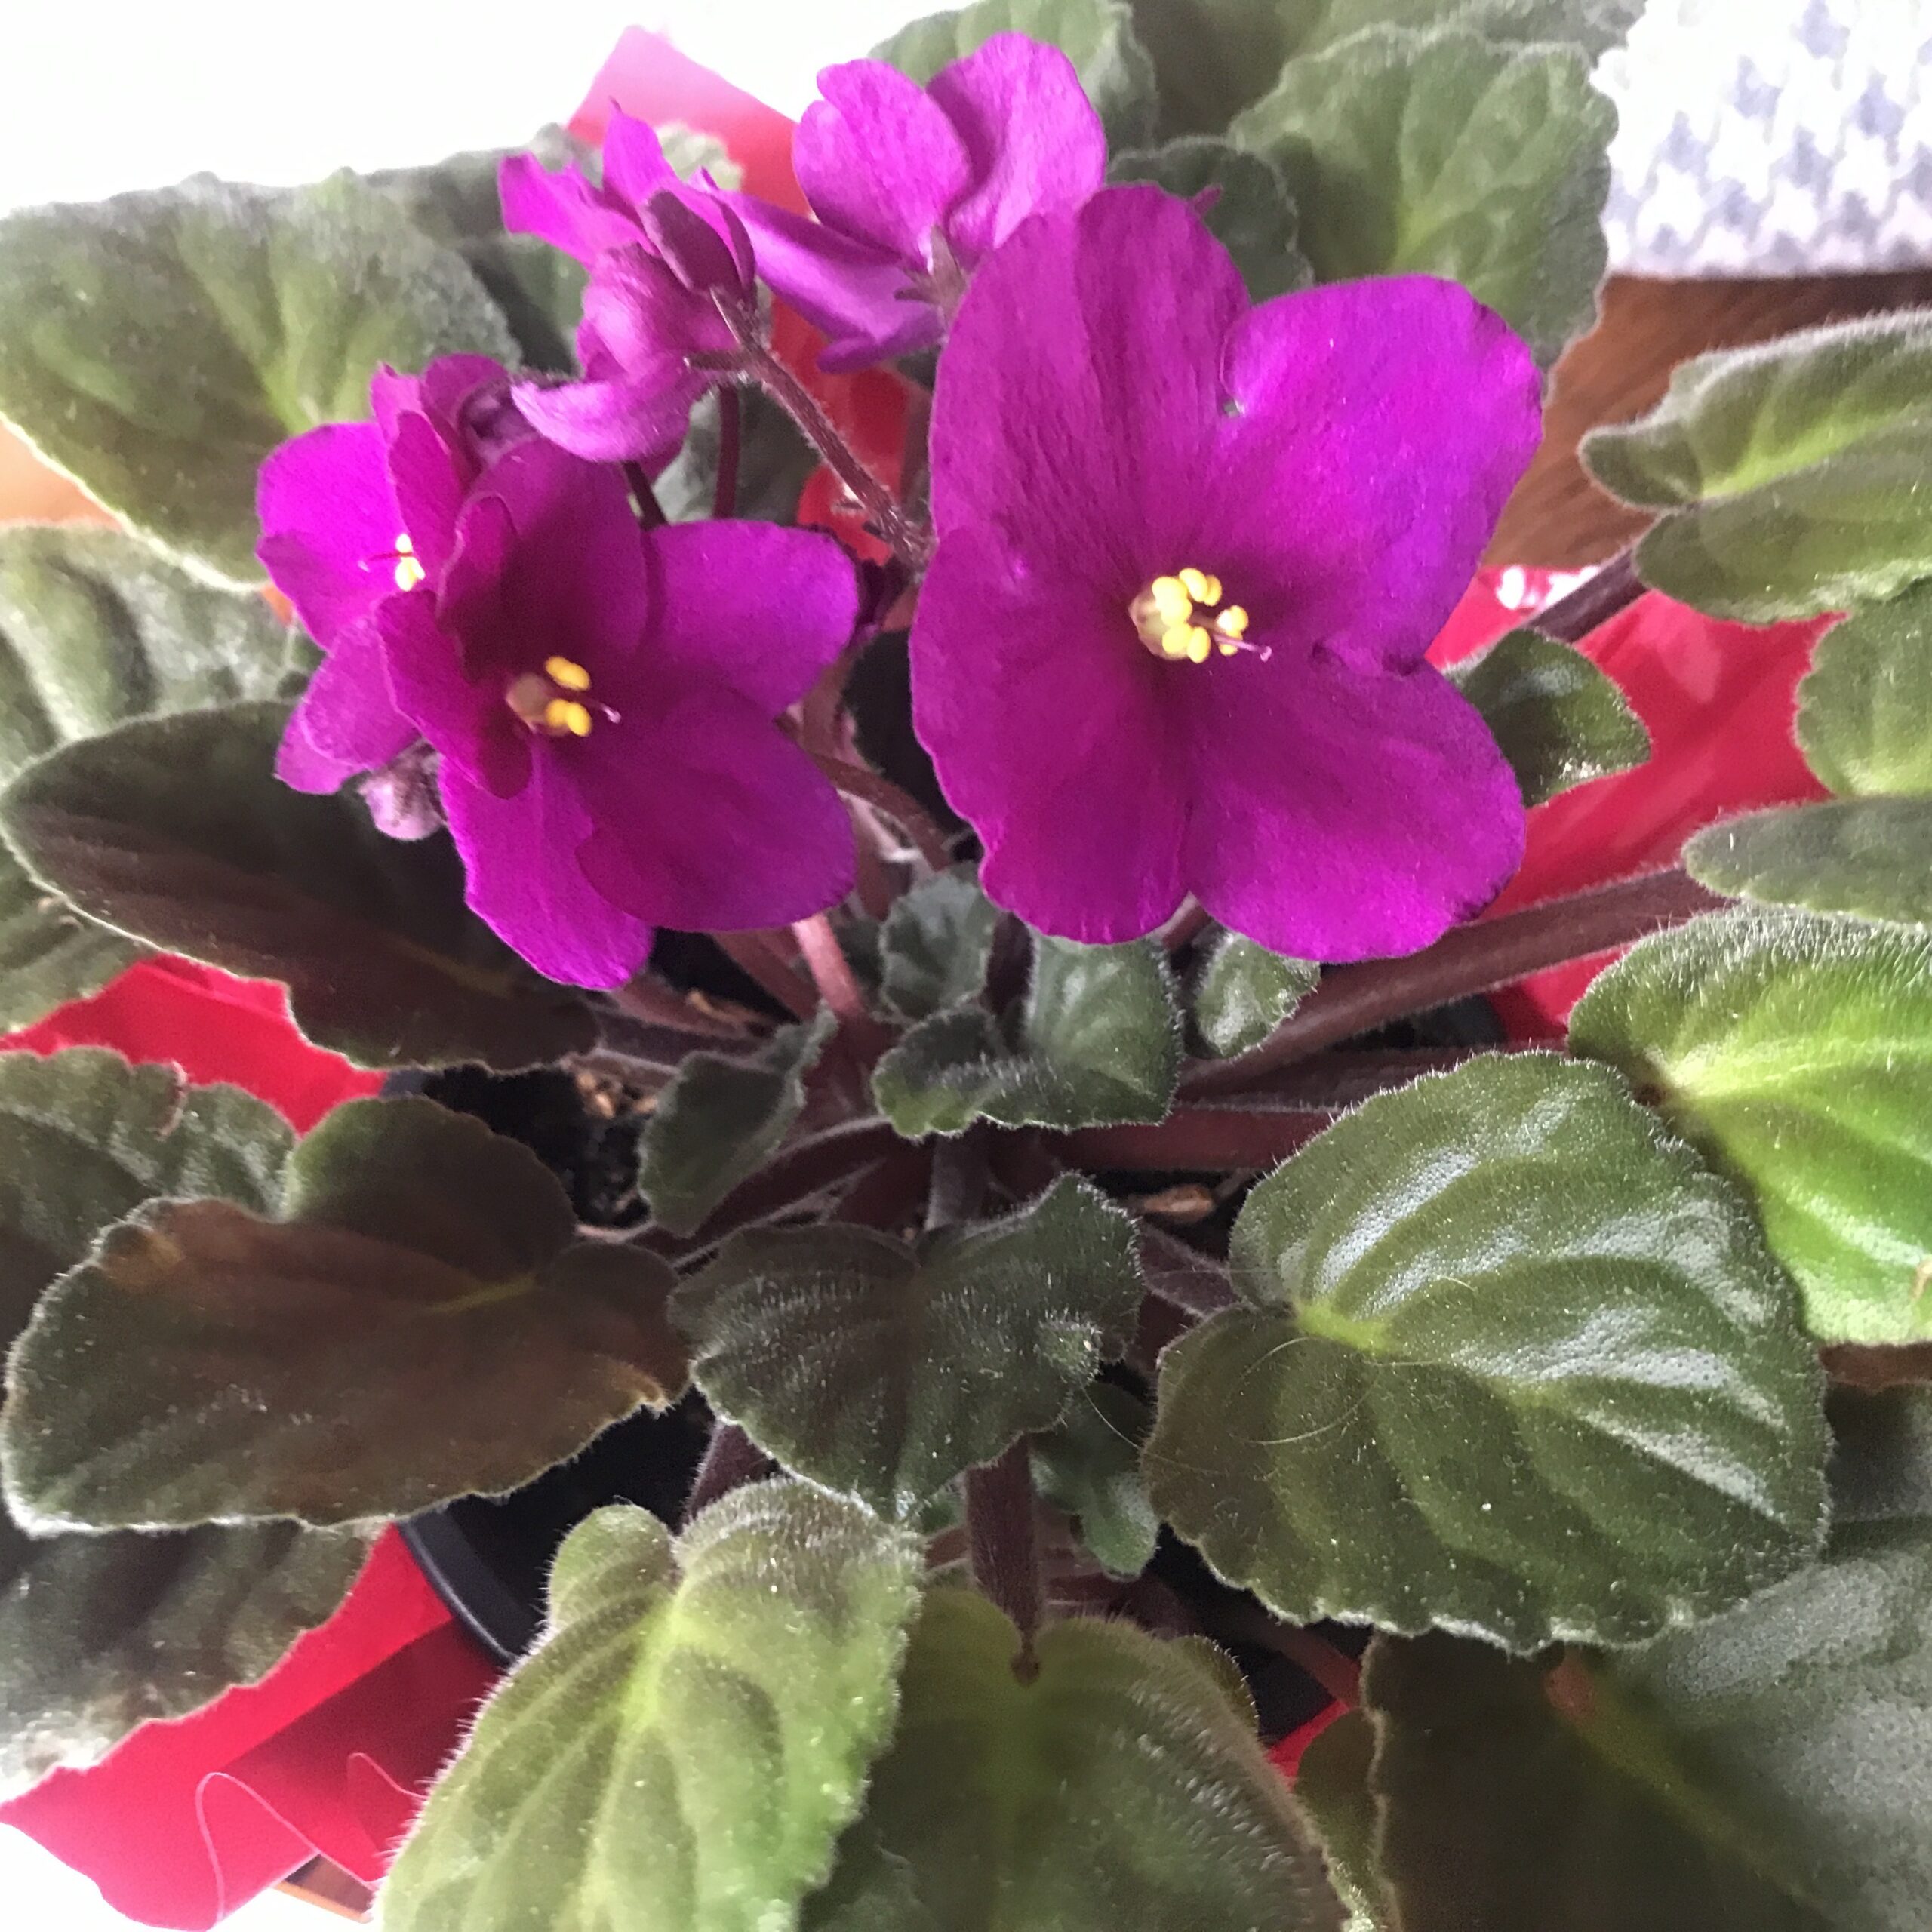
So, starting at the top left, I sketched in three blooms of the African violet. In this square one there’s no leaves. I’ve put the three blooms together. You will need to pay attention when you’re drawing flowers to how many petals each flower has because some will be different. You can get two petal 3-petal 4-petal, 5-petal and multiple petals. African violets have 5 petals and ideally you want 5-petals on each of your blooms.
Top Right
I chose one particular leaf to try to get a bit of a close up on the leaf of this plant. African violets have rather round leaves. They are quite a dark grey-green and quite furry and soft. Their edges are also scalloped and there are visible veins that curve out and upwards from the main stem.
Middle left
This sketch is one bloom by itself is more of a close up. I’m going to be doing this one bloom in a different colour (not violet) later on. I’m sketching in lightly the five petals. Here you can see the middle yellow bits as well so I make a note of that.
Middle right
In this grid box, I’m drawing a little part of African violets. There is a little yellow pot and it’s standing on a surface. I think there’s four or five little blooms and some leaves sticking out. Here you get a general idea of the silhouette of this plant.
Bottom Left
For the bottom left I also did a plant standing by itself, but this time the angle slightly different, so we’re looking down almost into the pot. It’s a bit of a closer view than the other full plant one. Here you can see a little bit more about how the leaves fall out of the pot horizontally and that the flowers stand up quite straight.
Bottom Right
In the bottom right, I was initially decided wanting to do a swatch of the colours I was using. Then I thought why don’t I write the word “Violet” and swatch the colours in from there. Because there are six letters I divided the block into six divisions. I wrote “V-I-O” on the top line and “L-E-T” on the lower line. Each of the letters will be colored in one of the shades that I was using, almost as a “swatch word” if you will.
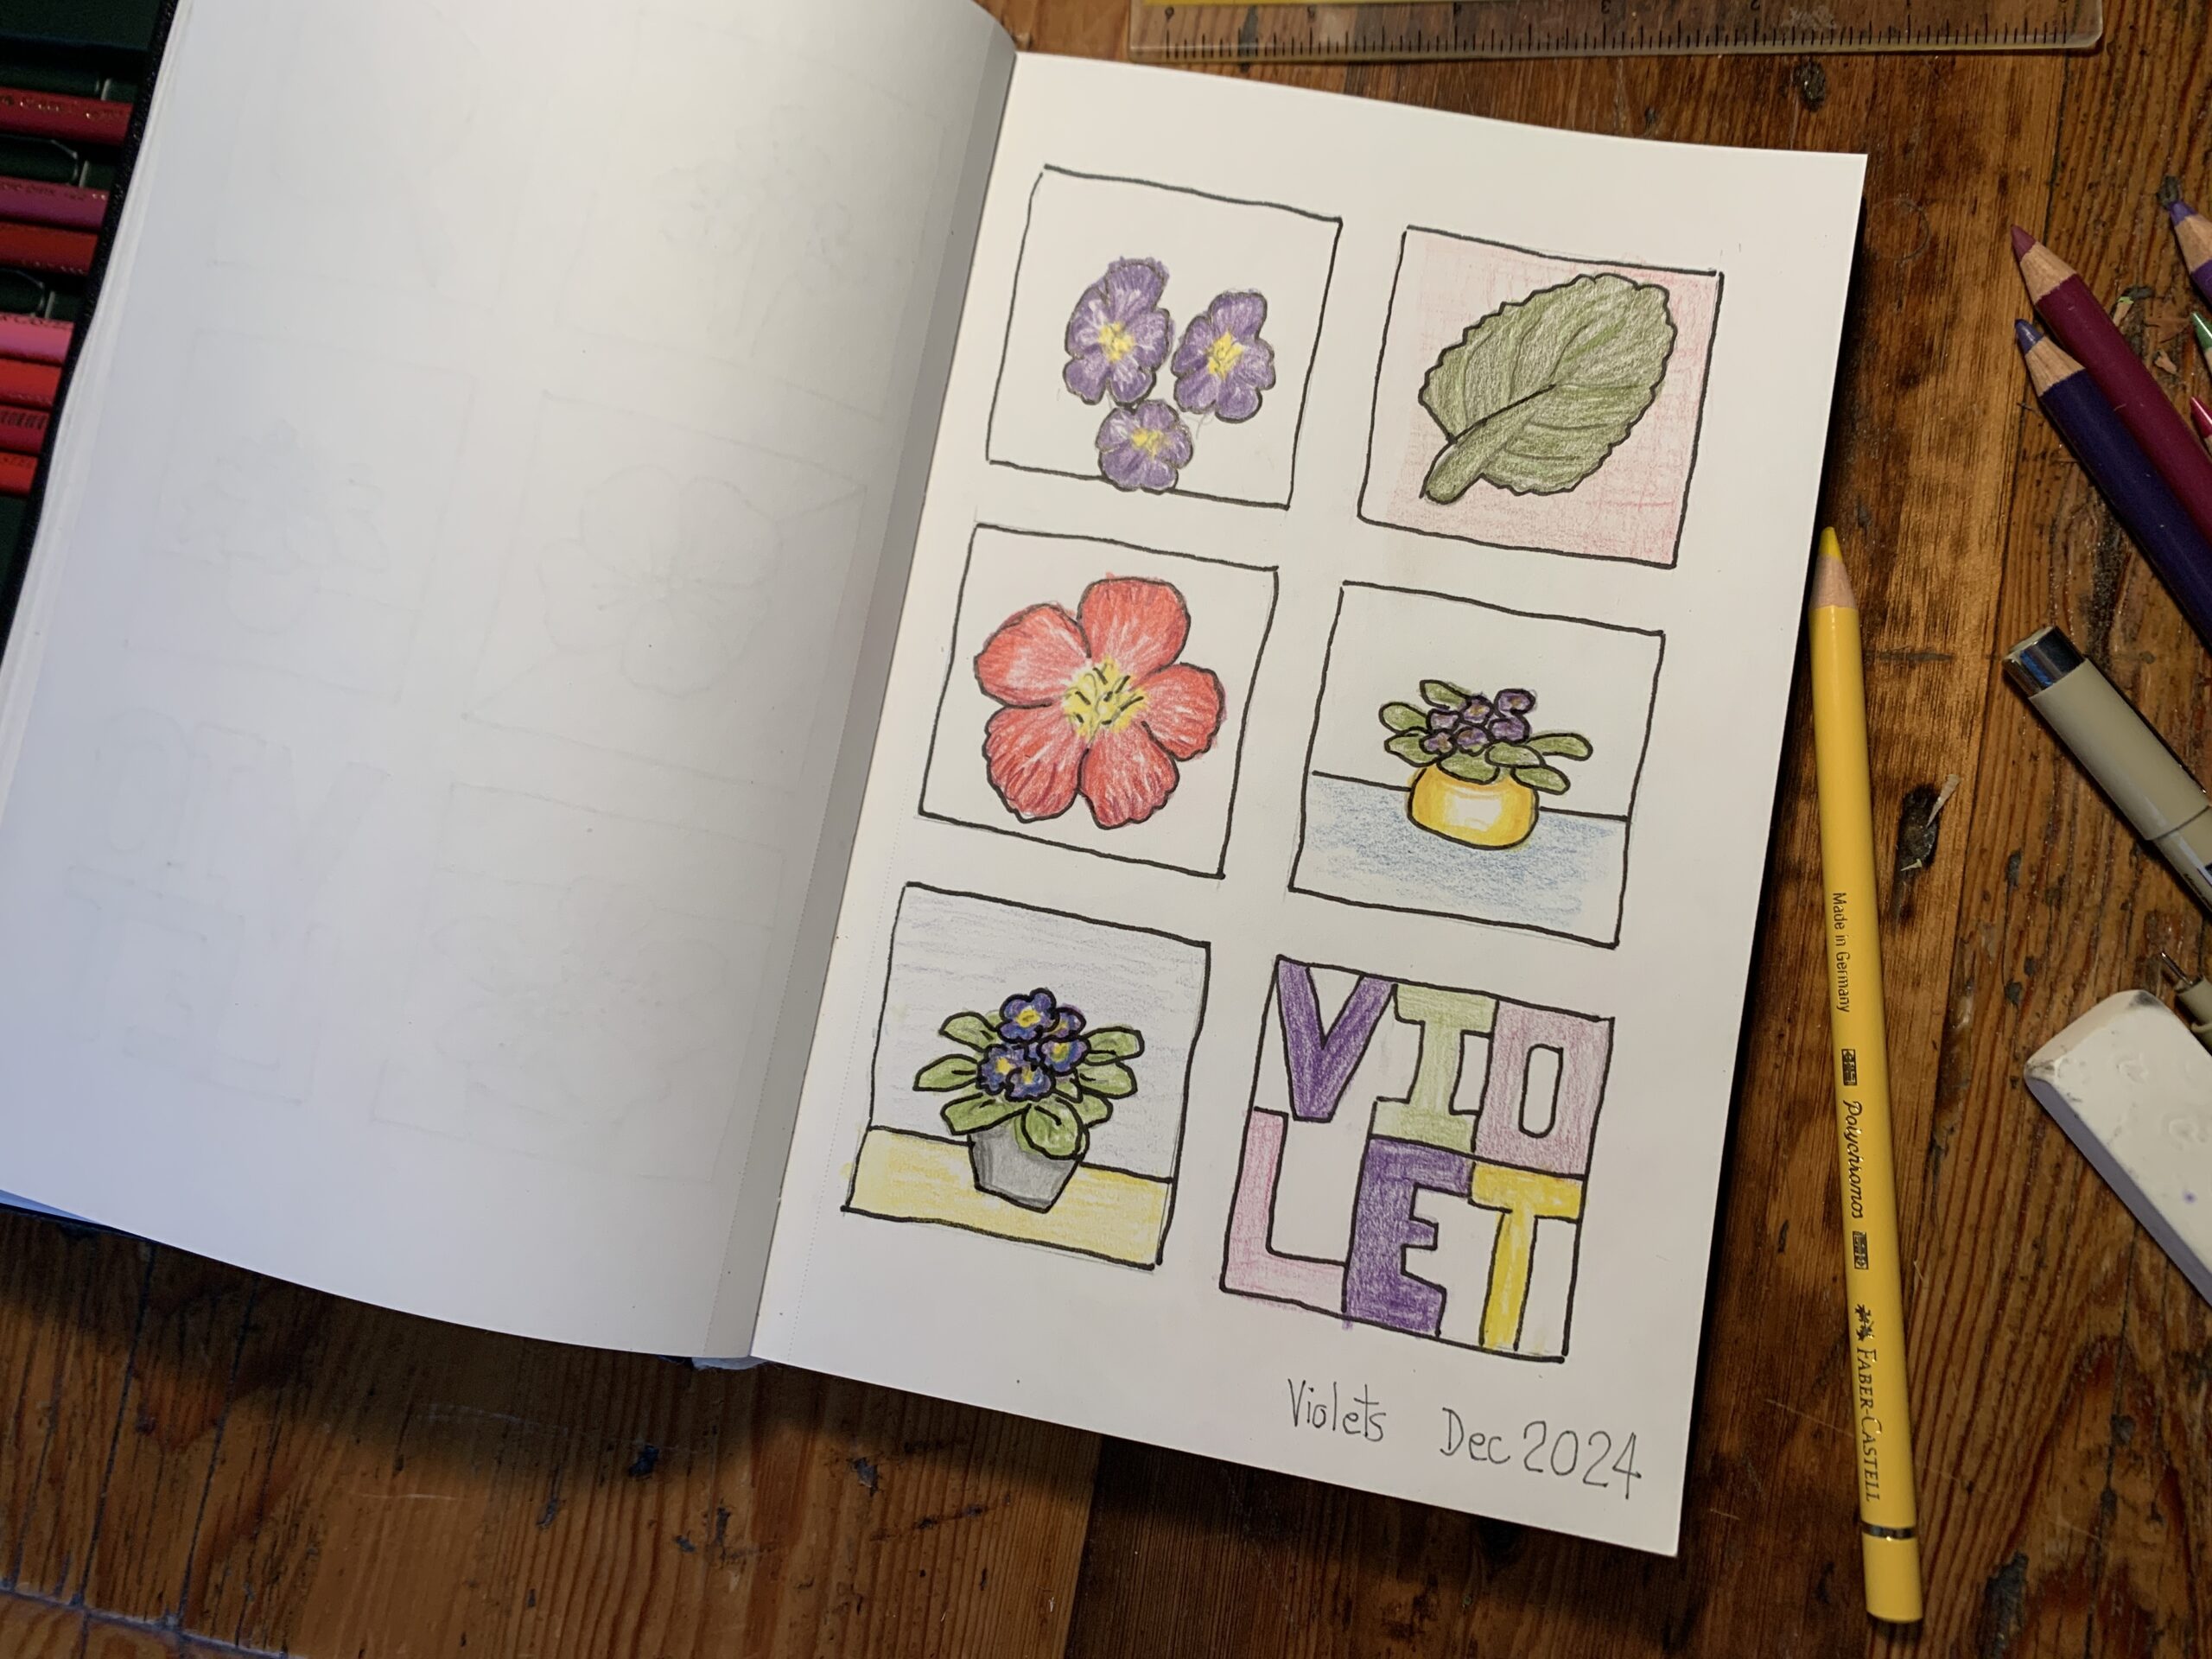
Colors
The coloured pencils I use are Faber Castell polychromos in a selection of greens, purples, pinks, blues and yellows. You can buy them one-by-one at art stores, but I was gifted the 72-color tin by my daughter a few years ago which I’m using. I’ll provide the full list of colours here.
Greens: Leaves
- Earth green yellowish
- May green
- Chromium green opaque
- Olive green yellowish
Violets, Pinks, Blues: Petals
- Purple violet
- Mauve
- Middle purple pink
- Magenta
- Rose carmine
- Pale geranium lake
- Ultramarine
- Prussian blue
Yellows: Centre
- Cadmium yellow
- Dark Naples ochre
Greys: Shadows
- Cold grey II
- Cold grey IV
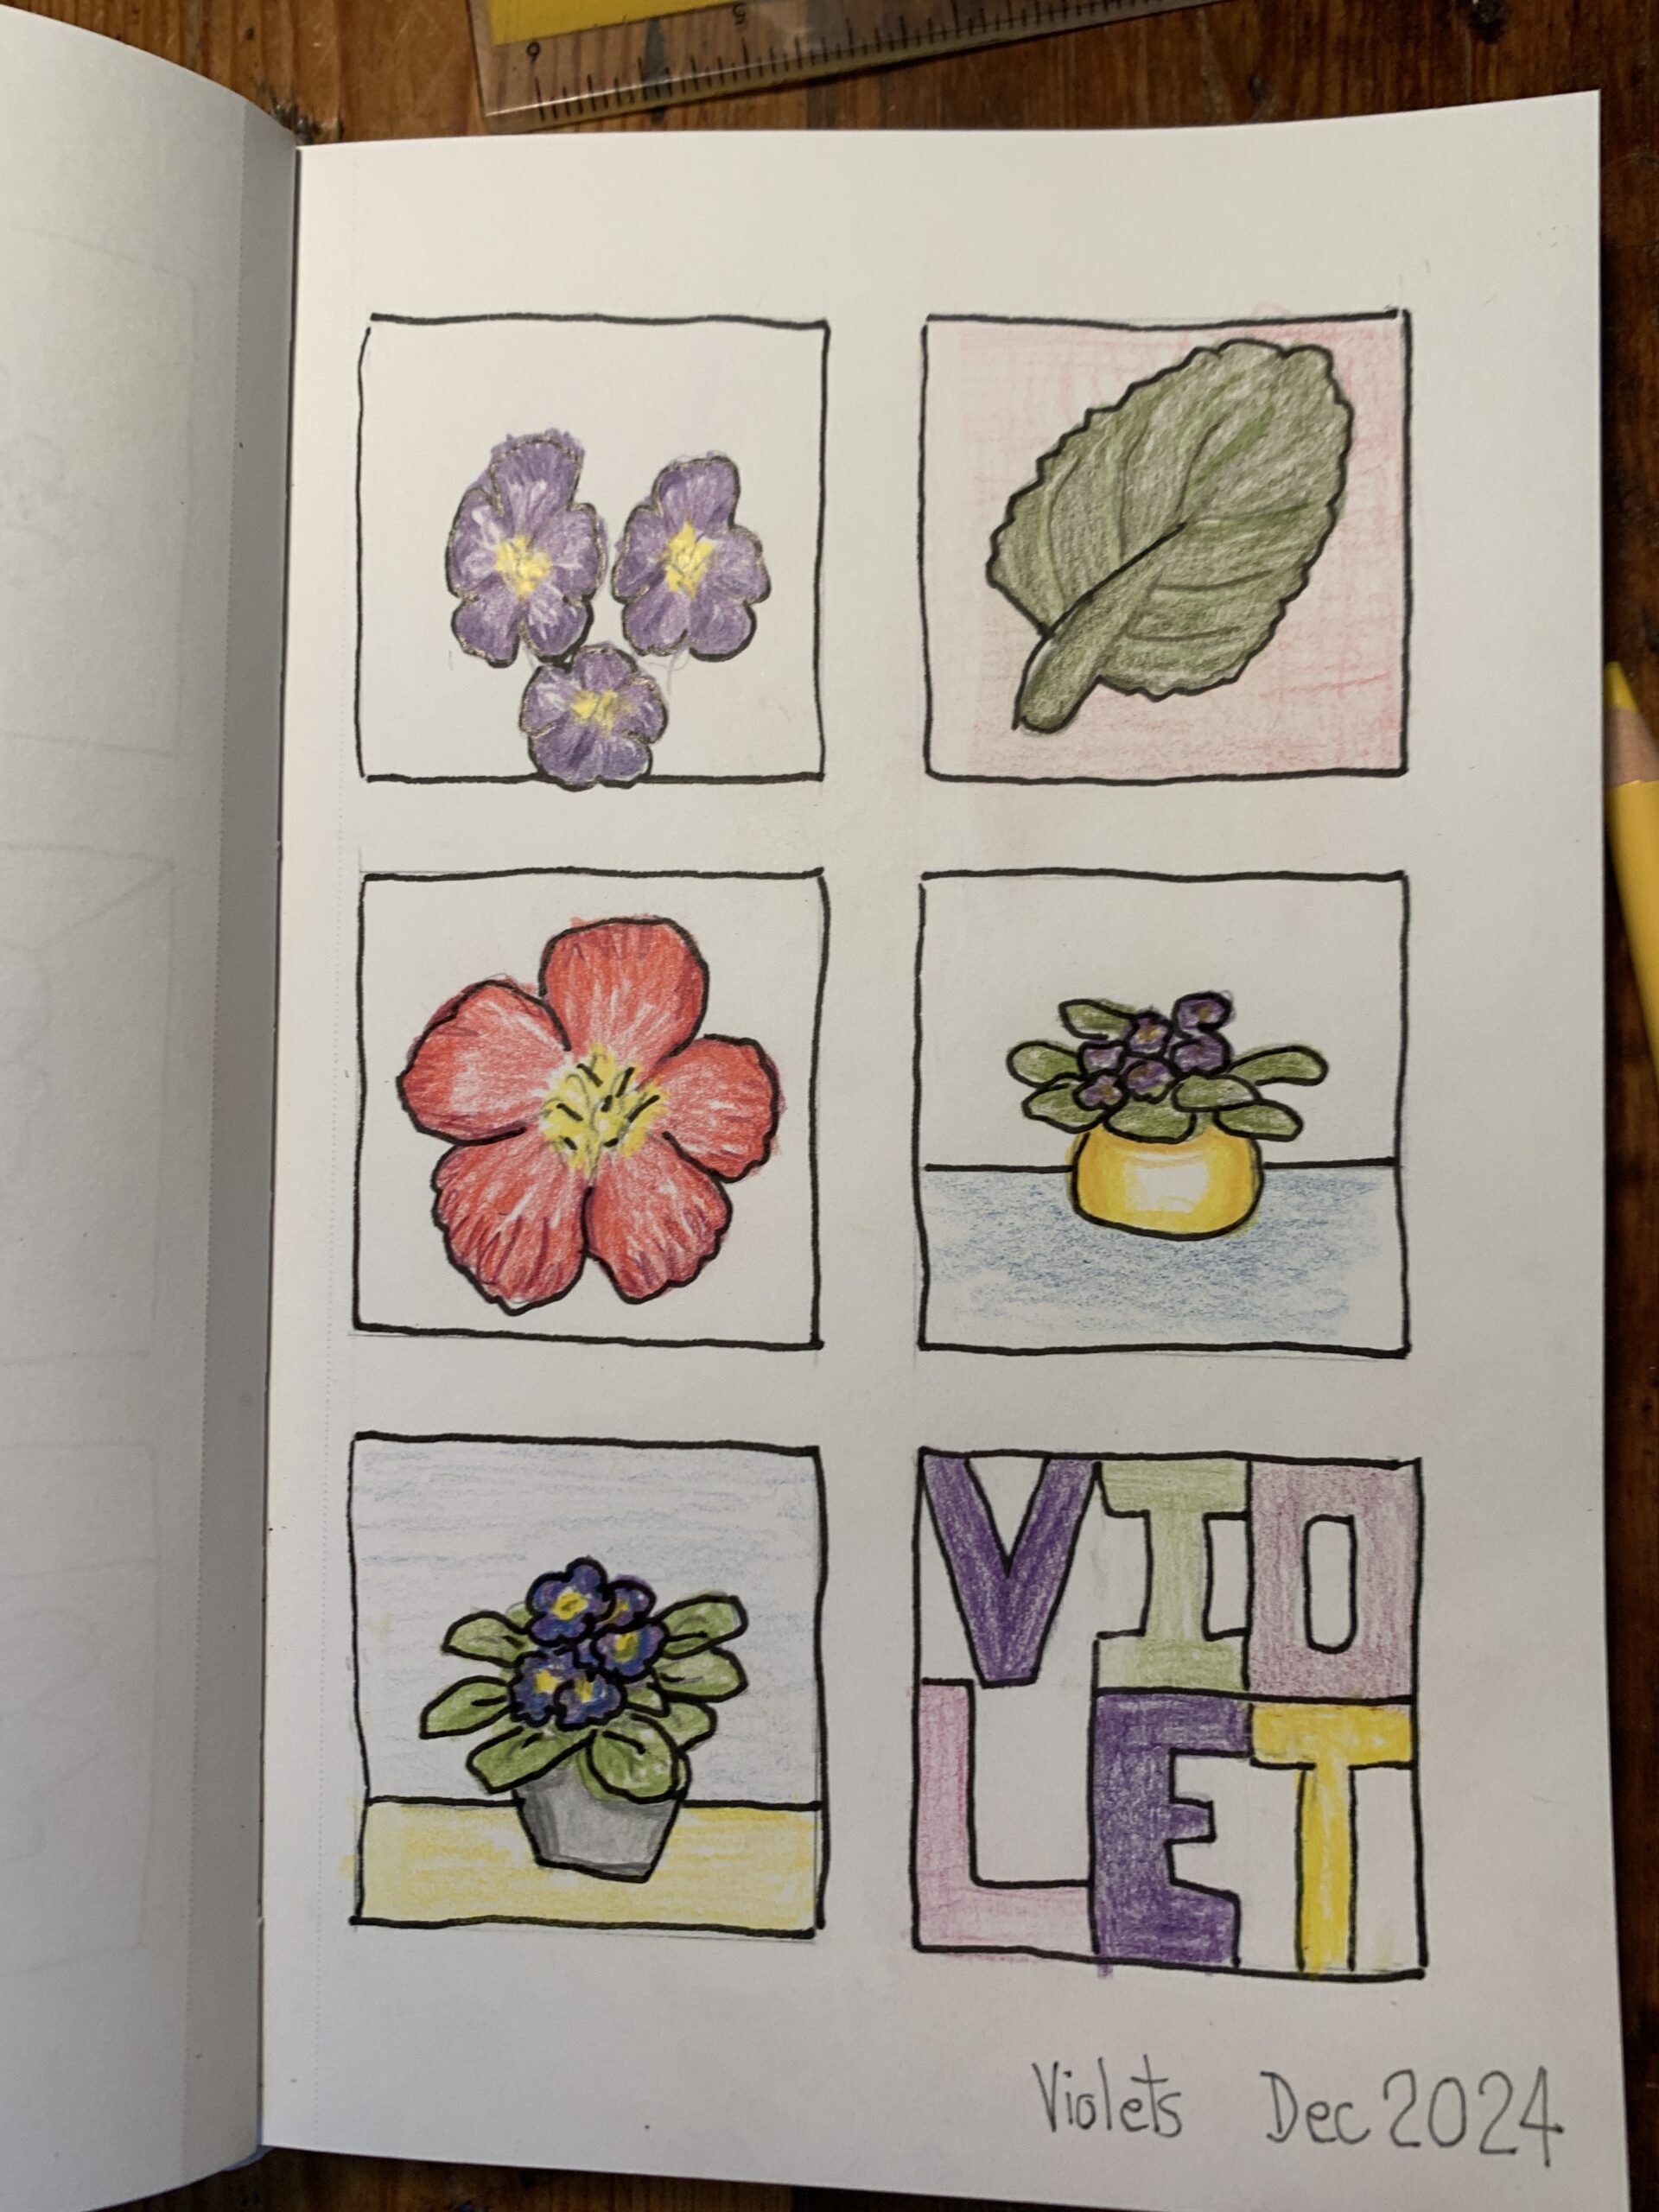
Colored Pencil
Top Left
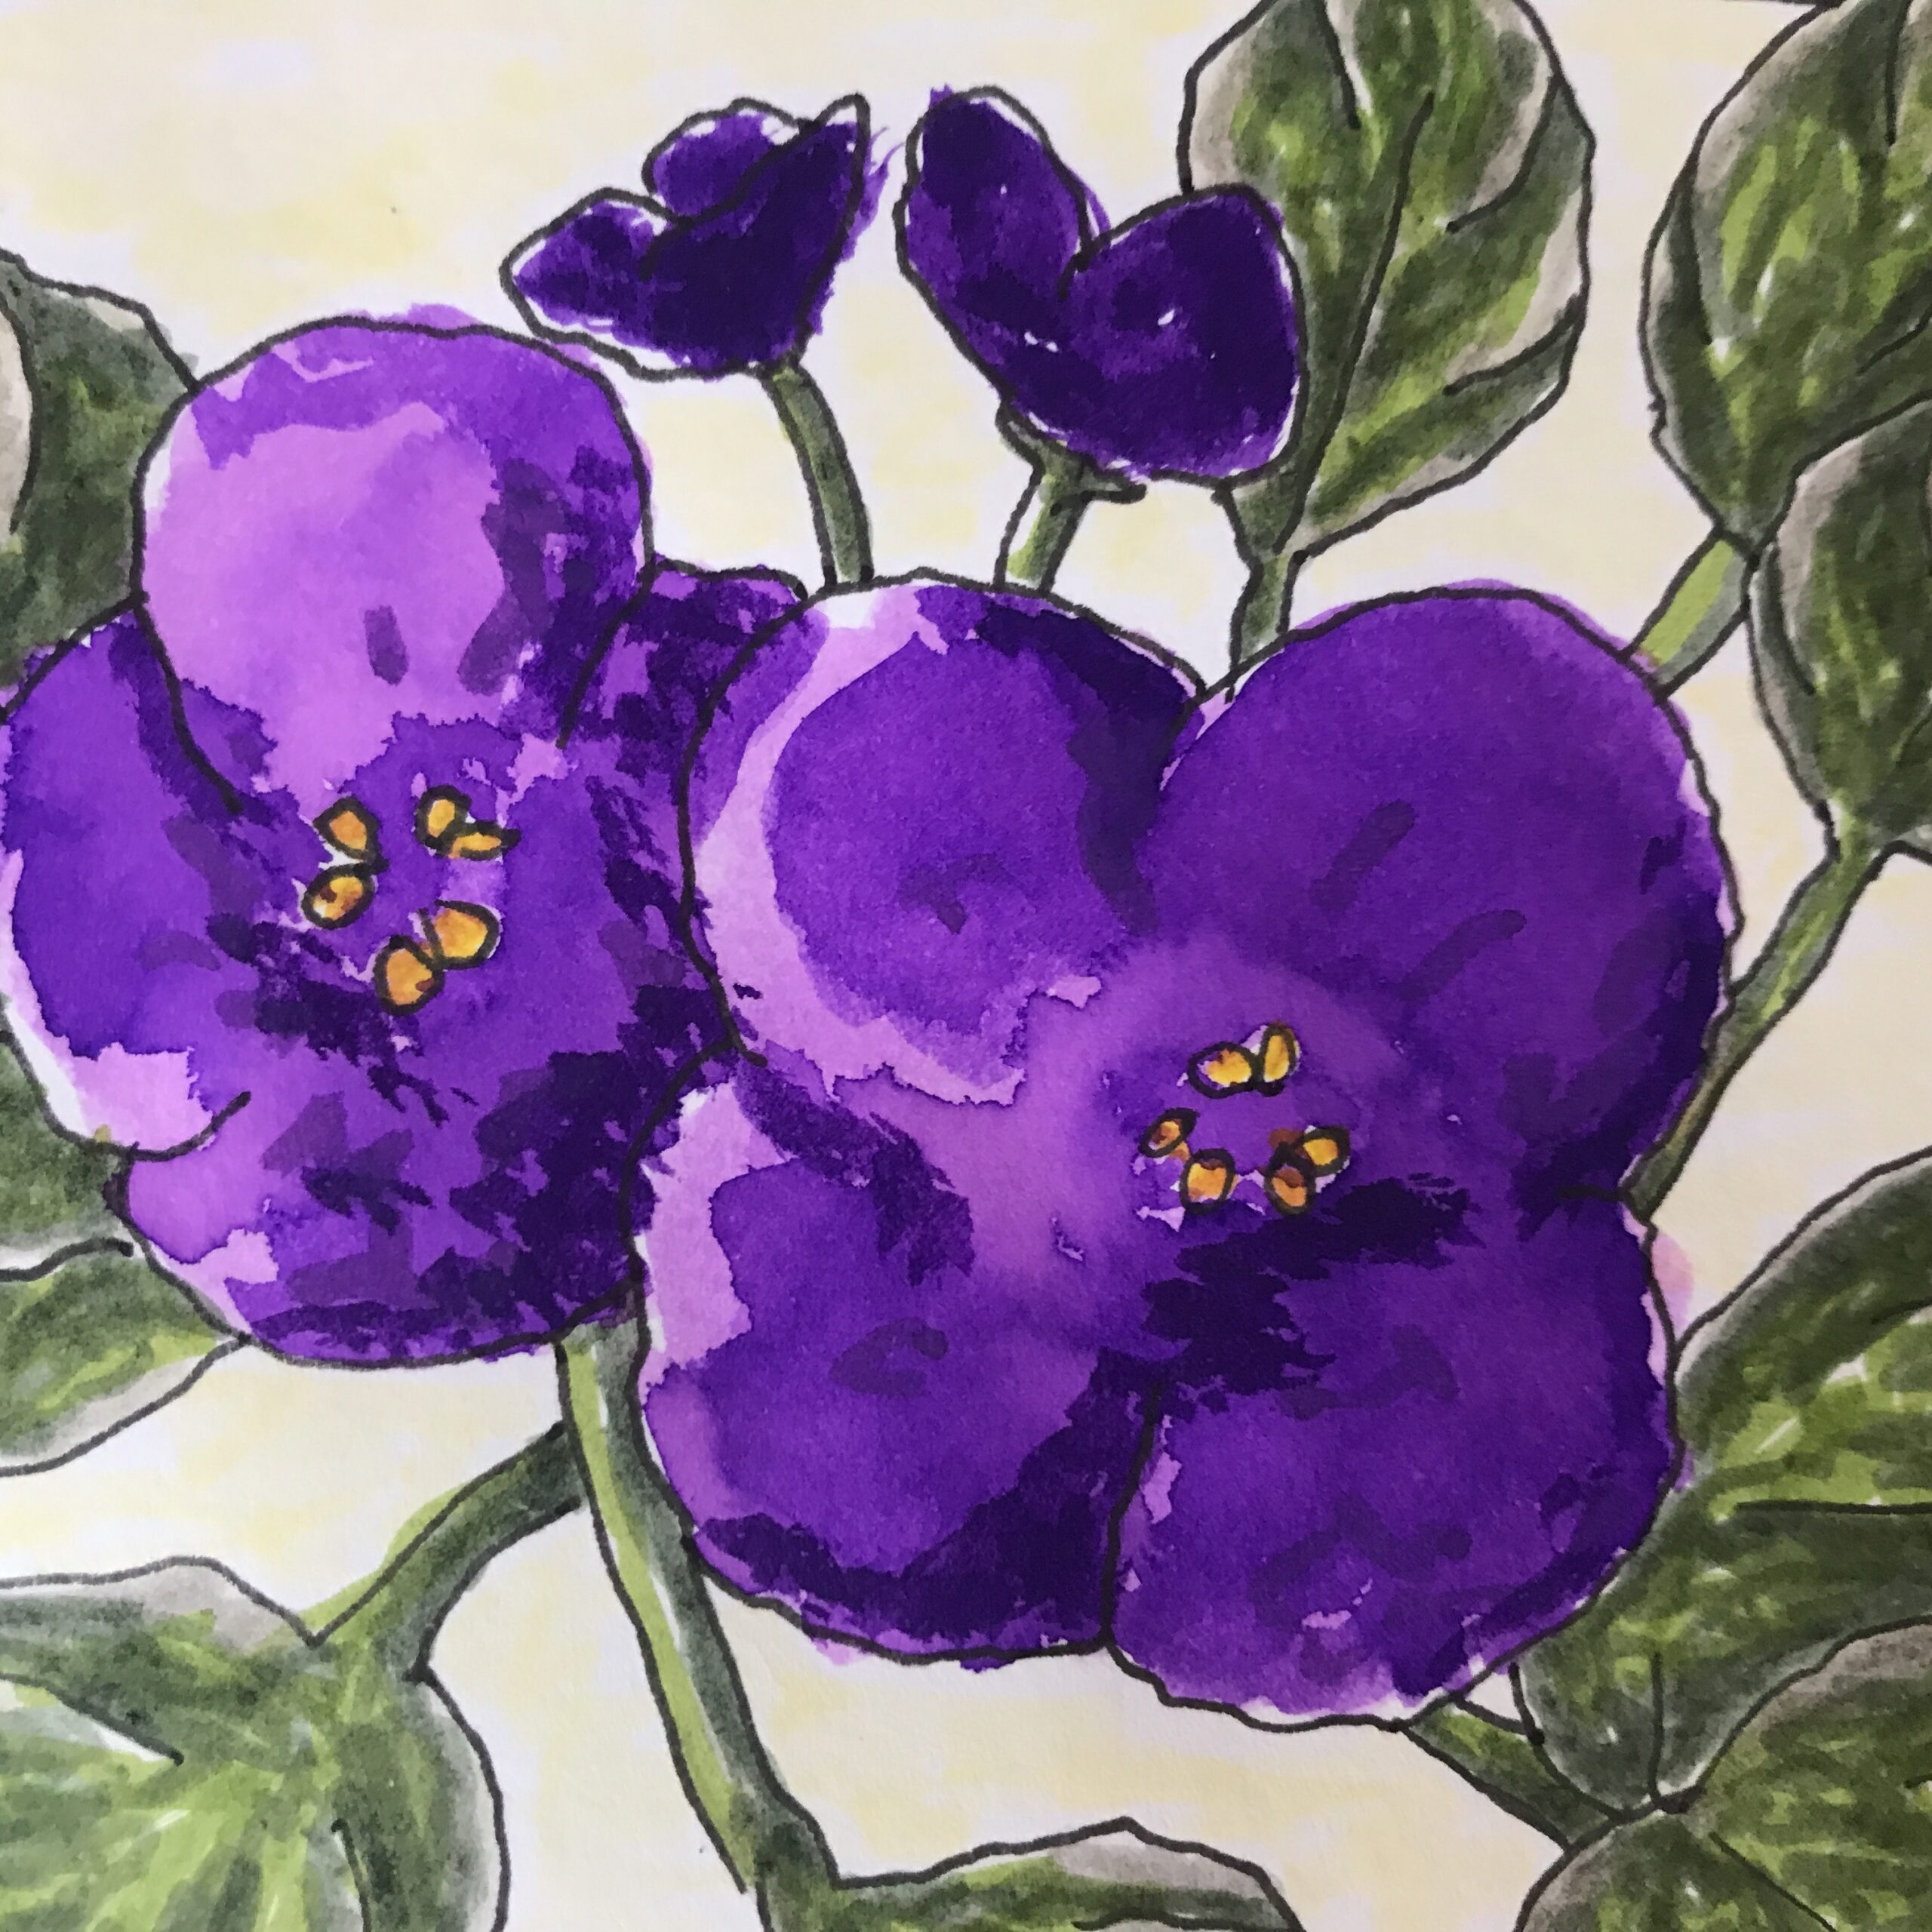
I use two shades of purple on the petals with the lighter in the middle and the darker towards the edges, making sure that all the strokes flow towards the centre. I colored in the centre yellow.
Top Right
I used the darker greens and worked from the outside colouring in the edges and then also where the veins were on the leaves. Choosing dark green colors, I left the light bit above the vein. I came in with the lighter greens and gently went over the veins. Nothing is actually white on the leaf, but the veins are definitely lighter. I gave it more depth by blending the two greens together.
Middle Left
Not all African violets are actually violet, you do get them in pinks and blues as well. I coloured in a two-tone pink African violet again with the darker pink on the outside and the lighter pink coming from the centre. The centre I coloured in the yellow.
Middle Right
I put it in a little yellow pot, ideally it looks like it’s a brass or gold type of pot because I was picking up the yellow from the centre of the African violet plant as they all they all have a yellow centre. I then gave some deeper blue on the table and continued to colour in the rest of the plant.
Bottom Left
With this grid square I colored the plant pot in soft steely looking greys. I worked the petals with a two-tone violet color as well. Again, when colouring the leaves I used two shades of green.
Bottom Right
Because I had intended this “violet” word to be the swatch, which was the original idea, but clearly there’s only 6 letters and I had used multiple colors. I just chose one of the colors from each of the main color families which I was using. So, the “V” is in mauve the “I” is in earth green yellowish, the “O” is in rose carmine, the “L” is in magenta, the “E” is in middle purple pink and the “T” is in dark Naples ochre.
Overarch
Grid Art Journal
This is just me sharing with you how I created an A5, 6-grid art journal page of African violets. Now clearly, you can use any plant in this way. You can pick out bits of the plant like the petals, the leaves, the roots, maybe even say if you did an onion or something, you would be able to do the roots as well.
What I love about grid art journaling is that each one is a very small artwork. Only two inches or five centimetres across. Grid art journaling is a way which I can continue to build my daily art practice. It’s a way that I can work with my coloured pencils in this particular case.
Hobby Artist
I am a hobby artist. I’d like to be better at art. I’d like to paint like Picasso, but at the moment this is the best I can produce. I’m enjoying myself doing these hobby art practice pages in my grid art journal.
Daily Art Practice
I encourage you to start a daily art practice with grid art journaling.
It is pretty simple.
It doesn’t need to be complicated.
It’s something you can do with your kids as well, which I think is a total bonus. Let me know if you’re going to be doing a grid art journal page and which plant you would draw first.
Save this pin to read later.

Author Bio: Alison Hazel
Alison Hazel is a hobby artist and she shares her ongoing journey about becoming an artist later in life. She creates simple art that anyone can make. She hopes to inspire you to reach your creative potential in the area that suits you. Read more about Alison’s story. Get her newsletter.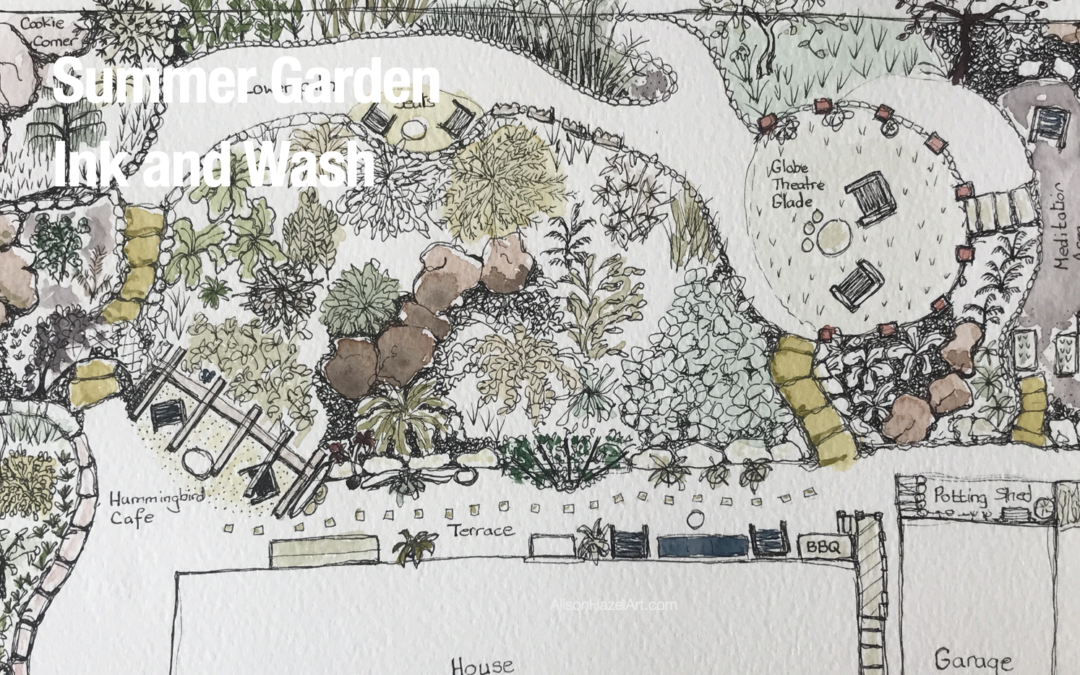
Summer Garden Art – Ink and Wash
How to draw an interesting plan/elevation view of an artist’s visit to a friends’ delightful private garden with pen and wash.

Artzlife Newsletter
Author: Alison Hazel - Published: December 2024 Artzlife Newsletter Creative art journal inspiration for hobby artists Welcome to a Place for Passionate Hobby Artists Are you a hobby artist seeking inspiration, connection and gentle guidance on your creative...
